6
Heater Kit Installation(Optional)
1.
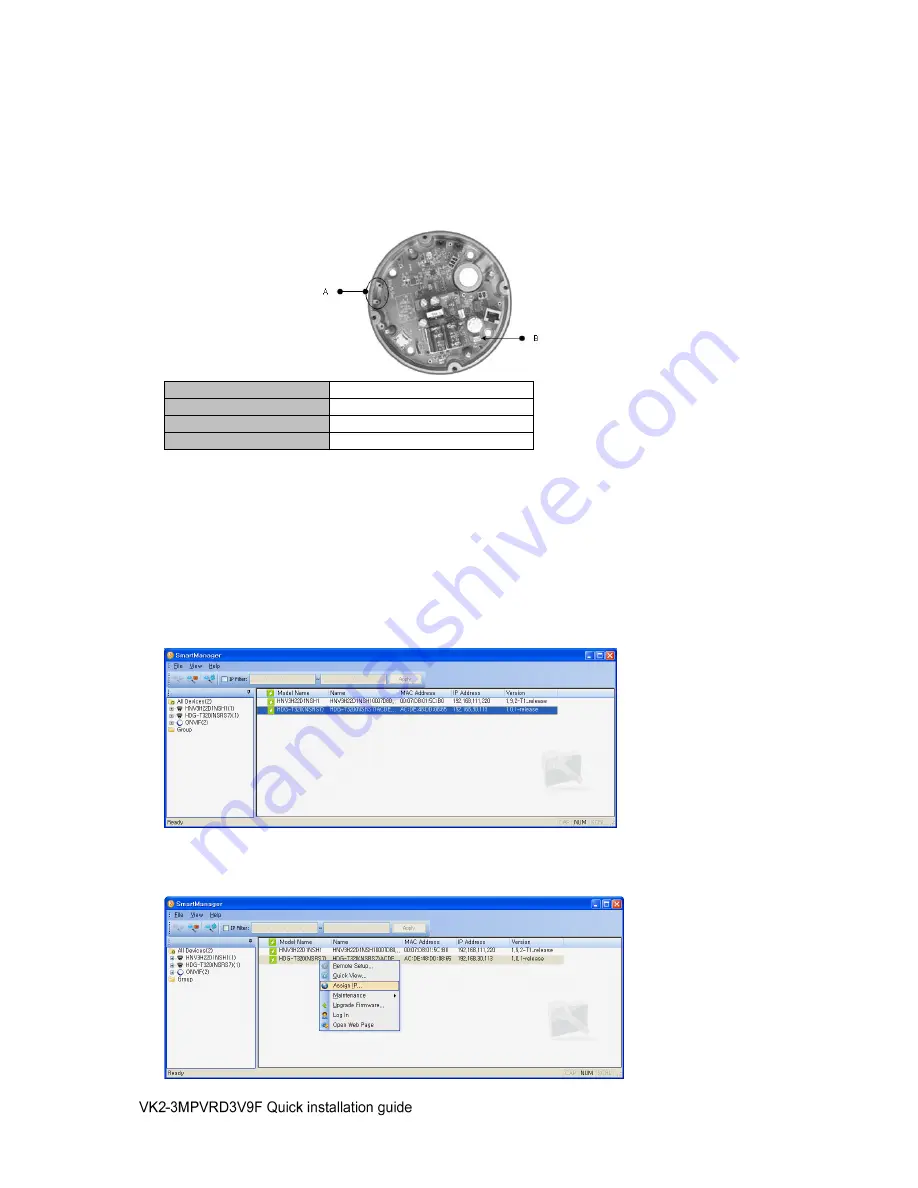
Place the heater element is slot
“A”. Please ensure that the cables are facing upwards and the
heater is pointing towards the Dome.
2. Place the plug in the Connector
“B” (J13) which is found on the controller board.
•
Power Supply
24VAC
Power Consumption
20Watt
Heater On
at 41°F (5°C)
Heater Off
at 59°F (15°C)
2.2 Network Connection and IP assignment
The Network Camera supports the operation through the network. When a camera is first connected to
the network it has no IP address. So, it is necessary to allocate an IP address to the device with the
“Smart Manager” utility on the CD. The factory default IP is “192.168.30.220”.
1.
Connect the Network Camera / device to the network and power up.
2.
Start SmartManager utility (All Programs>SmartManager>SmartManager), the main window will
be displayed, after a short while any network devices connected to the network will be displayed
in the list.
3.
Select the camera on the list and click right button of the mouse. You can see the pop-up menu
as below.


