


7
c
a r e
a n d
c
l e a n i n g
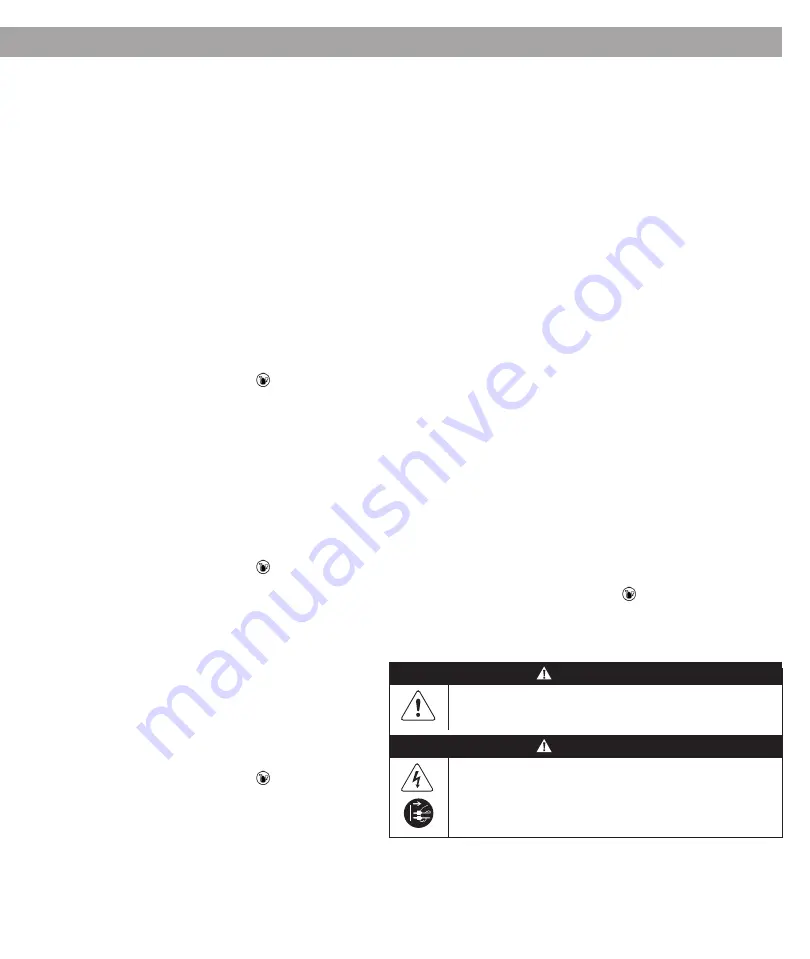
WARNING
Electrical Shock Hazard.
Always unplug before cleaning the blender base or when not in use.
Do not put the blender base in water or other liquid.
Failure to follow instructions can cause death or electric shock
.
WARNING
To Avoid Injury and Damage.
To avoid inadvertent activation, turn off and unplug the blender
before cleaning.
BEFORE FIRST USE:
1.
Wipe the base with a warm damp cloth and wipe clean with a dry, soft
cloth. Wash the container, cups, lids, lid plug and tamper with warm, soapy
water. Rinse all parts. Wipe dry with a dry, soft cloth.
2.
Choose a space on the counter that is level, dry and clean. Plug the blender
into a grounded, 3-prong outlet.
Note:
Your Vitamix container is designed to be completely cleanable
without removing the retainer nut and blade assembly. DO NOT attempt
to remove the retainer nut or blade assembly from the container. Our
Normal Cleaning and Sanitising procedures or a dishwasher cleaning cycle
will ensure a complete and thorough cleaning of your container and its
components. If your container is damaged, please do not use. Contact
Vitamix Customer Service IMMEDIATELY.
Care and Cleaning of Large Containers:
To Clean:
1.
Fill the container half full with warm water and add a couple of drops of
dishwashing liquid.
2.
Snap or push the complete 2-Part lid into the locked position.
3.
Perform one of the following:
• Variable Speed:
a.
Make sure the Variable Speed dial is set to Variable Speed 1.
b.
Press the Start / Stop.
c.
Slowly increase variable speed to 10.
d.
Run the machine for 30 to 60 seconds.
e.
Rotate the Variable Speed dial back to Variable 1.
• Model V1500i, press the Self-Cleaning Icon (
) to select. Press
Start/Stop. The program will stop automatically when complete.
4.
Rinse and drain all pieces.
To Sanitize: (Bleach) (Full-size Containers)
1.
Follow the cleaning instructions above.
2.
Fill the container half full of water and add 1 ½ teaspoons of liquid
bleach.
3.
Snap or push the complete 2-part lid into the locked position.
4.
Perform one of the following procedures:
• Variable Speed:
a.
Make sure the Variable Speed dial is set to Variable Speed 1.
b.
Press the Start / Stop.
c.
Slowly increase variable speed to 10.
d.
Run the machine for 30 to 60 seconds.
e.
Rotate the Variable Speed dial back to Variable 1.
• Model V1500i, press the Self-Cleaning Icon (
) to select. Press
Start/Stop. The program will stop automatically when complete.
6.
Allow the mixture to stand in the container for an additional 1 ½
minutes.
7.
Pour out the bleach mixture. Allow the container to air dry. Do not rinse
after sanitizing.
To Sanitize: (Vinegar) (Full-size Containers)
1.
Follow the cleaning instructions above.
2.
Prepare the vinegar solution: for the 2-litre container, dilute 475 ml of
vinegar in 475 ml water.
3.
Snap or push the complete 2-part lid into the locked position.
4.
Perform one of the following procedures:
a.
Make sure the Variable Speed dial is set to Variable Speed 1.
b.
Press the Start / Stop.
c.
Slowly increase variable speed to 10.
d.
Run the machine for 30 to 60 seconds.
e.
Rotate the Variable Speed dial back to Variable 1.
• Model V1500i, press the Self-Cleaning Icon (
) to select. Press
Start/Stop. The program will stop automatically when complete.
6.
Allow the mixture to stand in the container for an additional 3 full
minutes. Total contact time of the vinegar solution in the container
should equal 5 minutes.
7.
Pour the vinegar solution out of the container over the inside surface of
the 2-part lid. Repeat the sanitization procedure a second time.
8.
Allow the container and lid to air dry. Do not rinse after sanitising. If
necessary, rinse immediately before the next use.
Lids, Lid Plug, Centring Pad and Tamper
The parts are dishwasher-safe. If preferred, wash the parts in warm soapy
water. Rinse clean under running water, then dry.
Blender Base
1.
Turn off and unplug the blender.
2.
Wash the outside surface with a damp, soft cloth or sponge that has been rinsed
in a mild solution of washing-up liquid and warm water. Do not place the blender
base in water. The centering pad can be removed for more thorough cleaning.
3.
Immediately dry all surfaces and polish with a soft cloth.
In-Place Cleaning: (8 oz. bowl [0.6-litre] and 20 oz. [240 ml] cups)
1.
Fill the container half full with water and add a couple of drops of washing-up liquid.
DO NOT BLEND HOT WATER.
2.
Put a seal on the bottom thread of the adapter. The seal should fit snugly and evenly
around the thread. Firmly attach the blade base to the cup or bowl before blending.
3.
Put the cup and adapter onto the base.
4.
Press Start / Stop. Slowly increase variable speed to 10.
5.
Run the machine for 30 to 60 seconds.
6.
Rotate the Variable-Speed dial back to Variable 1. Press Start / Stop.
7.
Rinse and drain all pieces.
To Sanitize: (Bleach) (8 oz. [0.6-litre] bowl and 20 oz. [240 ml] cups)
1.
Follow the cleaning instructions above.
2.
Fill the container half full with water and 1/2 teaspoon of liquid bleach.
DO NOT BLEND HOT WATER.
3.
Put a seal on the bottom thread of the adapter. The seal should fit
snugly and evenly around the thread. Thread the adapter onto the cup
in a clockwise direction just until tight.
4.
Put the cup and adapter onto the base.
5.
Press Start / Stop.
6.
Slowly increase variable speed to 10.
7.
Run the machine for 30 to 60 seconds.
8.
Rotate the Variable-Speed dial back to Variable 1. Press Start / Stop.
9.
Allow the mixture to stand in the container for an additional 1 ½ minutes.
10.
Pour out the bleach mixture. Allow the container to air dry. Do not
rinse after sanitizing.
To Sanitize the 8 oz. [0.6-litre] bowl and 20 oz. [240 ml] cups with Vinegar
(minimum 5% acidity):
Note:
If the vinegar has greater acidity, the water can be increased to get a minimum
2.5% solution. For example, for 10% acidity use 1 part vinegar and 3 parts water.
1.
Follow the cleaning instructions above.
2.
Fill the container 150 ml with water and 150 ml white vinegar (60 ml with water and 60
ml white vinegar). DO NOT BLEND HOT WATER.
3.
Put a seal on the bottom thread of the adapter. The seal should fit snugly and evenly
around the thread. Firmly attach the blade base to the cup or bowl before blending.
4.
Put the cup and adapter onto the base.
5.
Use Variable Speed:
• Variable Speed:
a.
Make sure the Variable Speed dial is set to Variable Speed 1.
b.
Press the Start / Stop.
c.
Slowly increase variable speed to 10.
d.
Run the machine for 30 to 60 seconds.
e.
Rotate the Variable Speed dial back to Variable 1.
• Model V1500i, press the Self-Cleaning Icon (
) to select. Press Start/Stop.
The program will stop automatically when complete
5.
Allow the mixture to stand in the container for an additional 4 minutes (5 minutes total
contact time).
6.
Pour the vinegar mixture out. Allow the container to air dry. Do not rinse after sanitising.


