background image

14 


Illutration 23. 


In  order  to  change  the  height  of  the  front  wheel,  should  unscrew  the  front  wheel  screw  by 
using allen wrench 5 mm. 


You should choose the proper height of front wheel move the wheel up or down to the desired 
height and tighten the front wheel screw. 


SEAT DEPTH 


To adjust the seat depth, should press the Quick connect handle button to remove the wheel, 
respectively holding wheelchair in order to not fall over. 


You  can  put  a  wheelchair  on  the  side  on  which  has  already  been  removed  rear  wheel  and 
remove the other rear wheel. 


Then  loosen  the  screws  on  the  rear  wheel  mounting  elements  on  both  sides  of  the  carriage. 
These elements are an extension of the backrest. (Illustration 22.) 


Align the rear wheel mounting components and tighten the screws. 


Make sure all screws are properly tightened. 


It is important to note that with the change of the seat depth, will change position of the center 
of gravity and therefore should also be adjusted  rear whee axis and brake mechanism and fit, 
and the front lock the armrest. 


BRAKE MECHANISM 


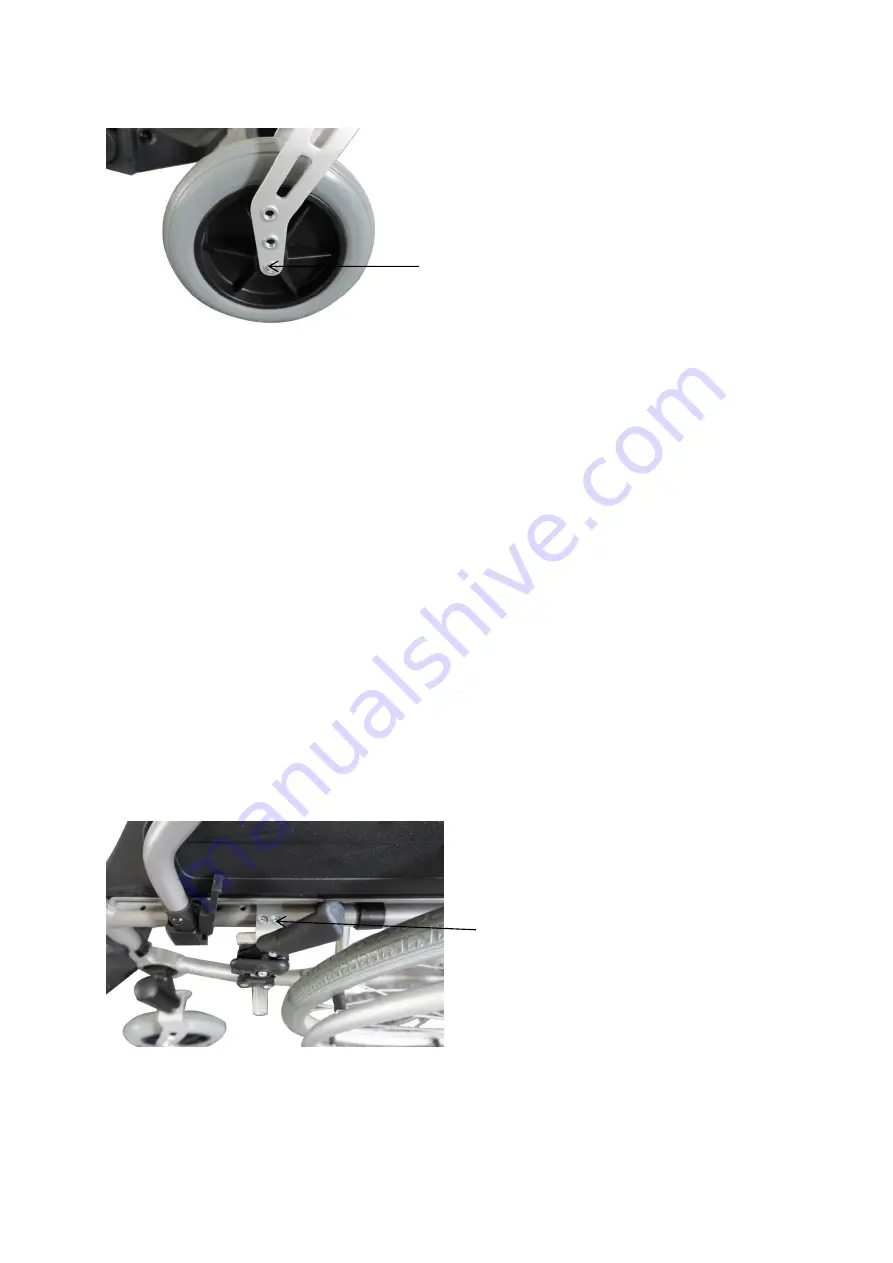
Illustrationa 24. 


Illustration 24. show the brake mechanism seen from outside. 


To adjust the position of the brake mechanism to the rear wheel, Allen wrench 5 mm unscrew 
the screws on the brake mechanism (Illustration 24.) 

Front wheel axle 


Place for allen wrench 5 mm

lnego 


Summary of Contents for Premium VCWK9ASZ

Page 1: ...1 User s manual Platinum Aluminium wheelchair VCWK9ASZ Edition AM 09 2021 ...

Page 2: ...ntroduction 3 2 Description ofproduct 3 3 Application 5 4 Contradictions 5 5 Use 5 7 Everyday use and maintenance 9 8 Technical paramets 18 9 Symbols 19 10 Contact details 20 PLEASE READ WHOLE INSTRUCTION CAREFULLY BEFORE USE ...

Page 3: ... contribute significantly to extend the durability and aesthetics of the product We want to distinguish that to date we are trying to improve the quality of our products which may result in minor changes that are not included in the manual 2 Description ofproduct Illustration 1 1 Headrest 2 Armrest 3 Rear wheel 4 Metal handrim 5 Brake lever 6 Cross frame 7 Quick connect handle 8 Brake 9 Front whee...

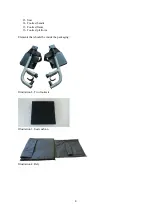
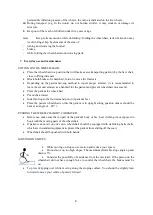
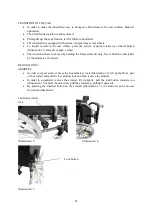
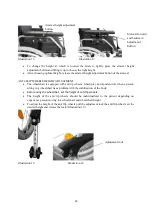
Page 4: ...4 13 Seat 14 Footrest handle 15 Footrest frame 16 Footrest platform Elements that should be inside the packaging Illustration 2 Two footrests Illustration 3 Seat cushion Illustration 4 Rely ...

Page 5: ... and comfortably participate in everyday life 4 Contradictions Contraindications to a sitting position Conditions that require stabilization of the upper spine and head Patients with mental disorders should not be left unattended in the wheelchair 5 Use After unpacking the package check if it contains all parts in accordance with the list of elements set out above Ensure that all components have n...

Page 6: ...em in opposite direction Illustration 6 Then place wheelchair with front wheels in front of you Illustration 6 Illustration 7 Illustration 8 Then push the seat frame until the complete unfolded wheelchair Illustration 7 Illustration 9 Illustration 10 Illustration 11 Frame hanger Mounting bracket footrest Footrest lock ...

Page 7: ...moving through doors and other passages make sure that on both sides there is enough space to avoid injury to the hands or damage the wheelchair g Using public roads follow accurate traffic regulations h Like other vehicles do not drive the wheelchair under the influence of alcohol or drugs This also applies to indoor riding i The wheelchair is not intended for patient transport on stairs or pulin...

Page 8: ... when patient get in get off while changing the position aa Do not leave the patient in the wheelchair even with turned on both brakes on the descents ramps landings etc bb It is necessary to check after each wheel mount if wheel axle connector lock works properly While mounting should hear click of the latch Pull strongly the wheel to check if it is installed correctly cc Using the parking brake ...

Page 9: ...Place the patient the wheelchair Put on the armrest Install and open the footrests and put on it patient s feet Place the patient wheelchair so that the patient is in upright sitting position knees should be bent at an angle of 90 PUSHING THE WHEELCHAIR BY CAREGIVER Before use make sure that no part of the patient s body or his hers clothing is not exposed to hook with the moving parts of the whee...

Page 10: ...olled manner user must slide the wheelchair from the curb MOVING ON THE THRESHOLD OR CURBS Ahead with the help of a caretaker Experienced wheelchair user can drive on his own from the threshold or curbs Caregiver should slightly tilt the wheelchair back Wheelchair user should keep balance on the rear wheels to reduce pressure on the front wheels Go with front wheels on the curb and then put the re...

Page 11: ... moved by holding the frame elements only Never hold the wheelchair by the armrests or footrests REGULATIONS ARMREST In order to repeal armrest press the front armrest lock Illustration 13 lift up the front part of the armrest and pull the rear armrest lock and then remove the armrest In order to completely remove the armrest tilt it slightly pull the lock button towards you Illustration 15 and at...

Page 12: ...role when a person sitting in a wheelchair has a problem with the stabilization of the body Before using the wheelchair set the height of anti flip wheels The height of the anti tip wheels should be individualized to the patient depending on experience person moving in a wheelchair and wheelchair height To adjust the height of the anti flip wheels pull the adjustment lock the anti flip wheels set ...

Page 13: ...all over Illustration 21 You can put a wheelchair on the side which has already been removed rear wheel and remove the other rear wheel To change the position rear wheel axis up and down unscrew the Allen wrench No screws located next to the rear wheel axle Illustration 22 After loosening the screws you can remove the axle and place it in the appropriate mounting holes and tighten the nut with an ...

Page 14: ...he screws on the rear wheel mounting elements on both sides of the carriage These elements are an extension of the backrest Illustration 22 Align the rear wheel mounting components and tighten the screws Make sure all screws are properly tightened It is important to note that with the change of the seat depth will change position of the center of gravity and therefore should also be adjusted rear ...

Page 15: ...ting the correct height tighten the height adjustable footrest knob Illustration 25 PUSH HANDLES The height of the push handles can be adjusted To adjust use the knob and slightly loosen the wheelchair handles Then choose the suitable height and tighten the push handles so that they are stable Illustration 26 PRESSURE IN WHEELS AND BRAKING POWER Pressure in wheels should be select to the user weig...

Page 16: ...lve is considered open Then remove the plastic top from the valve and set it aside in a safe place It is important to not lose it because the valves will get dirt leading to difficulties in pumping and rapid air loss Place the nozzle of the pump to the valve and check if it stick properly If it is needed push the pump to the valve to make sure that the air does not escape to the sides If the pump ...

Page 17: ...rine corrosive detergents Do not clean the exerciser with pressure or steam aggregates TECHNICAL REVIEW The review should be carried out regularly it should be preceded by thorough cleaning the wheelchair so as to reveal any hidden damage Frequency Object of control Comments Before first installation Checking the technical condition and all the elements within the packaging Check if any elements h...

Page 18: ... mm Seat width 320 340 mm 360 380 mm 400 420 mm 440 460 mm Wheelchair width 540 mm 580 mm 640 mm 660 mm Wheelchair lenght 108 mm Seat depth 400 mm Back width 320 340 mm 360 380 mm 400 420 mm 440 460 mm Back lenght 430 mm Seat hight 470 mm The dimensions of the wheelchair after folded 350 x 950 x 800 mm Wheelchair weight 17 5 kg Wheelchair weight without components 15 5 kg Minimum turning radius 11...

Page 19: ...ds Manufacturer Date of production Read the user s manual Warning Catalog number Serial number Protect from humidity Protect from sunlight Permitted user weight Use inside and outside buildings Maximum safe slope The product is intended to transport by car ...

Page 20: ...e The product is intended to the transport by plane The possibility of fingers jamming Do not stand on the footrest Temperature of storage and use Contact details mdh sp z o o ul Maratońska 104 94 007 Łódź Polska tel 48 42 674 83 84 fax 48 42 636 52 21 www mdh pl www viteacare com ...

Reviews: