16
tion; pilot light glows.
6. Pilot light goes off when the required temperature is reached.
7. Move the Steam Control/Self&Cleaning Knob to
position;
steam starts coming out from the holes in the sole plate.
8. Begin first time ironing with an old towel.
9. When the water tank is empty and there is no more steam pro&
duced; the preparation work is completed. The iron is now ready for
proper use.
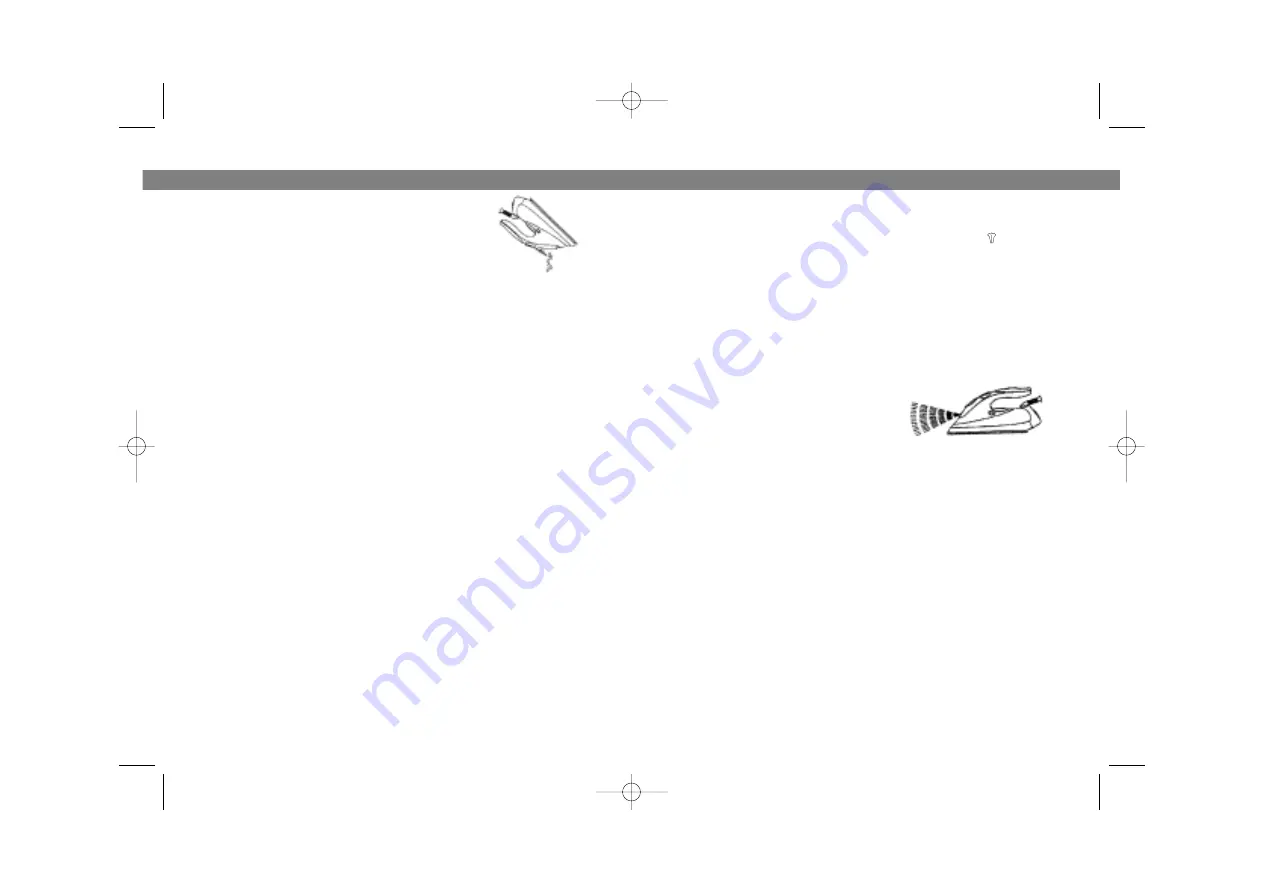
SPRAYING
This function can be used any time and is not affect any setting.
1. Fill the water tank as described in How To Fill Water.
2. Aim the nozzle to the garment.
3. Press the Spray Button.
Note:
It may be necessary to press the
spray button a few times to start this func&
tion.
DRY IRONING
1. Connect the iron to a suitable mains supply outlet.
2. Turn the Temperature Dial in clockwise direction; select '
•
' (1 dot),
'
••
' (2 dots) or '
•••
' (3 dots) according to the recommendation of
garment label.
3. Pilot light glows indicating the iron is switched on.
4. When the required temperature is reached; pilot light goes off. The
iron is ready for use.
5. Move the Temperature Dial in anti&clockwise direction to 'Min'; the
iron is switched off.
6. Disconnect the iron from mains supply outlet.
7. When the iron gets cool completely, store it vertically in a safe
place.
STEAM IRONING
1. Fill the iron as described in How To Fill Water.
2. Connect the iron to a suitable mains supply outlet.
3. Turn the Temperature Dial in clockwise direction to '
•••
' (3 dots)
5
FIGURE 3
&
Нажмите кнопку увлажнения (9).
&
Переверните утюг и слегка потрясите его.
ЧИСТКА
&
Перед чисткой отключите утюг от сети и дайте ему
остыть.
&
Протрите поверхность утюга влажной тканью, используя жидкое
чистящее средство.
&
Старайтесь сохранить подошву утюга гладкой. Избегайте резких
соприкосновений с металлическими предметами.
&
Для чистки утюга не используйте обдирающие материалы и
абразивные вещества.
СПЕЦИФИКАЦИЯ
Питание
230 В ~ 50 Гц
Максимальная мощность
2020 Вт
СРОК СЛУЖБЫ УТЮГА НЕ МЕНЕЕ 3Х ЛЕТ
УСЛОВИЯ ГАРАНТИЙНОГО ОБСЛУЖИВАНИЯ
Уважаемый покупатель!
Фирма VITEK выражает благодарность за Ваш выбор и гарантирует высокое качество и безупречное
функционирование приобретенного Вами изделия при соблюдении правил его эксплуатации.
Срок гарантии на все изделия - 12 месяцев со дня покупки. Данным гарантийным талоном VITEK
подтверждает исправность данного изделия и берет на себя обязательство по бесплатному устранению
всех неисправностей, возникших по вине производителя. Гарантийный ремонт может быть произведен в
авторизированном сервис-центре на территории России.
Условия гарантии:
1.
Настоящая гарантия имеет силу при соблюдении следующих условий:
-
правильное и четкое заполнение гарантийного талона с указанием наименования модели, ее
серийного номера, даты продажи и печати фирмы-продавца в гарантийном талоне и отрывных
купонах;
-
наличие оригинала квитанции (чека), содержащего дату покупки.
2.
VITEK оставляет за собой право на отказ в гарантийном обслуживании в случае непредоставления
вышеуказанных документов, или если информация в них будет неполной, неразборчивой.
3.
Гарантия не включает в себя периодическое обслуживание, установку.
4.
Не подлежат гарантийному ремонту изделия с дефектами, возникшими вследствие:
-
механических повреждений; неправильной установки, транспортировки;
-
несоблюдения условий эксплуатации или ошибочных действий владельца;
-
стихийных бедствий, а также других причин, находящихся вне контроля продавца и изготовителя;
-
попадания внутрь изделия посторонних предметов, жидкостей, насекомых;
-
ремонта или внесения конструктивных изменений неуполномоченными лицами;
5.
Настоящая гарантия не ущемляет законных прав потребителя, предоставленных ему действующим
законодательством.
РУССКИЙ
ENGLISH
1215.qxd 03.07.03 16:52 Page 10


