64
1.
Connect to the remote DVR and play the video recorded in the remote DVR.
2.
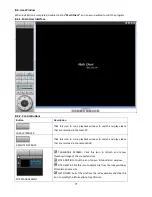
Drag the marker on the timeline scale and press the MARK IN button to mark the video backup starting point.
3.
Drag the marker on the timeline scale and press the MARK OUT button to mark the video backup ending
point. Then the selected marked time to backup will be highlighted in green. Press the BACKUP button to
bring up the BACKUP window.
4.
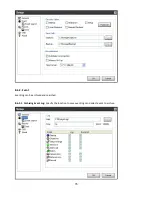
In the BACKUP window, select the channels, settings, file path, and the file format. Select the OK button to
start the backup process.
Select Channels: Select channels to backup.
Start Time / Stop Time: Backup time can be changed.
File Path: Shows the folder that the backup file is recorded.
File Format: Select backup file format. (NOTE: File format selection may not be available
depending on the firmware version, software version, and the DVR model)
7-6. PC System Configuration
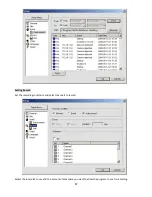
Click the SETUP button. Then the Setup dialog is displayed as below.


