Installation
18
5.
Communication Port
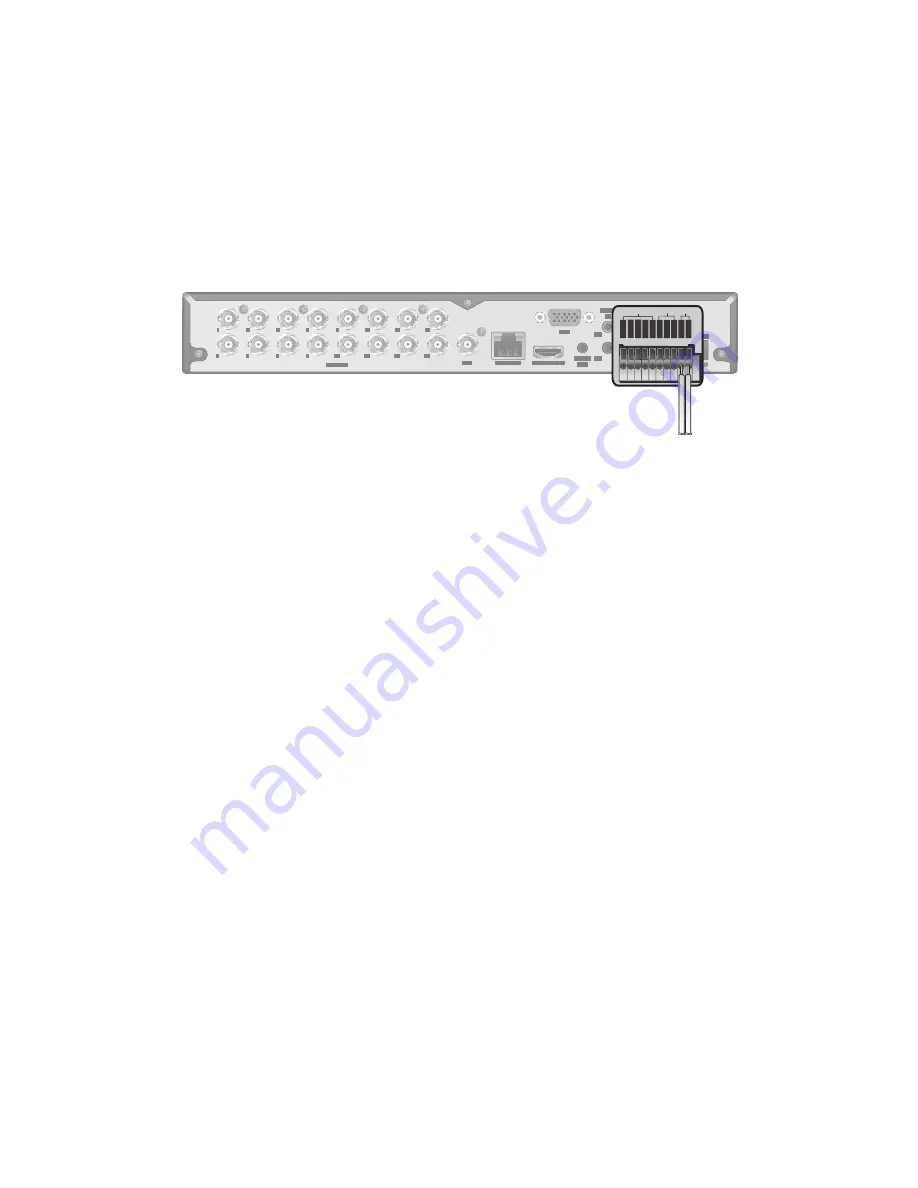
RS-485 Connection
Connect a PTZ Camera or Keyboard Controller.
you can also connect a text-in device such as POS or ATM.
After connecting the control device, be sure to match the connection settings between the DVR and the device.
To change communication settings see <Control Device>. (page 49)
1.
Connect the positive (+) transmission signal cable of the PTZ camera/keyboard controller to the RS-485 [D+]
communication port on the DVR’s rear panel.
1.
Connect the negative (-) transmission signal cable of the PTZ camera/keyboard controller to the RS-485 [D-]
communication port on the DVR’s rear panel.
For RS-485 communication configuration, refer to the user’s manual of the applicable PTZ camera or keyboard
controller.
Connection for POS and ATM (to be included in future firmware upgrade).
\
\
Audio Device Connection
Connect an audio input device such as a microphone to the rear Audio In port; connect an audio output device such as an
amplified speaker to the Audio Out port.
\
\
Storage and Mouse Connection
USB Device
you can connect and use USB storage devices for backup of recorded video, saving snapshots, firmware updating,
importing/exporting user configurations. In addition, the DVR will accept a USB mouse.
•
If you need to connect a USB HDD with a high power consumption, it is recommended to use a separate power
source for that HDD.
HD MONITOR
VGA
AUX
DC 12V
ETHERNET
VIDEO IN
IN 1 IN 2 GND IN 3 IN 4 NO COM NC D+ D-
ALARM IN
RELAY RS485
PAL
NTSC
3
1
7
5
11
9
15
13
4
2
8
6
12
10
16
14
AUDIO
IN
AUDIO
OUT
1/2
3/4
IN 1 IN 2 GND IN 3 IN 4 NO COM NC D+ D-
HD MONITOR
VGA
AUX
DC 12V
ETHERNET
VIDEO IN
IN 1 IN 2 GND IN 3 IN 4 NO COM NC D+ D-
ALARM IN
RELAY RS485
PAL
NTSC
11
9
15
13
12
10
16
14
AUDIO
IN
AUDIO
OUT
1/2
3/4


