TCP/ IPv4 Port
UPnP
NAT
DDNS E-mail
Network Status
nat.autonat.com
NAT Server
Enable
Apply
NAT
Enter Password
Enter Username
Enter device serial number
Login
9. NAT
► NAT Settings
1
The DVR shall be powered on and connected to the network.
2
Go to Start → Settings → Network → TCP/IPv4. You can obtain the
IP address, subnet mask and gateway automatically. You can also
manually enter them according to the actual network situation.
Please make sure the network segment is the same as that of the
network which is used.
3
Set the preferred or alternative DNS Server. Click “Apply” to save
the parameters.
4
Go to Start → Settings → Network → NAT tab. Enable NAT and
select the NAT Server (The default NAT Server is nat.auto-
nat.com). Click “Apply” to save the parameters.
► NAT Access
After finishing the NAT settings, you can input www.autonat.com in
the IE address bar and then press enter to go to the following inter-
face. If this is the first time accessing the NAT, you need to download
and install the ActiveX according to the popup tips. After installing
ActiveX successfully, it will pop the login box.
Device Serial Number:
Click on the menu bar at the bottom of the
live interface to check the serial number or go to Start → Settings →
Network → Network Status to check the serial number of the DVR).
Username:
The username of the DVR. (Default: admin)
Password:
The password of the DVR. (Default: 123456)
28492 CONSTELLATION ROAD VALENCIA, CA 91355
WWW.VITEKCCTV.COM
Version 2.0
March 2017
10. Manual Recording
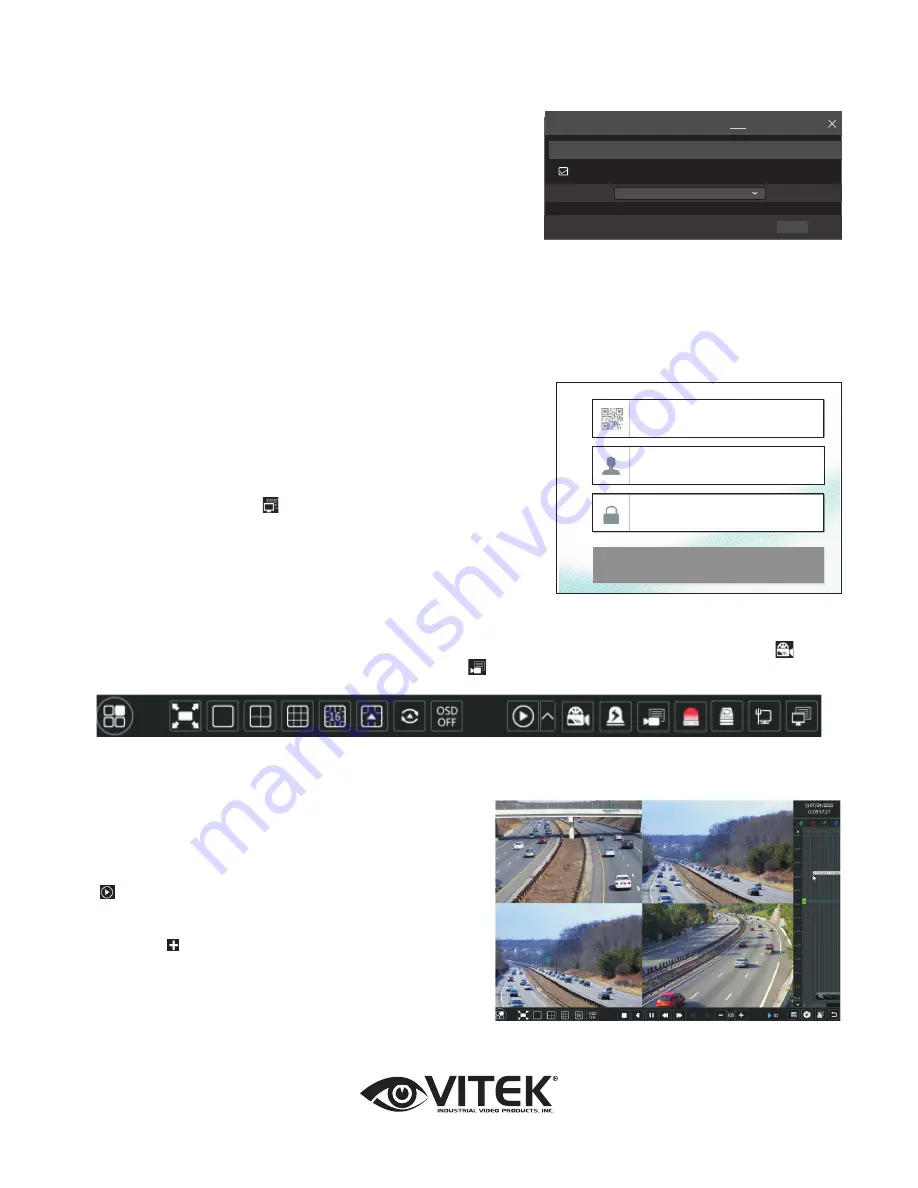
Before recording, please install and format a HDD. In the live interface you can see the menu toolbar. Click to start
recording. Click it again to stop recording. You can also click to check the status of the recording.
11. Playback
►Instant playback
Click “Instant Playback” in the right-click menu of the camera’s
preview window to select or drag the playback progress bar to
change the playback time to play back the recording.
►General playback
Click on the tool bar at the bottom of the live preview inter-
face or click Start → Playback to go to the playback interface
as shown below. You can also add the playback cameras
manually. Click in the playback window to pop up the “Add
Camera” window. Check the cameras in the window and then
click “Add” to add playback camera. The record files of the
added playback camera will be played in the playback inter-
face.


