50
Air filter
1.
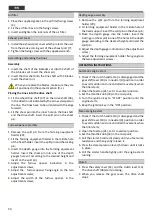
Place the supplied gasket, in the air filter fixing screws
(4);
2.
Fit the air filter base to the fixing screws;
3.
Insert and tighten the lock nuts of the air filter.
Exhaust port cover
1.
Install the exhaust port cover which protects the user
from the smoke coming out of the exhaust port (7);
2.
Tighten the fixing screw with the supplied wrench;
Assembling and placing the tines
Assembly
1.
Insert the shaft of the 8-blades set into the shaft of
the 4-blades set. Insert the shear pin;
2.
Insert the disc shaft into the tine shaft with 4 blades.
Insert the shear pin;
When you replace the blades, make sure they are
all positioned in the same direction (R, L).
Placing the tines into the drive shaft
3.
Fit the wheel/tine shaft (37) on the drive shaft (38),
in the direction of indicated by the arrow stamped on
the tine. The tines have to be oriented with the edge
forward;
4.
Fit the shear pin into the inner hole on the tine shaft
and the drive shaft, insert the split pin on the shear
pin;
Furrow opener assembly
1.
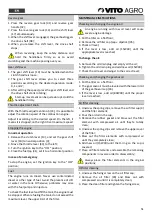
Remove the split pin from the farming equipment
holder (20);
2.
Fit the farming equipment holder in the middle hole
of the fixed holder. Insert the split pin and the locking
pin;
3.
Insert the depth gauge into the farming equipment
holder. Insert the shear pin into one of the depth
gauges holes of according to the desired height and
insert on the split pin;
4.
Adjust the furrow opener inclination in the
adjustment screws;
5.
Adjust the furrow opener fixing angle on the two
adjustment screws;
6.
Adjust the width of the furrow opener, in the
adjustment screws;
Depth gauge assembly
1.
Remove the split pin from the farming equipment
holder (20);
2.
Fit farming equipment holder in the middle hole of
the fixed support. insert the split pin on the shear pin;
3.
Place the depth gauge into the holder. Insert the
locking pin (shear pin) in one of the holes in the depth
gauge according to the desired height and insert the
split pin;
4.
Adjust the depth gauge inclination on the adjustment
screw;
5.
Adjust the farming equipment holder fixing angle on
the two adjustment screws;
OPERATING INSTRUCTIONS
Automatic engine start
1.
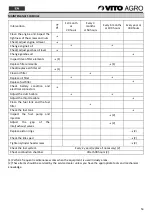
Check if the clutch handle (13) is disengaged and the
gear shift lever (10) is in neutral (0) position in order
to avoid sudden and uncontrolled movement when
the tiller starts;
2.
Open the fuel tap (41), set it to vertical position;
3.
Set the throttle knob (33) in the mid-point;
4.
Turn the ignition key to "START" position until the
engine starts;
5.
Keep the ignition key in the "ON" position;
Manual engine start
1.
Check if the clutch handle (13) is disengaged and the
gear shift lever (10) is in neutral (0) position in order
to avoid sudden and uncontrolled movement when
the tiller starts;
2.
Open the fuel tap (41), set it to vertical position;
3.
Set the throttle knob (33) in the mid-point;
4.
Pull the starter handle (3) slowly until you feel some
resistance and then gently release it;
5.
Press the decompression lever (5) down until it locks
in place;
6.
Pull the starter handle tightly until the engine starts
running;
Clutch
1.
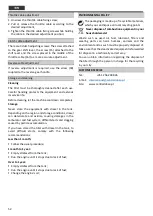
Press the safety lever (14) and the clutch lever (13).
The drive shaft (38) starts rotating;
2.
When you release the gear lever, the drive shaft
stops;


