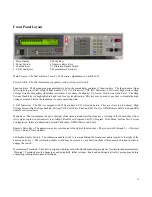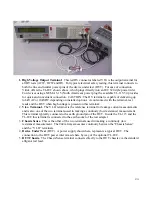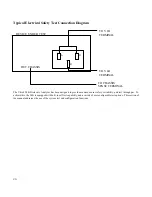
The 944i requires a two-step key press sequence prior to initiating high voltage testing. Before beginning this sequence, it is
important to ensure that the device under test is properly connected to the 944i test terminals. Please refer to the "Test
Connections" section of the operating manual before proceeding. WARNING!, failure to observe safety precautions may result in
severe injury or death to the operator.
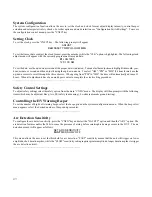
The display will prompt the user to press the HV enable key as follows:
HIGH VOLTAGE ENABLE
REQUIRED
Once the test connections have been verified, press the HV enable key. After pressing the high voltage enable key the final
prompt is:
PRESS ENTER TO
START
TEST
Upon pressing the enter key the 944i will sound a number of warning beeps while flashing the HV enable indicator. If the user
has enabled the auto-ground test feature of the 944i, the unit will automatically check the chassis of the DUT for earth ground
continuity before applying high voltage.
During the ramp-up period, the timer will count down until it arrives at the test voltage. Once the dwell time begins, the timer will
reset and count down to the end of the test.
.........................................................................................
Low Resistance (Continuity) Function
In addition to high voltage testing, the 944i has built-in low resistance measurement capability. The 944i can measure resistance
form one milliohm to 8.5 ohms. The 944i uses a 50mA test current in the low ohm mode. For regulatory compliance testing of
earth ground continuity at high current, the Vitrek 930i Ground Integrity Analyzer is recommended.
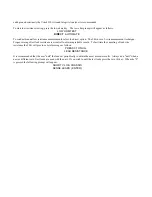
To start low resistance testing, press the low ohms key. The low ohm prompt will appear as follows (if unit is configured for
930i):
LOW OHM TEST
DIRECT
AUTO 930i
To conduct an automatic low resistance test, press the right cursor key and enter. The 944i uses a 2-wire measurement technique
(4-wire option is available). Proper zeroing of test lead resistance is essential to obtaining reliable results. The automatic low
ohms test mode does not prompt for test lead calibration. It is recommended that the user "null" the lead set periodically to obtain
the most accurate results. Always do a "null" when a new or different set of test leads are used with the unit. To do a lead
resistance null, access the low ohms direct mode. The next prompt in the auto low ohms set-up is:
ENTER MAX RESISTANCE
2.000
OHMS

