95x Series Operating Manual - May 17, 2022
Page
34
of
155
•
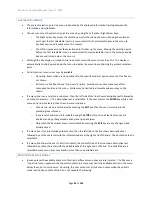
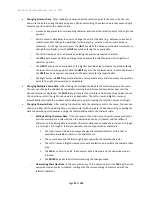
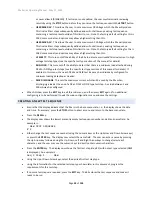
If further steps are required, then press the Up-arrow key once when the previously entered step # is
selected, the next step # will be displayed with a NEW test type. Repeat as required for each test step.
Note - if the user accidently creates a NEW step after the end of the test sequence, press the
DEL
key to
delete it while it is being displayed.
EDITING AN EXISTING TEST SEQUENCE
Note
–
editing a test sequence, even if no changes are made to the test sequence, will cause any Lead
Compensation data for that sequence to be cleared. A “c” character is displayed after the
test sequence# if the
test sequence contains previously obtained Lead Compensation data.
•
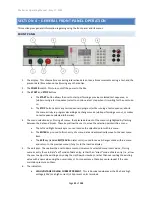
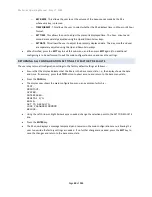
Ensure that the display indicates that the 95x is in the base menu state, i.e., the display shows the date
and time. If necessary, press the
STOP
button to abort a menu and return to the base menu state. A test
sequence may also be edited while the user is reviewing the results of a previously run test sequence.
•
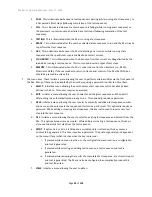
Press the
EDIT
key.
•
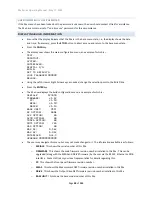
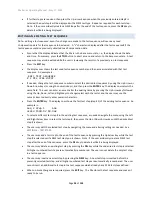
The display now shows the last used test sequence number and the name associated with that test
sequence. An example is -
EDIT TEST SEQUENCE
# 2 95x LINE HYPOT
•
If needed, change the test sequence number to select the desired test sequence by using the Up Arrow or
Down Arrow keys (or using the numeric keys), and then press the
ENTER
key. The display now selects the
name field. The user can enter a name or alter the existing name by pressing the Up Arrow key followed
using the Up, Down, Left and Right keys to change/select each character, and the user may use the
numeric keys to directly enter numeric characters.
•
Press the
ENTER
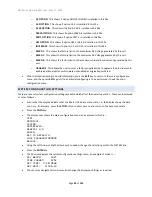
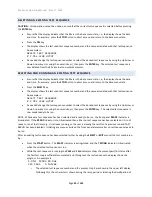
key. The display now shows the first test step (step #1) of the existing test sequence. An
example is -
Seq 2 Step 1 ACW
LEVEL:1500.0V 60.0Hz
•
To select a different test step # in the existing test sequence, as needed navigate the menu using the Left
and Right Arrow keys to select the test step #, then press the Up or Down Arrow key until the desired test
step # is shown.
•
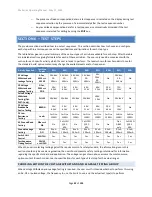
The user may edit the selected test step by navigating the menu and altering settings as needed. See
•
The user may add a test step to the end of the test sequence by pressing the Up Arrow key while the test
step # is selected until a NEW test step type is shown. Note - if the user accidently creates a NEW test
step after the end of the sequence, press the
DEL
key to delete it while it is being displayed.
•
The user may delete an existing test step by pressing the
DEL
key while the undesired test step is selected.
All higher numbered test steps are automatically renumbered. The user cannot delete the only test step
in a test sequence.
•
The user may insert a new test step by pressing the
NEW
key. A new test step is inserted before the
presently selected test step, and all higher numbered test steps are automatically renumbered. The user
cannot insert an additional test step into a test sequence which already has all 254 test steps defined.
•
When no more changes are required, press the
EXIT
key. The 95x stores the test sequence and makes it
ready to be run.

