95x Series Operating Manual - May 17, 2022
Page
101
of
155
•
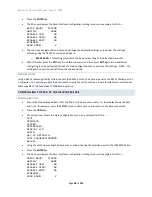
When finished, press the
EXIT
key to exit this sub-menu, and then press
EXIT
again (if no additional
configuring is to be performed) to exit the main configuration menu and save the settings. NOTE
–
the
settings are not active until all menus have been exited.
•
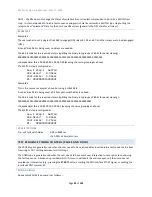
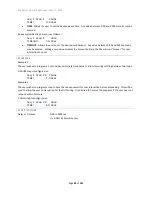
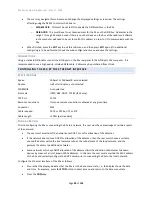
If using DHCP the user should re-enter the ETHERNET configuration sub-menu and note the IP address
allocated to the 95x. This will be needed to configure the TCP/IP client software used to communicate
with the 95x.
CONNECTIONS
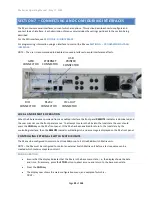
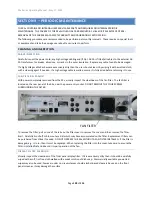
The 95x connects to the local network using a standard CAT5 or CAT5e Ethernet cable and RJ45 connector.
When initially connected to the network the 95x display shows a message for 2 seconds detailing the actual speed
and duplex used for the connection.
PRINTING FROM THE 95X USING THE USB INTERFACE
SPECIFICATIONS
Printer Class
Printer must be a “Printer” USB Class device
Printer Language
PJL/PCL (HP)
USB Speed
Full Speed
Hub
Not supported
Many printers meet the requirements above; Vitrek has tested the 95x with the HP OfficeJet Pro 8000 Series and
the HP LaserJet 2420. The 95x is generally not compatible with multi-purpose printers (e.g.,
“All
-in-
One” types).
CONNECTING
The printer should be connected to the 95x USB Host port using a standard USB cable of any suitable length. The
printer must be directly connected to the 95x, a hub must not be used.
When the printer is initially plugged in to the 95x, or when the printer is initially powered (for some printers) the
95x displays an informative message for 2 seconds detailing the status of the printer connection.
The user may also view the status of the connection to the printer at any time by using the following procedure
–
•
Ensure that the display indicates that the 95x is in the base menu state, i.e., the display shows the date
and time. If necessary, press the
STOP
button to abort a menu and return to the base menu state.
•
Press the
CNFG
key.
•
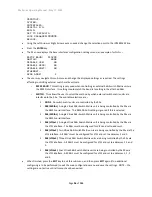
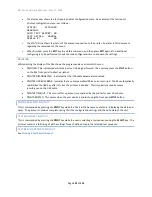
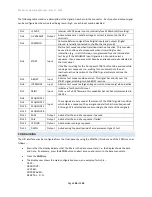
The display now shows the main configuration menu, an example of which is
–
TEST…
PRINTOUT…
SYSTEM…
INTERFACES…
DIGITAL I/O…
BUILD…
SET TO DEFAULTS…
LOCK PASSWORD:000000
RELOCK…
•
Using the Left Arrow or Right Arrow keys as needed, change the selection point to the PRINTOUT line.
•
Press the
ENTER
key.

