95x Series Operating Manual - May 17, 2022
Page
35
of
155
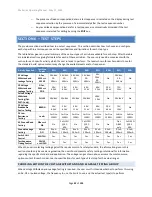
DELETING AN EXISTING TEST SEQUENCE
CAUTION
–
this operation cannot be undone, ensure that the correct test sequence # is selected before pressing
the
ENTER
key.
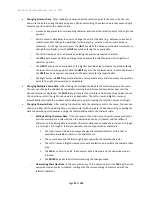
•
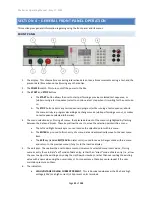
Ensure that the display indicates that the 95x is in the base menu state, i.e., the display shows the date
and time. If necessary, press the
STOP
button to abort a menu and return to the base menu state.
•
Press the
DEL
key.
•
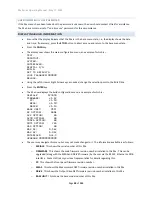
The display shows the last used test sequence number and the name associated with that test sequence.
An example is -
DELETE TEST SEQUENCE
# 2 95x LINE HYPOT
•
As needed change the test sequence number to select the desired test sequence by using the Up Arrow or
Down Arrow keys (or using the numeric keys), then press the
ENTER
key. The selected test sequence is
now deleted from the 95x internal non-volatile memory.
SELECTING AND RUNNING AN EXISTING TEST SEQUENCE
•
Ensure that the display indicates that the 95x is in the base menu state, i.e., the display shows the date
and time. If necessary, press the
STOP
button to abort a menu and return to the base menu state.
•
Press the
SELECT
key.
•
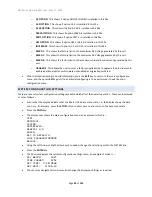
The display shows the last used test sequence number and the name associated with that test sequence.
An example is -
SELECT TEST SEQUENCE
# 2 95x LINE HYPOT
•
As needed change the test sequence number to select the desired test sequence by using the Up Arrow or
Down Arrow keys (or using the numeric keys), then press the
ENTER
key. The selected test sequence is
now made ready to be run.
NOTE - Whenever a test sequence has been selected and is ready to be run, the front panel
READY
indicator is
illuminated. If the
READY
indicator is not illuminated then either no test sequence has been selected or it is not
ready to run at that time (e.g., it is already running, or the user is viewing the results of a previous run and FAST
RERUN has been disabled). Initiating any menu activity on the front panel always makes no test sequence ready to
be run.
After an existing test sequence has been selected (either by using the
SELECT
or
EDIT
menus) the test may be run
by
–
•
Press the
START
button. The
READY
indicator is extinguished, and the
TESTING
indicator is illuminated
while the selected test sequence is run.
•
While the test sequence is running the
PASS
and
FAIL
indicators show the present pass/fail status after
the first test step is sufficiently completed, and throughout the test sequence the display shows the
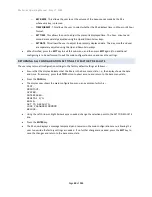
progress. An example is -
1.01d 1500V 60.0Hz
22s PASS 5.5nArms
o
The selected test sequence number and the present step # are shown in the upper left display.
Following this, the
r
character is shown during the ramp period or
d
during the dwell period of

