Front Panel Operation
33
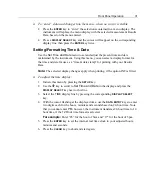
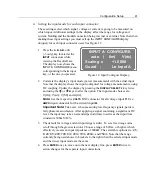
Store & Recall Memory Menus
The lowermost two lines of the
STORE MEMORY
menu and the
RECALL MEMORY
menu show the presently defined storage areas. The storage area number that has an
*
(asterisk) character adjacent to it, is the area that was last accessed. You can use
é
or
ê
keys to scroll the storage lines up and down. (Shown with an asterisk)
Power Up Conditions—
When power is applied, the instrument automatically recalls and uses the contents of
the storage area you last accessed, before removal of power.
Storage Areas—
Each “stored” configuration is internally kept in an area of memory, identified by a
set of numbers and a character string, which you have defined. The numeric portion
can be up to 5 digits and the alpha characters up to 12. These storage areas are non-
volatile, that is they are maintained even when the instrument is not powered up for
10 years.
Ø
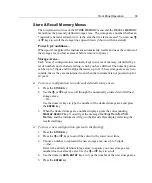
To store a configuration in an already defined storage area:
1. Press the
STORE
key.
2. Use the
é
or
ê
keys to scroll through the numerically ordered list of defined
storage areas,
—Or—
Use the numeric keys to type the number of the desired storage area and press
the
ENTER
key.
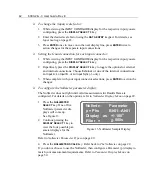
3. When the desired storage area number displays, press the corresponding
DISPLAY SELECT
key. You will get the message:
Settings Recalled from
Memory
and the instrument will go to the Results Data display reflecting the
recalled settings.
Ø
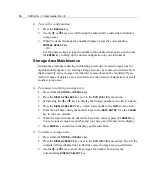
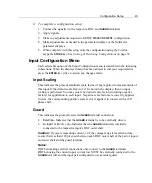
To store a new configuration (presently displaying):
1. Press the
STORE
key.
2. Press the
é
or
ê
keys to scroll the cursor to the lower most lines.
3. Choose a number to represent the new storage area, use up to 5 digits,
—And—
Review the already defined storage areas, to ensure your new storage area
number does not already exist. Use the
é
or
ê
keys to scroll.
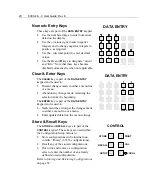
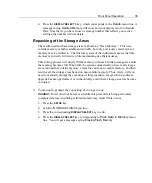
4. Use the numeric
DATA ENTRY
keys, to type the number of the new storage area.
5. Press the
ENTER
key.
Summary of Contents for Xitron 6000-2
Page 1: ...USER S GUIDE 6000 2 6000 3 Phase Angle Voltmeters...
Page 2: ......
Page 36: ...36 6000 2 3 User Guide Rev E...
Page 86: ...86 6000 2 3 User Guide Rev E...
Page 94: ...94 6000 2 3 User Guide Rev E...
Page 101: ...Appendix B 101...

