background image

11

Trouble-shooting

If your device should not function properly, please proceed as follows:
1.  Using the following table of malfunctions, try to find and correct the fault.
2.  Read the corresponding section in these instructions carefully.
3.  Look on the Internet at www.vivanco.com to see whether the fault and its correction 

are described.

4.  Ask your dealer.
5.  Call the telephone hotline 01805 / 40 49 10 (

0.14/min.) for Germany. You will find 

contacts for Europe at 

www.vivanco.com

Licence

This Vivanco RF product conforms with the European R&TTE directive for RF systems in 
harmonised frequency ranges. These systems may be sold and operated in the EU and in 
EFTA countries.
Operation is not permitted in all countries not named. 
The declaration of conformity is included at the end of this manual.

Warranty

The warranty period is 12 months from the date of purchase. Please contact your 
specialist dealer or

Vivanco Service
Ewige Weide 17,
D-22926 Ahrensburg/Germany

A copy of the purchase receipt must be included.

GB

10

Remote control

With the remote control you can control the volume of both RF speakers at the same time. 
Automatic channel selection is activated by the "AUTO TUNE" button. 
With the "MUTE" button you switch both RF speakers simultaneously to Mute mode. 
The remote control is based on infrared transmission, i.e. light. The RF speakers must 
therefore be within sight in order to be operated using the remote control. 

Mute mode

In the Mute mode the RF speakers are switched to zero volume without switching them 
off completely.
When you switch the RF speakers to Mute mode using the remote control, the power-on 
lamp glows yellow. To save the batteries, the RF speakers switch off automatically after 
approx. 5 minutes in this mode.

Wall mounting

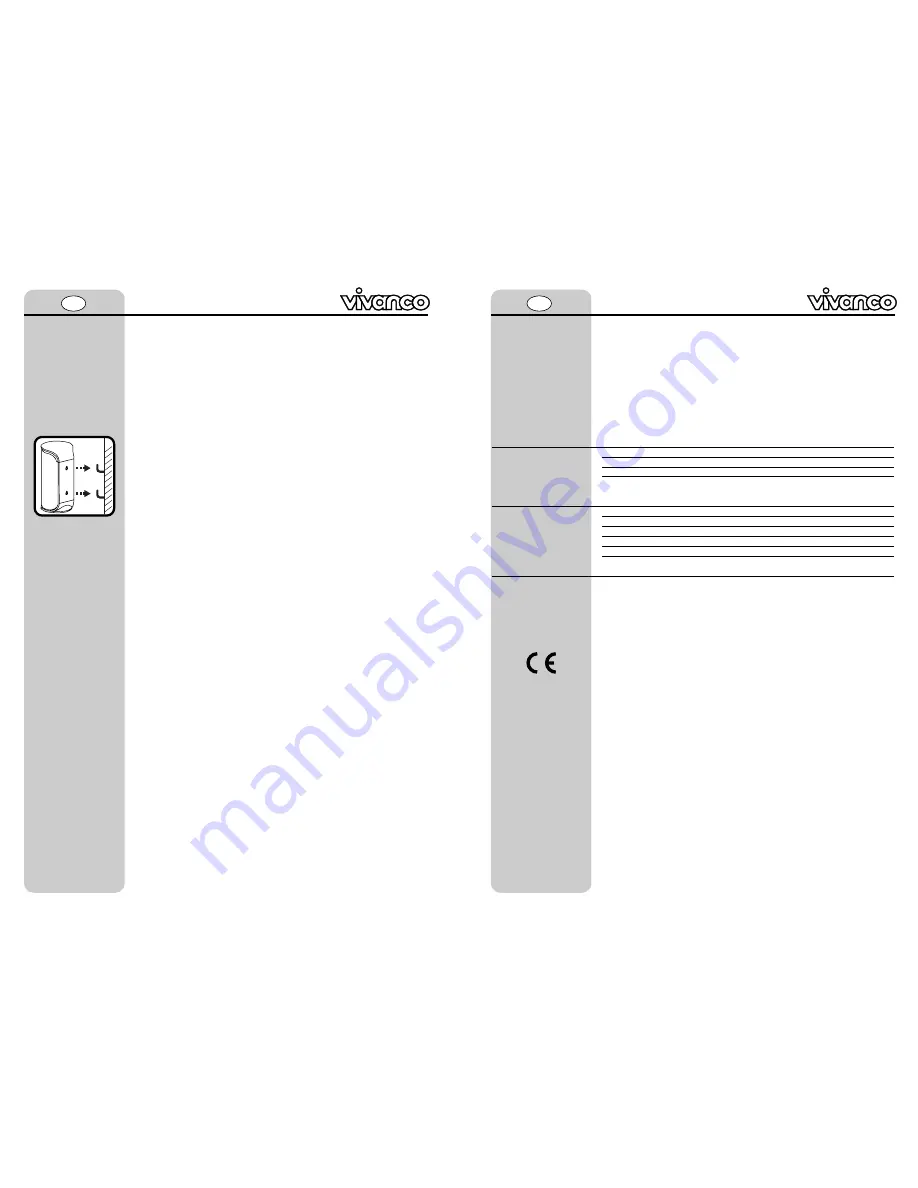
The RF speakers can also be mounted on a wall. Please note the distance between the 
holes on the rear of the speakers.

Using batteries or battery packs

RF speakers 

(batteries and battery packs are not included)

1.  Open the battery compartment by loosening the battery compartment lid.
2.  Place the batteries or battery packs (type C) in the battery compartment, observing 

the correct polarity. 

3.  Slide the battery compartment lid back on to the battery compartment.

Remote control

1.  Open the battery compartment by loosening the battery compartment lid.
2.  Place the batteries (type AAA) in the battery compartment, observing the correct 

polarity. 

3.  Slide the battery compartment lid back on to the battery compartment.

Disposing of the batteries and battery packs

Consider the environment when disposing of the batteries or battery packs, which must 
not be thrown away with domestic rubbish. Do not use old and new batteries or different 
battery types simultaneously. Remove batteries from the device if it is not to be used for a
long time.

Specifications

No. of channels:

8

Frequency range:

2.4009 – 2.4731 GHz

Power supply:

Transmitter:

AC adapter 9 Volt/ 150mA

Receiver:

AC adapter 9 Volt/ 1A
or 6x type C batteries 

Transmitting power:

max. 10 mW

Operating temperature:

5 - 40° C

Outdoor operation in accordance with protection class IP X3.

Subject to alteration.

GB

Problem

No transmission / no sound

Interference can be heard during
transmission

Possible cause

Devices are outside range
Batteries are empty
Connection cut off
Incoming signal too quiet

Interference on channel 

Batteries are almost empty
Devices are on outer margin of
range
Position of transmitter

Solution

Reduce distance between devices.
If batteries are used, replace them.
Check that all the cable connections are correctly made.
Increase the volume of the incoming signal (music, etc.). The
automatic cut-out switches off transmission when the signal is
too weak or missing.
Change the channel using the Auto-Tuning function.

The batteries must be replaced.
Transmitter and RF speakers are too far apart. Place the RF
speakers nearer to the transmitter.
In some cases it may be necessary to reposition the transmitter
horizontally or vertically.

Summary of Contents for CHS 5500

Page 1: ...jet 28 Instrukcja obsługi 32 D GB F E I NL SF PL Bedienungsanleitung Instruction manual Mode d emploi Instrucciones de uso Istruzioni per l uso Gebruiksaanwijzing N käyttöohjet Instrukcja obsługi Vivanco GmbH Ewige Weide 15 D 22926 Ahrensburg Germany Fax 49 0 41 02 231 160 www vivanco com FD0909 D GB F E I NL SF PL CHS 5500 CHS 5500 CHS 5500 ...

Page 2: ...roduktes Dieses drahtlose Funklautsprechersystem arbeitet mit modernster digitaler Übertragungstechnologie Genießen Sie Ihr Lieblingsmusik oder Lieblingsfilme ohne aufwendige Kabelverbindungen im Haus oder Garten in reinster und rauschfreier Stereoqualität A Sender 1 An Ausschalter 2 Kanalwahltaste 3 Audio Eingang 4 Netzteilanschluss 5 Netzteil 6 Audio Klinkenkabel 7 Cinch Adapter 8 Stereoklinkena...

Page 3: ...0 Betrieb im Freien nach Schutzart IP X3 Technische Änderungen vorbehalten 䊳 D Fehlerbehebung Sollte die Geräte nicht korrekt funktionieren gehen Sie bitte in folgender Reihenfolge vor 1 Versuchen Sie mit Hilfe der folgenden Störungstabelle den Fehler zu finden und zu beseitigen 2 Lesen Sie den entsprechenden Abschnitt in dieser Anleitung sorgfältig durch 3 Schauen Sie im Internet unter www vivanc...

Page 4: ...ith metal objects 䊳 Do not cover the devices e g with a towel sheet etc 䊳 Clean the devices using a moist cloth and never with aggressive cleaning agents 䊳 Constant use at high volumes impairs your hearing and may cause permanent damage GB 9 Preparing your RF speaker 1 Place the transmitter near to your hi fi system your TV or another audio source 2 Connect the small AC adapter marked FOR TRANSMIT...

Page 5: ...Using batteries or battery packs RF speakers batteries and battery packs are not included 1 Open the battery compartment by loosening the battery compartment lid 2 Place the batteries or battery packs type C in the battery compartment observing the correct polarity 3 Slide the battery compartment lid back on to the battery compartment Remote control 1 Open the battery compartment by loosening the ...

Page 6: ...ède la technologie de transmission numérique la plus moderne Savourez dans la maison ou au jardin votre musique ou vos films préférés sans enchevêtrement de câbles en qualité stéréo et sans bruit de fond A Emetteur 1 Commutateur marche arrêt 2 Sélecteur de canal 3 Entrée audio 4 Prise pour adaptateur secteur 5 Adaptateur secteur 6 Câble jack audio 7 Adaptateur cinch 8 Adaptateur jack stéréo 3 5mm ...

Page 7: ...partiment des piles les piles ou les accus piles rondes type C en prêtant attention à la polarité 3 Remettez le couvercle du compartiment des piles à sa place Télécommande 1 Ouvrez le compartiment des piles en dévissant le couvercle du compartiment 2 Placez dans le compartiment des piles les piles R03 type AAA en prêtant attention à la polarité 3 Remettez le couvercle du compartiment des piles à s...

Page 8: ...Vivanco Este sistema de altavoces inalámbrico funciona con la más moderna tecnología de transmisión digital Disfrute de su música favorita o de sus películas preferidas sin la necesidad de conexiones por cable en su casa o jardín con una auténtica calidad de estéreo y sin ruidos A Emisor 1 Conexión desconexión 2 Botón seleccionador del canal 3 Entrada de audio 4 Conexión a fuente de alimentación 5...

Page 9: ...alámbricos Uso de pilas o baterías Altavoces inalámbricos las pilas y las baterías no se encuentran en el envío 1 Abra el compartimiento de la pila a la vez que retira la tapa del compartimiento de la pila 2 Introduzca las pilas o baterías pilas tipo AA prestando atención a la correcta polarización en el compartimiento de la pila 3 Desplace de nuevo la tapa del compartimiento de la pila sobre el c...

Page 10: ...lanti senza fili possiede la più recente tecnologia di trasmissione digitale Godetevi a casa o in giardino la vostra musica o i vostri film preferiti senza complicati collegamenti e in qualità stereo senza disturbi di fondo A Trasmettitore 1 Interruttore On Off 2 Selettore di canale 3 Ingresso audio 4 Connettore per alimentatore 5 Alimentatore 6 Cavo jack audio 7 Adattatore RCA 8 Adattatore jack s...

Page 11: ... distanza dei fori sul dorso degli altoparlanti Utilizzo di pile o accumulatori Altoparlanti senza fili pile e accumulatori non compresi nella confezione 1 Aprire il vano batterie svitando il coperchio del vano 2 Inserire nel vano le pile o gli accumulatori pile mezza torcia tipo C rispettando la polarità 3 Collocare nuovamente il coperchio del vano batterie sul vano batterie Telecomando 1 Aprire ...

Page 12: ...Vivanco product Dit draadloos luidsprekersysteem maakt gebruik van de modernste digitale transmissietechnologie Geniet in huis of tuin zonder omslachtige kabelverbindingen van uw lievelingsmuziek of films in de zuiverste en ruisvrije stereokwaliteit A Zender 1 Aan uit schakelaar 2 Kanaalselectietoets 3 Audio ingang 4 Netadapteraansluiting 5 Netadapter 6 Audio jackkabel 7 Cinchadapter 8 Stereo jack...

Page 13: ...aan de achterzijde van de luidsprekers Gebruik van batterijen of accu s Draadloze luidsprekers batterijen en accu s worden niet bijgeleverd 1 Open het batterijvak door het deksel los te maken 2 Leg de batterijen of accu s babycellen type C in het batterijvak let daarbij op de correcte polariteit 3 Schuif het deksel weer op het batterijvak Afstandsbediening 1 Open het batterijvak door het deksel lo...

Page 14: ...jestelmä toimii uusimmalla digitaalisella tiedonsiirtoteknologialla Nauti mielimusiikistasi tai mielifilmeistäsi ilman talossa tai puutarhassa olevia kalliita kaapeliyhteyksiä puhtaimmalla ja kohinattomalla stereolaadulla A Lähetin 1 Päälle poiskytkin 2 Kanavan valintapainike 3 Audio tulo 4 Verkko osan liitäntä 5 Verkko osa 6 Audio jakkikaapeli 7 Cinch adapteri 8 Stereojakkiadapteri 3 5mm 6 35mm l...

Page 15: ...paristot Mikro Tyyppi AAA paristolokeroon huomioimalla oikea napaisuus 3 Työnnä paristolokeron kansi takaisin paristolokeron päälle Paristojen ja akkujen jätehuolto Huolehdi paristoista ja akuista ympäristöystävällisellä tavalla Paristot ja akut eivät kuulu kotitalousjätteisiin Älä käytä samanaikaisesti vanhoja sekä uusia paristoja tai erilaisia paristotyyppejä Poista paristot laitteesta jos et kä...

Page 16: ... ulubioną muzyką albo słuchać ścieżki dźwiękowej z ulubionych filmów w najczystszej jakości stereofonicznej bez szumów a także bez kosztownych i kłopotliwych połączeń kablowych w domu lub w ogrodzie A Nadajnik 1 Włącznik wyłącznik 2 Przełącznik kanałów 3 Wejście audio 4 Przyłącze zasilacza 5 Zasilacz 6 Przewód z wtykiem audio 7 Przejściówka Cinch 8 Przejściówka stereo 3 5mm na 6 35mm B Głośniki 1 ...

Page 17: ...łu głośników Stosowanie baterii lub akumulatorków Głośniki baterie i akumulatorki nie znajdują się na wyposażeniu 1 Otworzyć schowek na baterie odsuwając jego pokrywę 2 Włożyć baterie lub akumulatorki do schowka R14 typ C zwracając uwagę na prawidłową biegunowość 3 Zamknąć pokrywę schowka baterii nasuwając ją na schowek Pilot 1 Otworzyć schowek na baterie odsuwając jego pokrywę 2 Włożyć baterie pa...

Page 18: ...CHS 5500 CHS 5500 36 37 ...

Reviews: