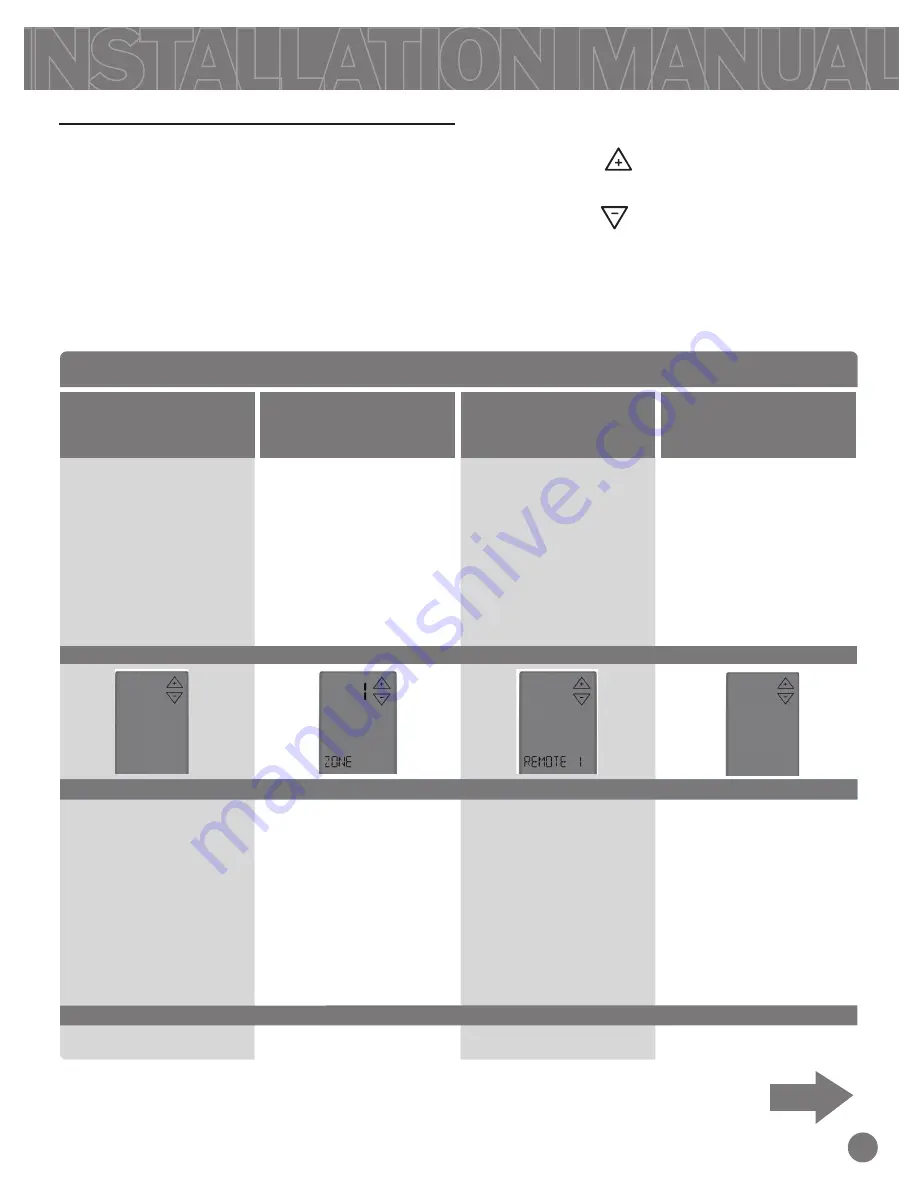
TECHNICIAN SETUP MENU
7
Technician Setup Menu
This zone thermostat has a technician setup
menu for easy installer configuration. To set up
the remote for your particular application:
Use the key to move to the next
tech setup step.
Use the key to make adjustments
to the settings.
Note:
Press and release the light
button when you want to exit the tech
setup screens.
Press and hold the
LIGHT
button for 3
seconds. This 3 second delay is designed
so that homeowners do not accidentally
access the installer settings.
Configure the installer options as desired
using the table below.
3.
1.
2.
TECH SETUP
STEPS CONTINUED
ON THE NEXT PAGE
Tech Setup Steps
Show Set
Remote Name
Zone Selection
ZONE 1
REMOTE 1
Y
System Select
This step configures this device to
connect to a wireless THERMOSTAT or a
wireless ZONING system master
thermostat.
THERMOSTAT
Configures it to link to a wireless
thermostat.
ZONING
Configures it to link to a wireless
zoning system (master thermostat).
THERMOSTAT
LCD Will Show
Adjustment Options
Factory Default Settings
This step links the device to the Master
Thermostat, for the Zone # you wish
to control.
Select the same zone # on this
ZONE
THERMOSTAT
that you select on the
Master thermostat
(see page 6).
While they are both showing the same
zone #, press and hold the light button
on the ZONE thermostat to link.
THERMOSTAT
Zone 1, 2, 3, 4
ZONING
Zone 2, 3, 4, 5
The Master Thermostat is always
ZONE 1.
This step selects a name for the zone
thermostat. This name will also appear
on the Master Thermostat when it is
displaying the zone’s status.
Remote 1, Remote 2, Remote 3,
Remote 4, Bedroom 1, Bedroom 2,
Bedroom 3, Bedroom 4, Kitchen, Living
Room, Hall Family Room, Dining
Room, Office, Study, Den, Loft,
Upstairs.
ZONING
Enabling this feature will allow the zone
remote to control the SYSTEM mode,
FAN mode, and setpoint temperature of
the zone.
Disabeling it will turn all control of that
zone over to the master thermostat.
N Disables
In this mode the Remote is used as a
sensor only and can not adjust the
setpoint or system modes. The zone is
controlled by the Master Thermostat.
Y Enables the temperature adjustment,
system and fan mode keys, for full
control of the zone from this
Thermstat
SHOW Set
Y
Change setting to zoning for this
application.

