25
4.
Press the
SET
button to confirm and select the highlighted menu option.
5.
A
selected option icon will appear on the selected item.
6.
To continue within the menus:
Press the
LEFT
or
RIGHT
button to select the next menu item.
7.
To exit the menu view:
Press the
MODE
button to exit the menu and return to your previous mode.
Note
: This setting is saved by your camcorder until you manually change the setting or restore the
camcorder’s default factory settings.
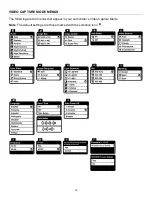
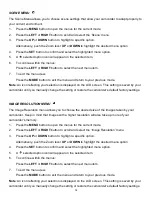
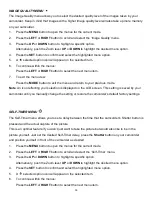
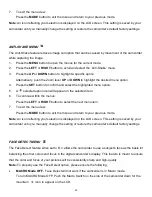
DATE/TIME MENU
When you capture an image with your camcorder, the image will include a time stamp with the date
and time that the image was taken.
The Date/Time menu allows you to set your
camcorder’s date and time as desired. You can also
disable the timestamp for future images that will be taken with your camcorder.
On
– The timestamp will appear on photos taken.
Off
– The date stamp will not appear on photos taken.
To Enable/Disable the Timestamp:
1.
Press the
MENU
button to open the menus for the current mode.
2.
Press the
LEFT
or
RIGHT
button to scroll and select the
‘Date/Time’ menu.
3.
Press the
UP
or
DOWN
button, or push the Zoom lever
UP
or
DOWN
, to highlight the desired
menu selection.
4.
Press the
SET
button to confirm and select the highlighted menu option.
5.
A
selected option icon will appear on the selected item.
6.
To continue within the menus:
Press the
LEFT
or
RIGHT
button to select the next menu item.
7.
To exit the menu view:
Press the
MODE
button to exit the menu and return to your previous mode.
Note
: This setting is saved by your camcorder until you manually change the setting or restore the
camcorder’s default factory settings.

