ViVOpay Kiosk II User Guide
631-0071-00
ViVOtech Proprietary
Page
19 of 19
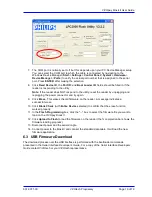
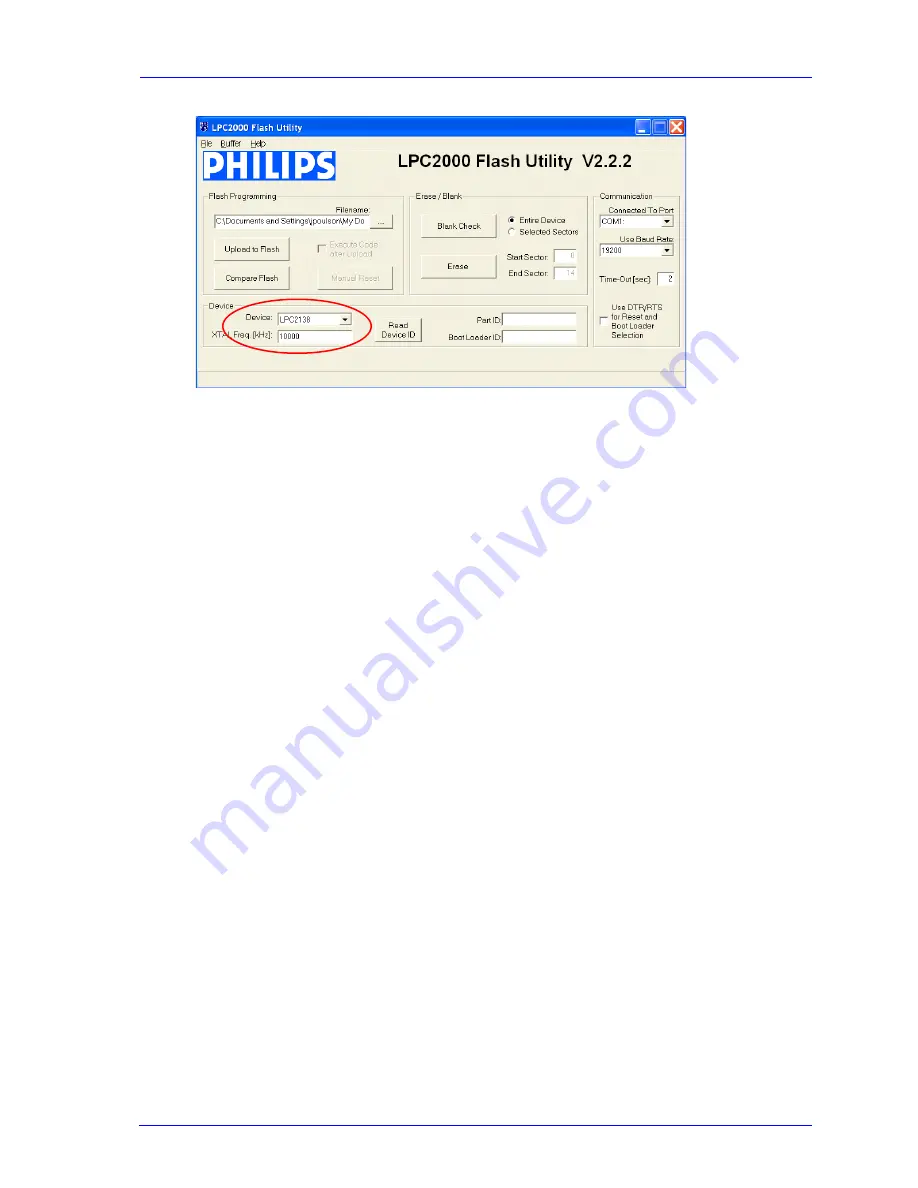
7. The COM port is normally set to
1
but this depends upon your PC Device Manager setup.
You can select the COM port to which the cable is connected by navigating to the
Windows Device Manager (
Start
->
Settings
->
Control Panel
->
System
->
Hardware
->
Device Manager
->
Ports
) to verify the actual port number that is assigned to the serial
port. Press
ENTER
after making the selection.
8. Click
Read Device ID
, the
Part ID:
and
Boot Loader ID:
fields should be filled in if the
reader is responding to the utility.
Note:
If the reader does NOT respond to the utility, reset the reader by unplugging and
replugging the power connector and try again.
9. Click
Erase
. This erases the old firmware on the reader. A message indicates a
successful erase.
10. Click
Blank Check
(with
Entire Device
selected) to confirm that the erase function
worked properly.
11. In the
Flash Programming
box, click the "
...
" box to select the firmware file you want to
load on the ViVOpay Kiosk II.
12. Click
Upload to Flash
to load the firmware on the reader (the % completion bar shows the
firmware loading progress).
13. Disconnect power and the serial dongle.
14. Connect power to the Kiosk II and connect the standard data cable. It will load the new
firmware application.
6.3 USB Firmware Download
The download process over the USB interface is performed with the bootloader commands
presented in the
Serial Interface Developer
’s Guide
. For a copy of the
Serial Interface Developers
Guide
contact ViVOtech or your ViVOtech representative.

