Caution
Instruction Manual for 7x50 Finder Scope with Illuminated Reticle
Safety Precautions
Preface
Thank you for your purchase of a Vixen 7X50 finder scope with illuminated reticle. Use this manual in
conjunction with your telescope manual and the manuals relevant to this telescope accessory.
Checking Contents
This product contains the parts listed below. Check if all the items are included.
1. 7X50 Finder scope with illuminated reticle
2. CR2032 battery (pre-installed for checking purpose)
3. Instructions (this manual)
Be sure to read the manual carefully before using the product.
- Keep this manual nearby to find quick answers to questions.
- The safety precautions below are intended to prevent injuries to yourself and other persons,
or damage to the equipment.
WARNING!
Never look directly at the sun with your naked eyes
or through your telescope and finder scope.
Permanent and irreversible eye damage may result.
Specifications
Replacing the Battery
Do not leave the optical tube uncapped in the daytime. Sunlight passing through the telescope or finder
scope may cause fire.
Do not use the product while travelling or walking as injuries may arise from stumbling, falling or collision
with objects.
Keep small caps, desiccants or plastic packing materials away from children. These may cause choking
or suffocation.
Do not use the product in a wet environment.
Dial
Battery
Cover
Cover
Battery
Eyepiece
Allen wrench
Setscrew
Allen wrench
Setscrew
Adjustment screw
Adjustment screw
Dial
+
Model
Objective lens
Magnification
Field of view
Reticle
Illumination
Battery
Battery duration
Dimensions
Weight
70X50 finder scope with illuminated reticle
50mm
7X
7 degrees
Crosshairs reticle
Red LED
CR2032 battery
About 48 hours (Continuous bright illumination at 20 degrees C.)
58mm (2.28”) in diameter and 216mm (8.5”) in length
365 g (12.87 oz), without battery
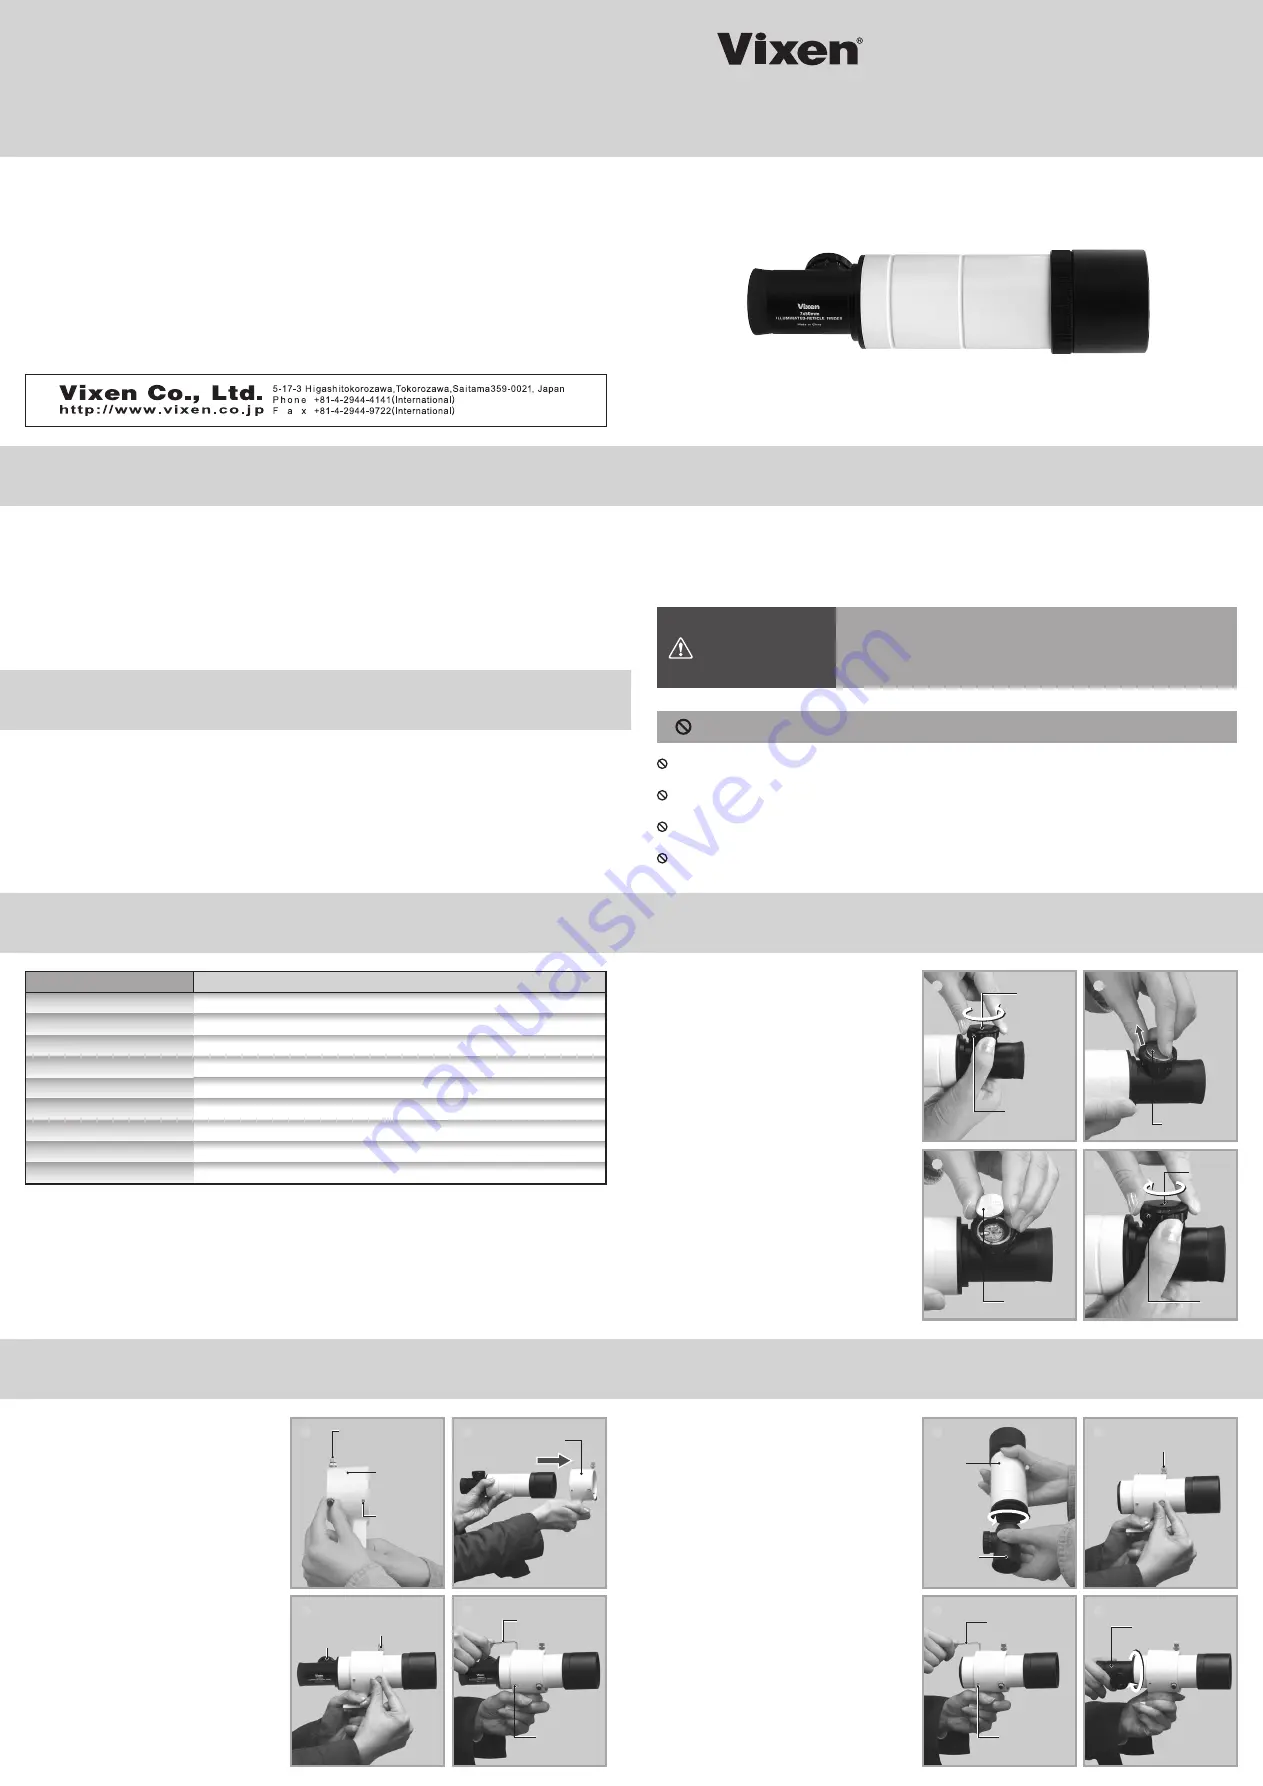
①
②
③
④
⑤
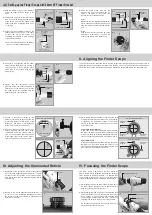
Loosen the three adjustment screws on the
finder bracket ring as shown in the figure so
that the tip of the screws are completely
moved back to allow passage of the finder
scope tube. Also, loosen the three setscrews
with the supplied 2mm Allen wrench.
After determining the correct direction of
the finder bracket, pass the finder scope
tube through the bracket ring as shown in
the figure.
Tighten the three adjustment screws
equally to secure the finder scope in
place. Make sure that the brightness
adjustment dial is conveniently positioned.
Tighten the three setscrews on the bracket
ring with the 2mm Allen wrench equally.
Mount the finder scope unit equipped with
the finder bracket on your telescope.
Note: A former short-legged 50mm finder
bracket with smaller inside diameter does not
allow the 7x50 finder scope to pass through. If
this is the case, follow the instructions below.
⑥
⑦
⑧
⑨
⑩
⑪
Loosen the adjustment screws and
setscrews on the finder bracket ring in the
same way as shown in 1).
Remove part of the eyepiece assembly
unit from the finder scope tube by turning
it counterclockwise as shown in the figure 7.
Slide the finder scope tube into the
bracket ring as shown in the figure.
Tighten the three adjustment screws
equally to secure the finder scope.
Tighten the three setscrews on the
bracket ring with the 2mm Allen wrench
equally and securely.
Replace the eyepiece assembly. Attach it to
the finder scope tube tightly by turning it
clockwise.
Mount the finder scope unit equipped with
the finder bracket on your telescope.
①
②
③
Make sure that the power of the
illuminated reticle on the finder scope is
turned off. While holding the knurl of the
brightness adjustment dial with your
fingers, remove the top cover of the dial
by turning it counterclockwise.
Pressing the edge of the battery will push
out the battery from the battery
compartment. Remove the battery and
replace it with a fresh one.
Replace the cover.
Setscrew
Adjustment
screw
Power
switch
Finder
bracket
Finder bracket
Eyepiece
Finder
body
②
-1
③
①
②
- 2
⑧
⑩
⑦
⑨
②
④
①
③
I-(1) Setting up the Finder Scope with low-profile 50mm Finder Bracket


