background image

6

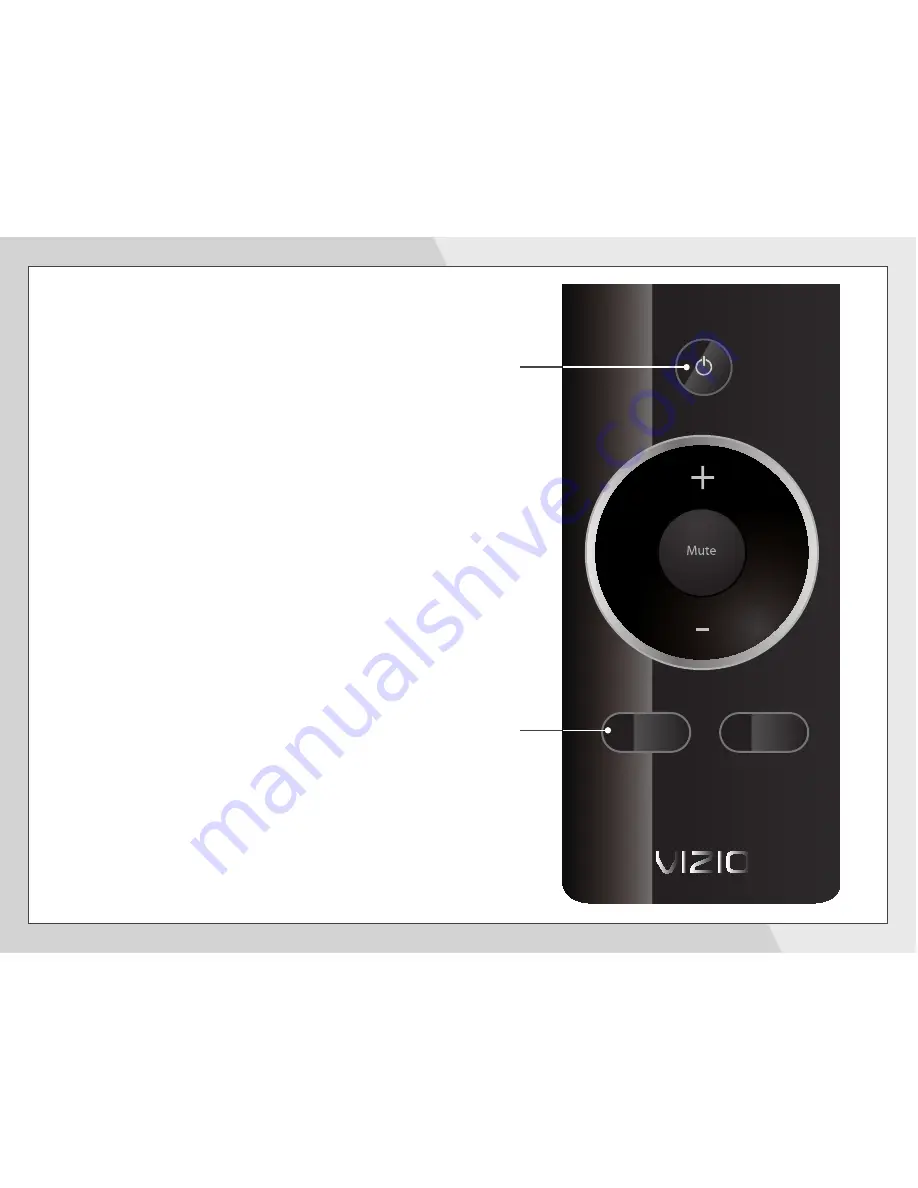
Turn your TV on, then press the 

Power

 button on 

the remote to turn the Sound Bar on. 

Press the Input button to switch between audio 
sources. For example, if you connected your TV to 

Input 1, set the Sound Bar to Input 1.

Setup is complete.

Input

Power

Input

Sub -

Sub +

SRS

Summary of Contents for VSB207E320iA0

Page 1: ...MODEL VSB207 VIZIO QUICK START GUIDE ...

Page 2: ...isconnect power unplug the power cord The lightning flash with arrowhead symbol within an equilateral triangle is intended to alert the user to the presence of un isolated dangerous voltage within your Sound Bar that may be of sufficient magnitude to constitute a risk of electric shock to persons The exclamation point within an equilateral triangle is intended to alert the user to the presence of ...

Page 3: ...Remote Control with Battery Stereo RCA to 3 5mm Audio Cable PACKAGE CONTENTS High Definition Sound Bar This Quick Start Guide Power Adapter w Cable Input Sub Sub SRS ...

Page 4: ... volume Input Press to change input source Input 1 Input 2 Input Vol Vol 24V DC SERVICE INPUT 1 INPUT 2 SUB OUT Input 1 Stereo RCA Power Port Service Port For use only by service technician Input 2 Stereo 3 5mm CONTROLS CONNECTIONS 24V DC SERVICE INPUT 1 INPUT 2 SUB OUT Sub Out RCA ...

Page 5: ...ble to ONE TV audio output as shown 1 Not all TVs have the audio outputs shown above To connect the Sound Bar directly to your other devices Blu ray player game system etc see your device s user manual FIRST TIME SETUP BACK OF SOUND BAR CHOOSE ONE AUDIO OUT BACK OF YOUR TV AUDIO OUT ...

Page 6: ...3 4 24V DC SERVICE INPUT 1 INPUT 2 SUB OUT 2 24V DC SERVICE INPUT 1 INPUT 2 SUB OUT ...

Page 7: ...For the best surround sound experience position the Sound Bar as shown The Sound Bar should be close to ear level Sound Bar is centered below the TV 5 ...

Page 8: ...e Power button on the remote to turn the Sound Bar on Press the Input button to switch between audio sources For example if you connected your TV to Input 1 set the Sound Bar to Input 1 Setup is complete Input Power Input Sub Sub SRS ...

Page 9: ...o decrease volume Mute Press to mute unmute USING THE REMOTE SRS Press to activate SRS WOW HD Input Press to change input source For best results point the remote at the right side of the Sound Bar The sensor is located there Sub Press to decrease subwoofer volume Sub Press to increase subwoofer volume ...

Page 10: ... new CR2032 Be sure that the sign on the battery is facing up Push the battery cover until it clicks back into place Insert a flat head screwdriver into the slot as shown Gently push down on the tab then press and pull downward on the battery cover to open ...

Page 11: ... INPUT 2 SUB OUT 1 BACK OF SOUND BAR TURN BOTH SOUND BAR AND SUBWOOFER OFF CONNCECT AN RCA CABLE TO YOUR SUBWOOFER NOT INCLUDED The volume on your Subwoofer must be manually adjusted See your Subwoofer s user manual for details on proper operation ...

Page 12: ... hardware is not included Reattach stands using the included screw 1 Remove the screw from the Sound Bar stands and rotate as shown If you are unfamiliar with power tools or the layout of electrical wiring in the walls of your home consult a professional installer 26 3 4 67 95 cm WALL MOUNTING THE SOUND BAR Mounting hardware not included ...

Page 13: ...may be set to variable audio output Confirm that the audio output setting is set to FIXED or STANDARD not VARIABLE Consult your TV s user manual for more detailed information I hear buzzing or humming Ensure all cables and wires are securely connected Connect a different source device TV Blu ray player etc to see if the buzzing persists If it does not the problem may be with the original device Co...

Page 14: ...VIZIO service center Limitations and Exclusions VIZIO s one year limited warranty only covers defects in materials and workmanship This warranty does not cover for example cosmetic damage normal wear and tear improper operation improper voltage supply or power surges signal issues damages from shipping acts of God any type of customer misuse modifications or adjustments as well as installation and...

Page 15: ...t 2 Shielded interface cables and AC power cord if any must be used in order to comply with the emission limits 3 The manufacturer is not responsible for any radio or TV interference caused by unauthorized modification to this equipment It is the responsibilities of the user to correct such interference RF Exposure Information This device meets the government s requirements for exposure to radio w...

Page 16: ... 2012 VIZIO INC ALL RIGHTS RESERVED 120110ST A ...

Reviews: