4
23
VBR334
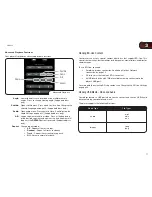
Changing the Blu-ray 3D Mode
Your player’s default 3D setting is Automatic, meaning that the player will detect
3D Blu-ray content and automatically prompt you when that content is available.
If you would like to deactivate this automatic detection and always view Blu-ray
3D content in 2D, change the Blu-ray 3D mode.
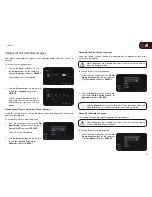
To change the Blu-ray 3D mode:
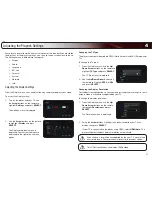
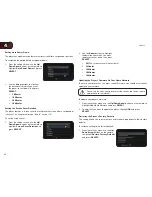
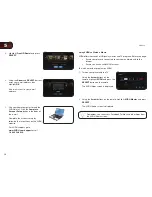
1. From the Display menu, use the
Up/
Down Arrow buttons on the remote to
highlight
Blu-ray 3D Mode and press
SELECT.
The Blu-ray 3D Mode menu is
displayed.
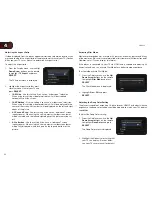
2. Highlight
Automatic or Forced 2D and
press
SELECT.
Adjusting the Audio Settings
The settings in the Audio Menu configure the player’s digital audio outputs (HDMI,
Coaxial, or Optical/SPDIF).
The Audio Menu settings will not affect any audio output from the
analog
L and R (left and right) ports. The audio settings are for digital
output only.
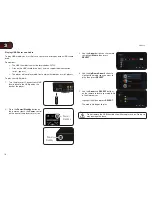
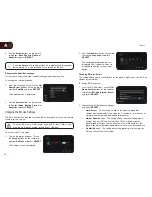
To access the Audio Menu:
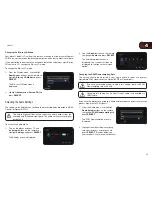
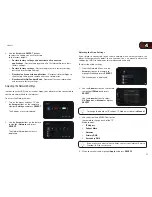
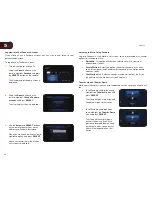
1. Turn on the player and your TV. Use
the
Arrow buttons on the remote to
highlight
Settings and press SELECT.
The Settings menu is displayed.
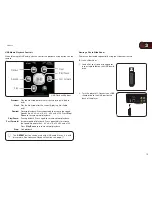
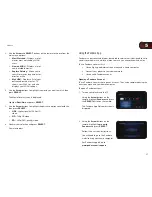
2. Use the
Arrow buttons on the remote
to highlight
Audio and press SELECT.
The Audio drop-down menu is
displayed. Your current settings are
displayed to the right of each menu
option.
Changing the PCM Downsampling Rate
This setting should be adjusted if your home audio receiver can process
high-bitrate PCM signals over the Optical/SPDIF or Coaxial port.
If you are unsure about how to adjust this setting, leave the PCM
Downsampling rate at 48 kHz.
Changing this setting has no effect if your audio is connected via
HDMI cable.
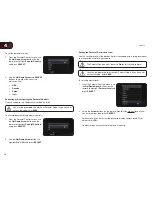
If you have the player connected to a home audio receiver and your receiver can
process high-bitrate PCM signals:
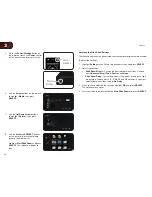
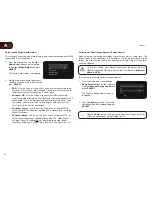
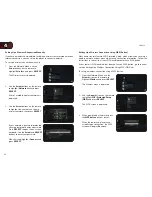
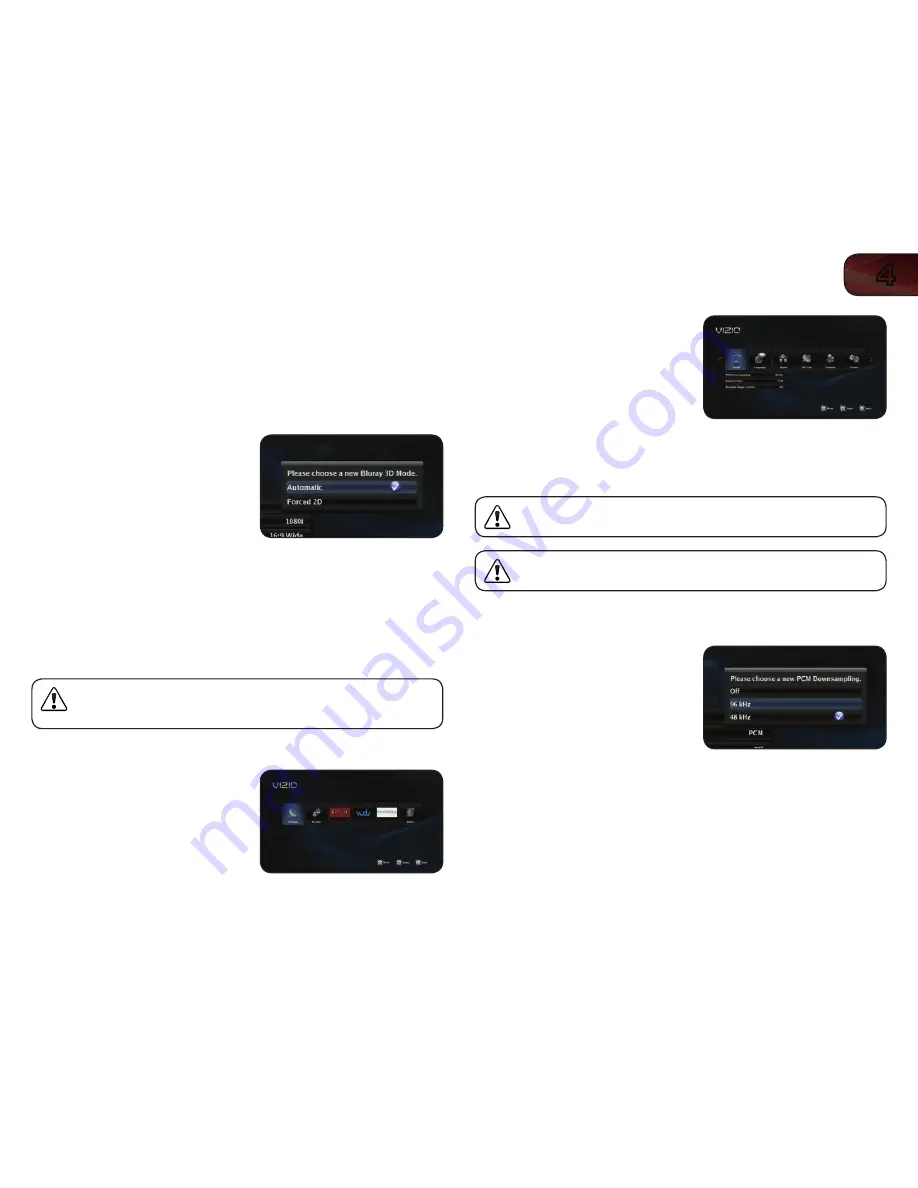
1. From the Audio menu, use the
Up/
Down Arrow buttons on the remote
to highlight
PCM Downsampling and
press
SELECT.
The PCM Downsampling menu is
displayed.
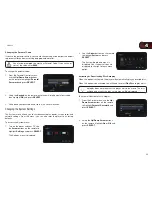
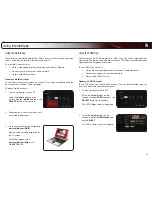
2. Highlight the highest downsampling
rate your reciever can process and
press
SELECT. (Devices differ; see
your receiver’s user manual for details.)


