Replacing Components
Eccellenza Pod
32
5.
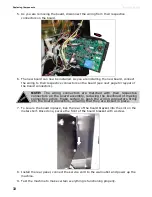
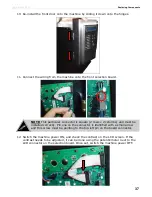
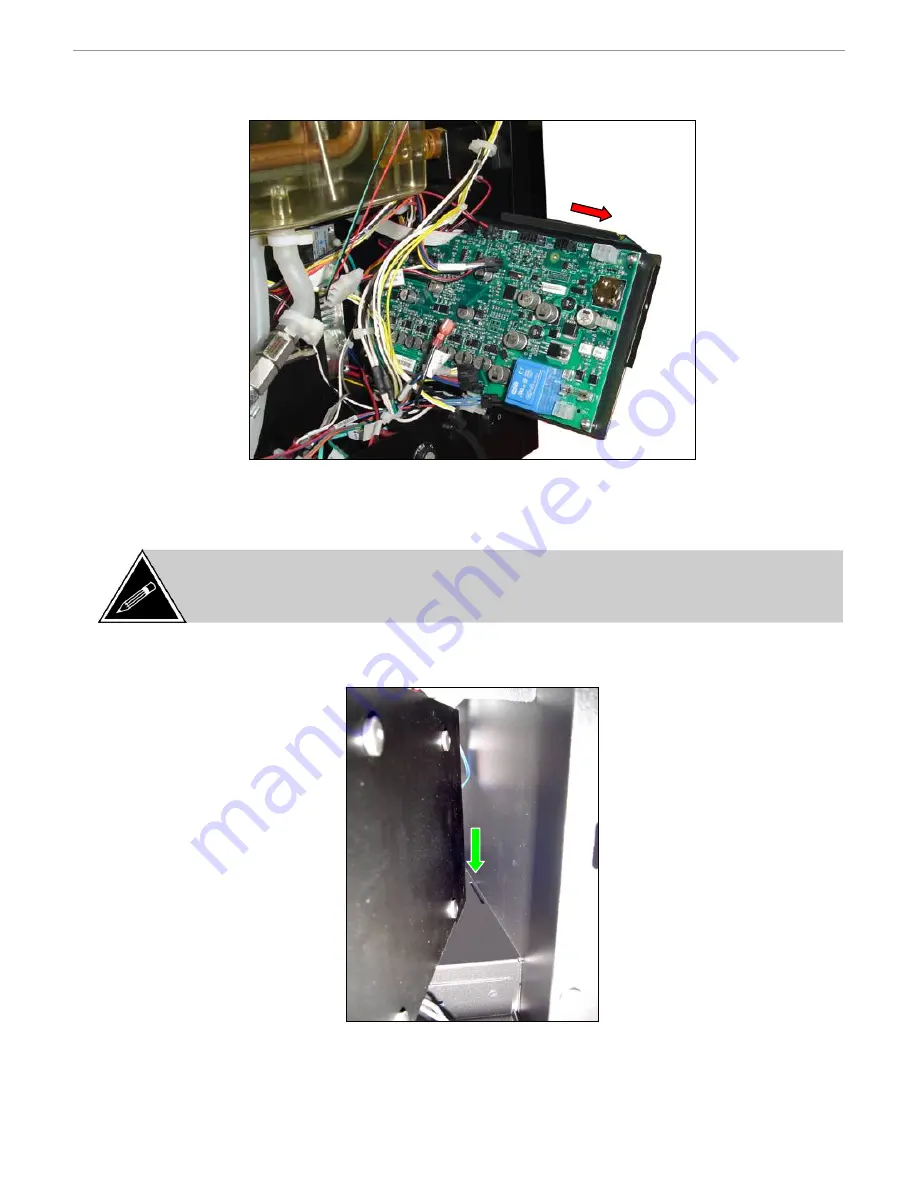
As you are removing the board, disconnect the wiring from their respective
connectors on the board.
6.
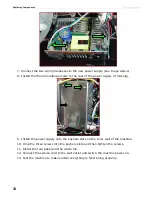
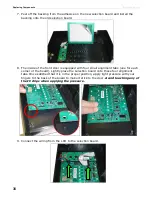
The new board can now be installed. As you are installing the new board, connect
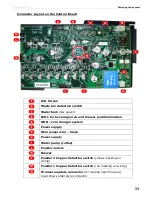
the wiring to their respective connectors on the board (see next page for layout of
the board connectors).
7.
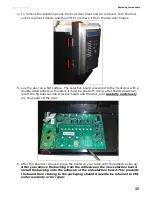
To secure the board in place, lock the rear of the board bracket into the slot on the
metal shelf. Once done, secure the front of the board bracket with a screw.
8.
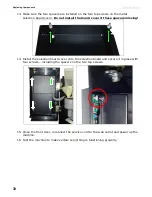
Install the rear panel, connect the service cord to the wall outlet and power up the
machine.
9.
Test the machine to make certain everything is functioning properly.
NOTE: The wiring connectors are matched with their respective
connectors on the board assembly, reducing the likelihood of making
connection errors. Make certain to push the wiring connectors firmly
into the board connectors, ensuring that they are locked in place.

