VMAC - Vehicle Mounted Air Compressors
VMAC Technical Support: 888-241-2289
VMAC Knowledge Base: kb.vmacair.com
43
Completing the Installation
☐
Check all wiring, hoses and tubes to ensure that they will not contact any hot
or moving components and will not interfere with the operation of the vehicle.
Ensure all wiring, hoses and tubes are secured with cable ties and protected
with loom as required.
☐
Cover all VMAC under-hood wiring with high heat plastic loom (if not done
previously). Secure the harness with cable ties as needed to avoid hot, sharp or
moving components.
☐
Pull any excess wiring back into the cab and tie it up and out of the way under
the dash with cable ties.
☐
Replace all dash panels and covers removed during installation.
☐
Fill the primary radiator with the saved coolant.
☐
Connect the batteries.
☐
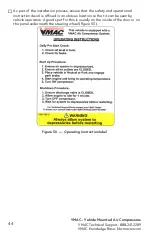
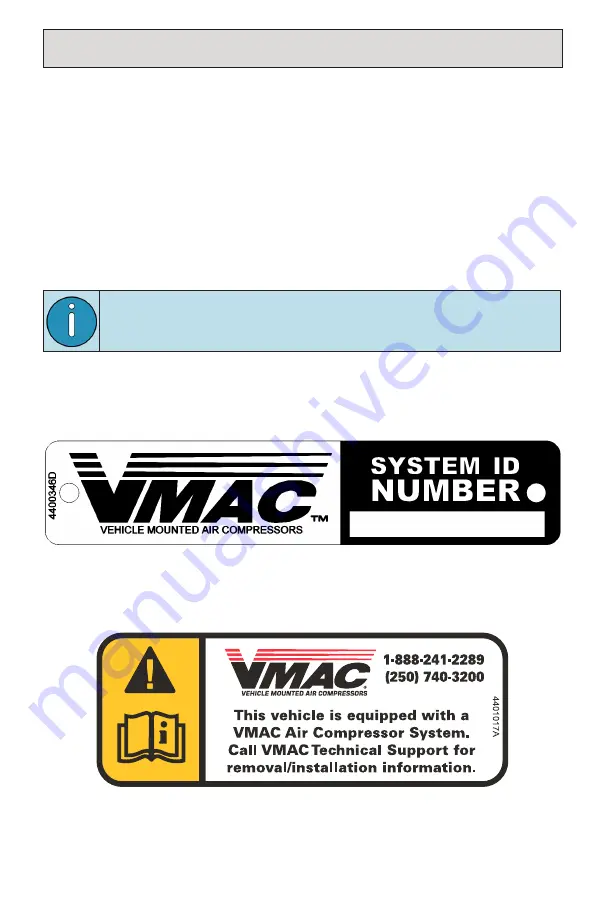
To alert any technicians that may service the vehicle, affix the servicing
caution/contact label in the engine compartment near the hood latch in a
visible location (Figure 49).
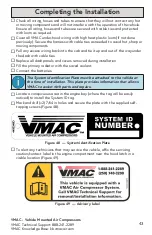
Figure 48 — System Identification Plate
The System Identification Plate must be attached to the vehicle at
the time of installation. This plate provides information that allows
VMAC to assist with parts and repairs.
☐
Locate a conspicuous area in the engine bay (where the tag will be easily
noticed) to install the System ID tag.
☐
Mark and drill (×2) 7/64 in holes and secure the plate with the supplied self-
tapping screws (Figure 48).
Figure 49 — Advisory label

