Create a Role
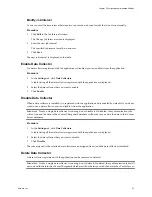
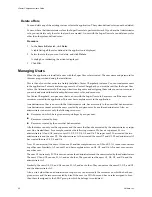
Apart from the system-defined roles, you can define your own custom roles in vCenter Chargeback. These
roles can then be assigned to the users created in the application.
Only users having the Super User role or the Administrator role assigned to them can perform this task.
Procedure
1
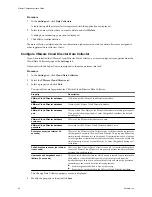
In the Users & Roles tab, click Roles.
A table listing all the roles defined in the application is displayed.
2
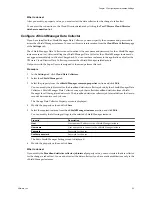
Click Create.
The Create Role screen is displayed.
3
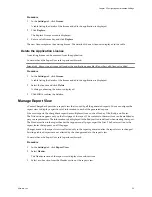
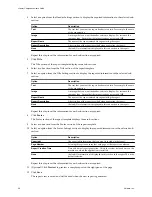
Enter a name and description for the role.
Option
Description
Role Name
A name to uniquely identify the role. Provide a meaningful name to the role
so that it is easy to identify the use of the role and the permissions assigned
on the role. The character limit is 255 characters.
Role Description
A brief description of the role that you are creating. You can define the
purpose of the role in this field. The character limit is 512 characters.
4
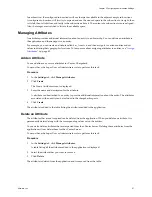
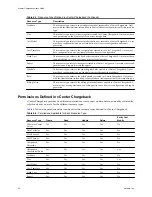
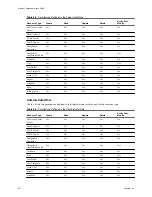
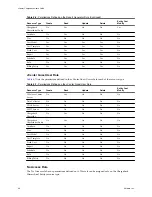
Select the required permissions for the available resource types.
5
Click Create.
The newly created role is added to the table displaying the roles defined in the application.
Modify a Role
You can modify an existing role, other than the system-defined roles.
You must have the Administrator role or the Super User role to perform this task. If you have the Administrator
role, you can edit only the roles that you have created. A user with the Super User role can edit any roles other
than the system-defined roles.
Procedure
1
In the Users & Roles tab, click Roles.
A table listing all the roles defined in the application is displayed.
2
Select the role that you want to modify, and click Edit.
The Edit Role screen is displayed.
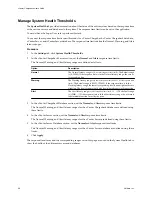
3
Modify the required information.
You can modify the name and description of the role and also the set of permissions assigned to the role.
4
Click Save.
The modified role details are displayed in the table on the page.
Chapter 4 Authenticating and Managing Users, Roles, and Permissions
VMware, Inc.
65

