Repair
68
WBV.PU.002.EN VX215QD V2.0
9.7
Closing the QD cover
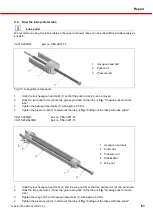
Fig.
"Opening/closing the QD cover"
1.
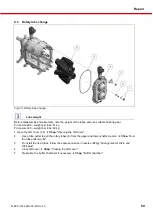
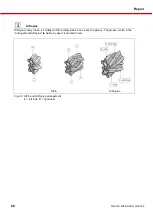
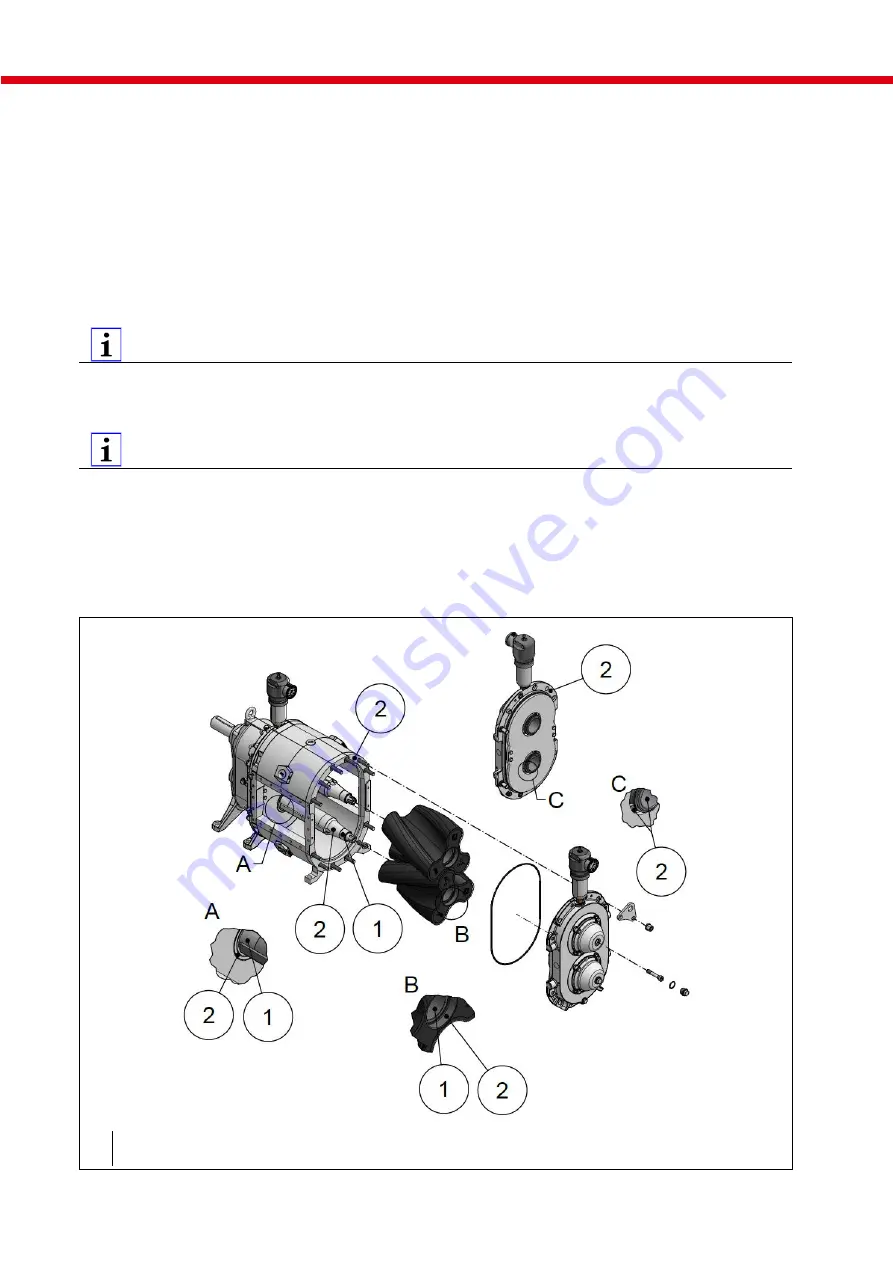
Before assembly of the QD cover (4) thoroughly clean the components and also oil them if necessary
Fig.
"Cleaning before QD cover assembly".
2.
Pull O-ring (5) onto the QD cover.
3.
Set QD cover in place.
4.
Screw in the two strain bolts (2) loosely but do
not
tighten them.
5.
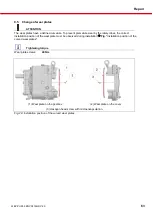
Tighten hexagon nuts (3) of the twelve hexagon head bolts or threaded rods.
Attention! Do not tilt
the QD cover while doing this, but press it evenly "by hand" (no tools). Make sure the O-ring is
seated correctly.
Tightening torques
•
Hexagon nut M 16 (8.8)
200 Nm
6.
Tighten the strain bolts.
Tightening torques
•
Tighten the M16 strain bolt (10.9, steel) with 200 Nm, then loosen it and tighten again with 140 Nm.
•
Tighten the M16 strain bolt (A4, stainless steel) with 160 Nm, then loosen it and tighten again with 140
Nm.
7.
Install the screw plugs (1).
8.
Pressurise the buffer chambers if necessary
Chapter
"Buffer chamber".
1
Clean thoroughly and oil
2
Clean thoroughly
Fig. 31: Cleaning before QD cover assembly

