
Information
Su
ffi
cient air is needed for proper combustion and exhaustion of gases through the
fi
ue (chimney) of fuel burning equipment to prevent back drafting. Ductless fans must
always be vented to the outdoors.
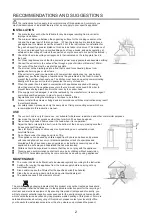
When assessing the air pressure, the entire ventilation system in the house/apartment
must be taken into account, e.g. hob and/or gas cooker, this rule does not apply.
Government regulations must be observed for the conveyance of exhaust air. If the
extractor hood is used in circulating air mode with activated carbon filter, there are no
operating restrictions.
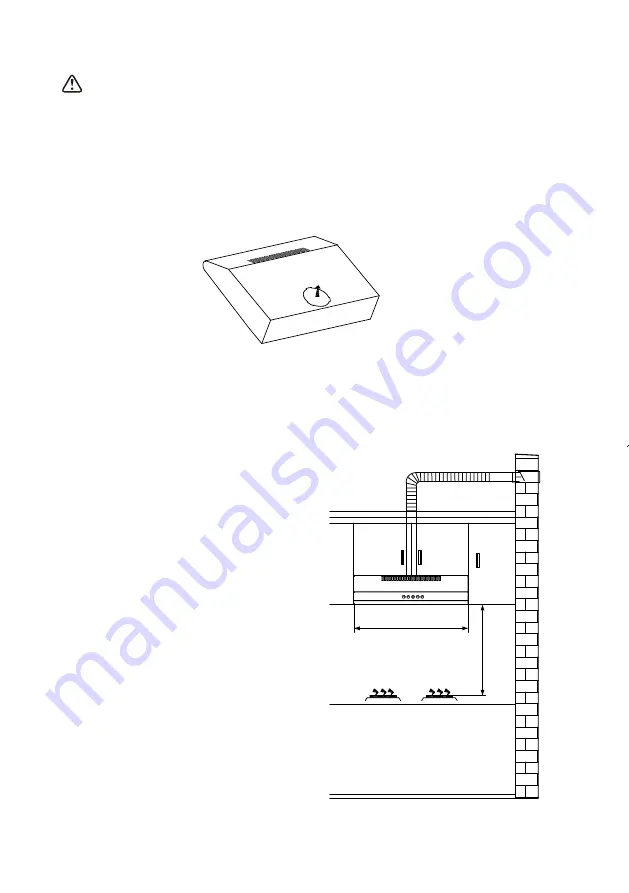
If you choose extraction-air mode,install check valve on the vent hole .
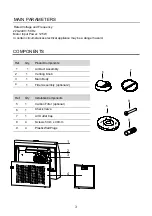
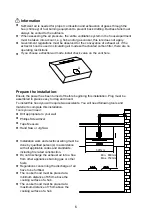
Prepare the installation:
Ensure the power has been turned o
ff
before beginning this installation. Plug must be
assembled in places easy to drag and insert.
To install this hood you will require two assistants. You will need following tools and
material to complete this installation.
Tools you will need:
Drill appropriate to your wall
Phillips Screwdriver
Tape Measure
Hand Saw or Jig Saw
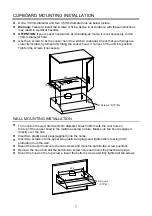
Installation work and electrical wiring must be
done by qualified person(s) in accordance
with all applicable codes and standards,
including fire rated construction.
Do not discharge the exhaust air into a flue
from other appliances burning gas or other
fuels.
Regulations concerning the discharge of air
have to be fulfilled.
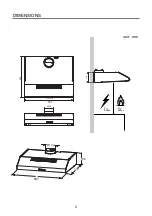
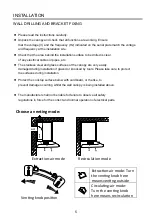
The cooker hood must be placed at a
minimum distance of 65cm above the
cooking surface of a hob.
The cooker hood must be placed at a
maximum
distance of
75
cm above the
cooking surface of a hob.
Min. 650mm
Max. 750mm
597mm
A
6