-7-
Installation Instructions
4
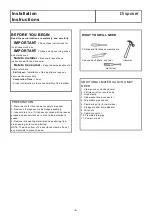
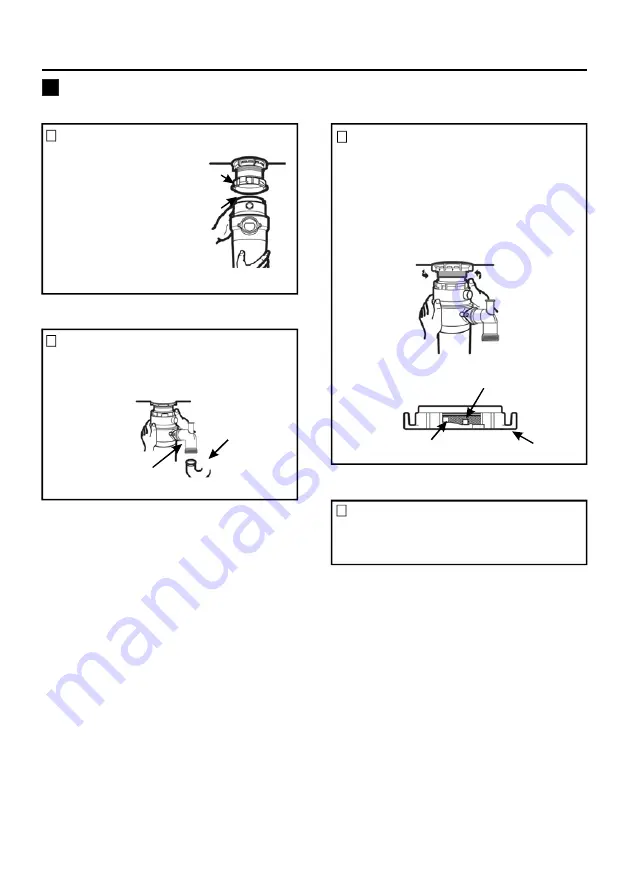
CONNECTING DISPOSER TO SINK FLANGE
1
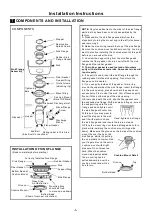
ATTACH TO SINK FLANG E
Line up the disposer
under the sink flange
Guide the hopper
projections into the
mount ring slots Turn
the moun t ring about
1 4 to th e right so that
the disposer is
temporarily supported
.
.
/ "
.
Mount
Ring Slot
Hopper
Projection
2
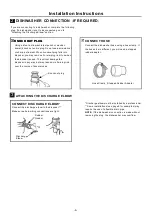
LINE UP WITH OUTLET PIPE
Turn the mount ring and the disposer until the
disposer discha rge elbow lines up with the outlet
pipe See page 9 .
(
)
Outlet pipe
Discharge
Elbow
3
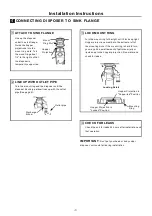
LOCK MOUNT RING
Turn the mount ring to the right until it locks u p tight
Hopper projections must be to the extreme le ft of
the mounting slots If the mount ring is hard t o turn
you may add a small amount of petroleum jel ly or
liquid soap to the hopper projection Run wat er and
check for leaks
.
.
,
.
.
Locking Detail
Hopper Projectio n in
Supported Position
"
"
Hopper Projection in
Position
"Locked"
Mounting
Ring
4
CHECK FOR LEAKS
Check the unit for leaks 24 hours after installation and
first operation
.
IMPORTANT
:
'
,
.
Don t put your head or body under
disposer unit could fall during installation


