10
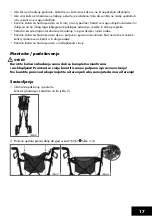
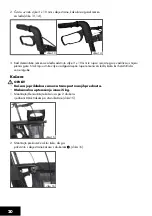
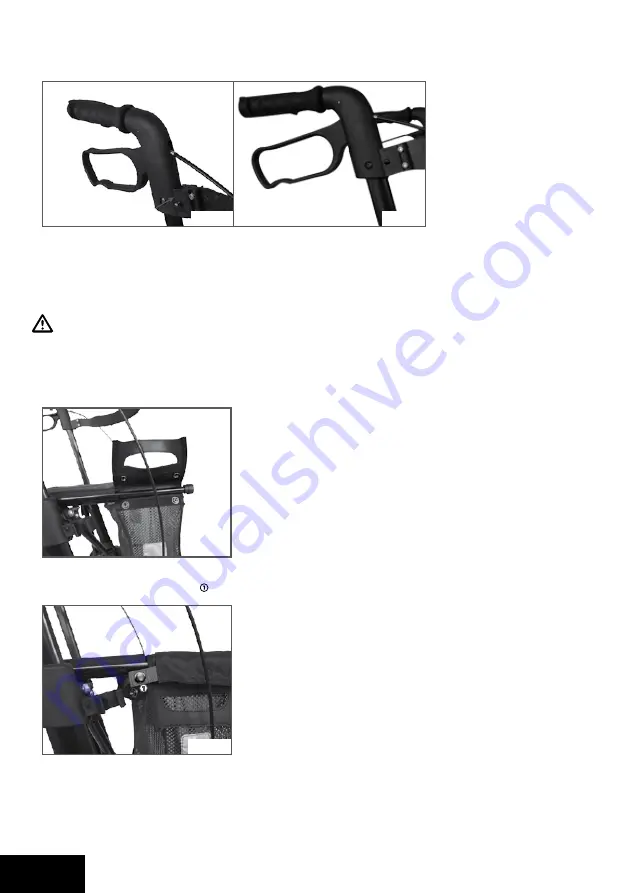
2. Tighten the 3 x 10mm screws on both sides in order to secure the back belt
(figs. 13, 14).
3. To dismantle the back belt, loosen the 3 x 10mm screws from their holes and pull the back belt out of
the slots in an upward direction. Re-tighten the screws into their holes in the back belt so that they do
not get lost.
Basket
WArnInG!
• the basket is suitable only for transporting small objects.
• the maximum load should not exceed 5kg.
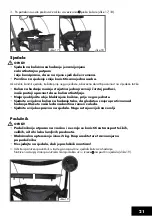
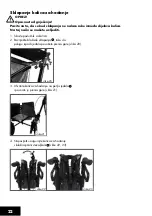
1. Assembling/Dismantling the basket is achieved with the use of 2 push-buttons
and hook and loop fasteners on both sides of the basket (fig.15).
2. Assemble the rain hood by attaching it to the push-buttons
on both sides of the basket (Fig.16).
fig. 13
fig. 14
fig. 15
fig. 16
Summary of Contents for RF-1301
Page 4: ...4 45 45 46 46 46 47 47 47 48 48 48 49 49 50 50 51 51 51 52 53 53 53 54 54 3 54...
Page 36: ...36 150 kg...
Page 37: ...37 1 2 cx 3 cx 4 cx 2 2 3 4...
Page 38: ...38 5 6 7 7 1 8 2 9 cx 6 cx 5 cx 7 cx 8 cx 9...
Page 39: ...39 10 1 2 11 3 x 10 mm 1 3 x 10 mm 12 cx 12 cx 10 cx 11...
Page 40: ...40 2 3 x 10 mm 13 14 3 3 x 10 mm 5 kg 1 2 15 2 16 cx 14 cx 15 cx 16 cx 13...
Page 41: ...41 3 17 18 5 kg 1 19 cx 17 cx 18 cx 19...
Page 42: ...42 1 2 20 3 21 4 22 23 cx 20 cx 21 cx 22 cx 23...
Page 43: ...43 1 2 1 2 3 2 mm 24 1 2 cx 24...
Page 46: ...46 To 150 kg...
Page 47: ...47 1 2 3 4 2 2 3 4...
Page 48: ...48 5 6 7 7 1 8 2 9 6 5 7 8 9...
Page 49: ...49 10 1 2 11 3 x 10 mm 1 3 x 10 mm 12 12 10 11...
Page 50: ...50 2 3 x 10 mm 13 14 3 3 x 10 mm 5 kg 1 2 15 2 16 14 15 16 13...
Page 51: ...51 3 17 18 5 kg 1 19 17 18 19...
Page 52: ...52 1 2 20 3 21 4 22 23 20 21 22 23...
Page 53: ...53 1 2 1 2 3 2 mm 24 1 2 1x 24...
Page 55: ...55...


