VoloAccess™
User Manual
Copyright © Vololink Pty Ltd 2006-2010
V1.43 July 2010
Page 12 of 78
Setting up the VoloAccess
VoloAccess Location
The signal strength available at the VoloAccess location affects the performance of the unit. The stronger
the signal, the better the VoloAccess performance.
Test several locations by moving the VoloAccess while looking at the Signal Strength indicator. (Wait 10
to 20 seconds after each change of location for the Signal Strength to be measured and displayed
– a
flashing indicator represents a weak signal). Select a location where the Signal Strength indicator is on
and solid.
Moving the VoloAccess as little as 5 cm can affect the Signal Strength.
Recommendations:
●
Select an indoor location, preferably close to a window and the roof. Generally, you will experience
better Signal Strength in these locations.
●
Position the VoloAccess antennas as high as possible for better reception.
●
Do not install the VoloAccess in a bathroom, a wet or damp environment or an outdoor location.
●
Do not install the VoloAccess in locations or rooms that contain large amounts of metal, steel or wiring.
Locations that contain large amounts of metal inhibit the transmission of Radio Frequency (RF).
●
Do not expose the VoloAccess to extreme temperatures (near radiators, cooling vents, etc).
●
If you experience poor Signal Strength, an (optional) higher gain antenna may result in improvement.
Mounting Position
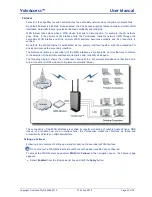
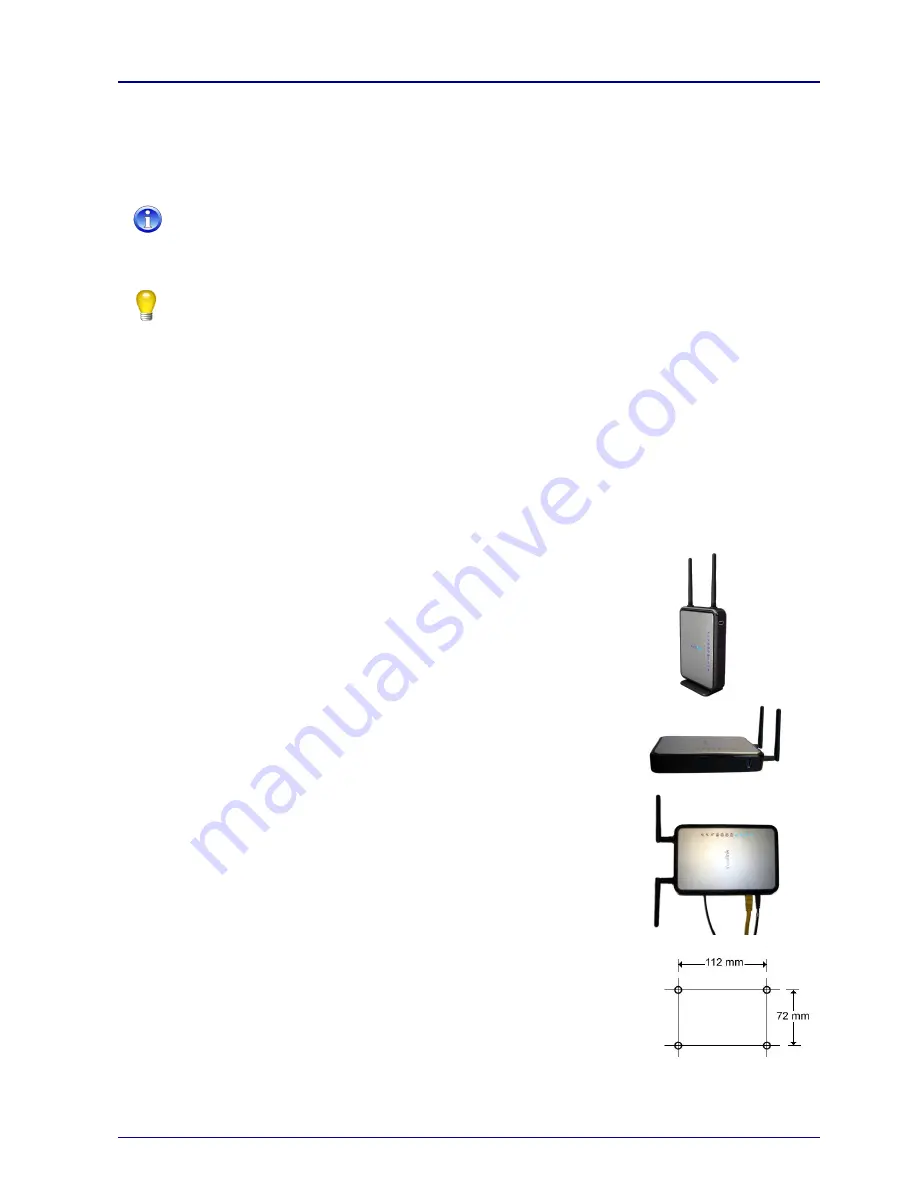
The VoloAccess can be mounted in a vertical position by attaching the
supplied base as shown here.
or,
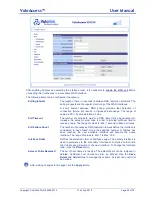
It can be mounted horizontally by removing the side cover (the one without the
indicators) and standing it on the rubber feet. Turn the hinged antennas to the
vertical position.
or,
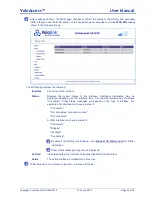
The VoloAccess can be wall mounted by removing the side cover and
attaching it to (at least two) screws with a maximum head diameter of 7mm.
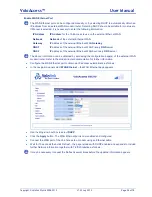
Wall Mounting drilling dimensions


