Legal notice
These operating instructions are a publication by Voltcraft®, Lindenweg 15, D-92242 Hirschau/Germany, Phone +49 180/586 582 7
(www.voltcraft.de).
All rights including translation reserved. Reproduction by any method, e.g. photocopy, microfilming, or the capture in electronic data processing
systems require the prior written approval by the editor. Reprinting, also in part, is prohibited.
These operating instructions represent the technical status at the time of printing. Changes in technology and equipment reserved.
© Copyright 2013 by Voltcraft®
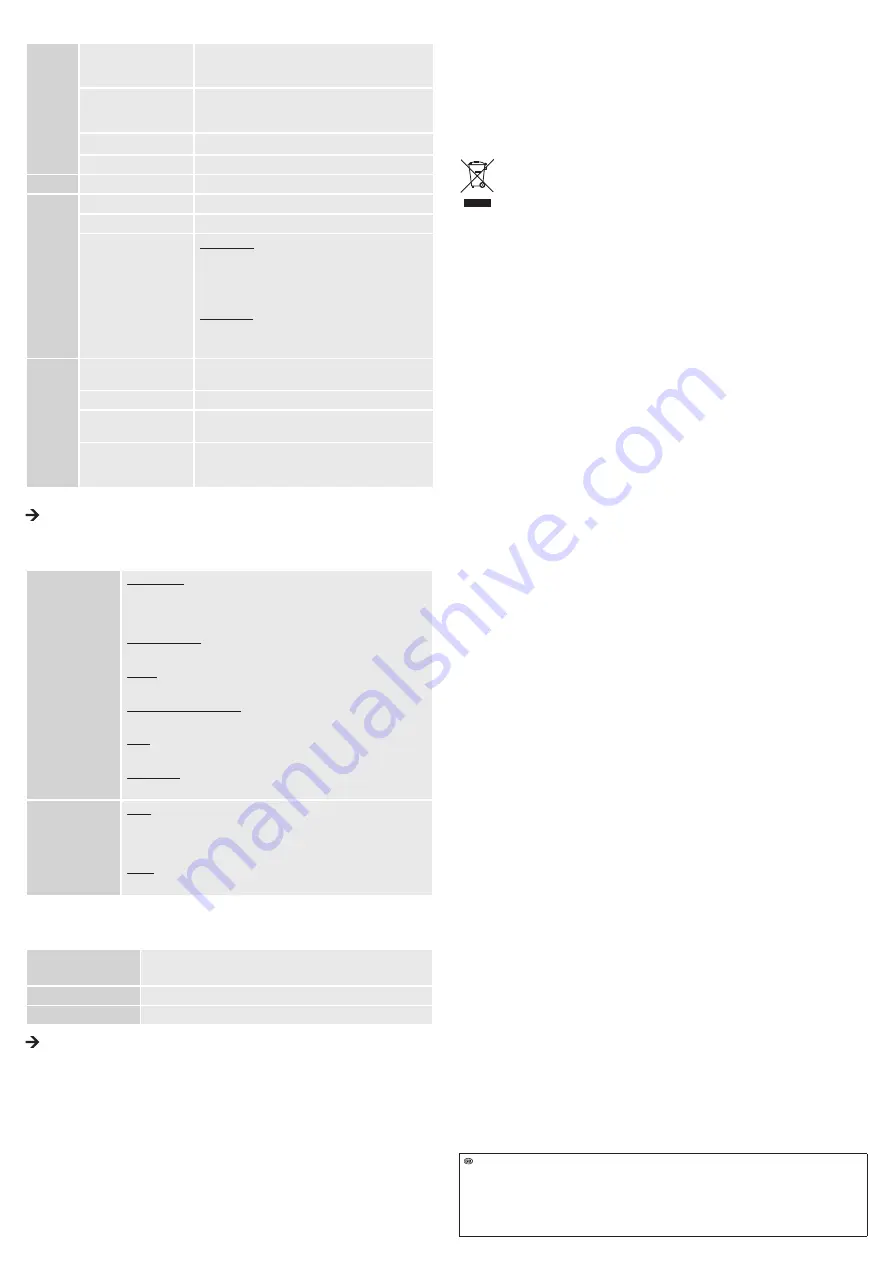
c) Main menu bar
File
Set Capture File...
Select the location where video recordings (.avi) will be
saved. You must include the ending “.avi”. You will be
prompted to enter the file size.
Allocate File Space...
Set the storage space size, the available memory will be
shown. In the menu item “Capture File Size”, you can enter
the size in megabytes (MB).
Save Captured Video...
Save a captured video sequence.
Exit
End program.
Devices
Telescope Driver
For this product, select the menu item “Telescope Driver”.
Options
Preview
Turn on/off image display.
Video Capture Filter...
See “d) Image settings”
Video Capture Pin...
Video Format:
■ Video Standard (cannot be changed), ■ Frame Rate (do
not change 30 fps), ■ Color space / Compression (preset
to RGB 24, do not change), ■ Output size (preset to 640 x
480, do not change)
Compression:
cannot be changed
Confirm settings with “Apply” and then “OK”.
Capture
Start Capture
Begins video recording. Confirm with “OK”, cancel with
“Cancel”.
Stop Capture
Stop recording.
Set Frame Rate...
Set frame rate for the recording (fps). Leave the setting at
30 fps. Confirm with “OK”, cancel with “Cancel”.
Set Time Limit...
Set max. time limit in seconds for recording. We
recommend not to change this setting. Confirm with “OK”,
cancel with “Cancel”.
Beneath the main image, the status bar shows the number of recorded images.
The included driver is “TWAIN32-compatible”. This allows the camera to be run with every program
that supports this interface.
d) Image settings
Stream Property
(Confirm settings with
“OK” and cancel with
“Cancel”)
Image Control:
■ Image Mirror, ■ Image Flip, ■ Brightness, ■ Contrast, ■ Gamma (set
contrasting color), ■ Hue, ■ Sharpness, ■ VGA Snap Size (set image size,
leave setting at 640 x 480), ■ Zoom (set zoom in %)
Auto Mode Control:
Keep settings with checkmarks to achieve the best possible image quality.
Default:
■ Reset, ■ Save, ■ Restore
In/Out Door (use in/outdoors):
■ Indoor, ■ Outdoor
Flickr:
Set flicker rate
Extra Control:
■ Backlight compensation, ■ B/W Mode
Effect Frame
(Confirm settings with
“OK” and cancel with
“Cancel”)
Effect:
■ Disable, ■ Invert, ■ Black/White, ■ Green Mono, ■ Gray Scale, ■ Blue
Mono, ■ Red Mono, ■ Emboss, ■ Find Edge, ■ Mosaic, ■ Wind, ■ Solarize,
■ Sepia, ■ Bathroom, ■ Sketch, ■ Oil Paint, ■ DistortH, ■ DistortV, ■ Monitor
Frame:
■ Disable, ■ Flowers, ■ Paper, ■ Snipe, ■ Snowman
e) Snapshot
To take a snapshot, push the snapshot button SNAP (4). Another window opens with the snapshot image:
File(F)
Save image in .jpg format (Save)
Close (Exit)
Rotate Orientation
Rotate image with selected angular degree.
Help(H)
Show program information.
The snapshot function can only be used if you have administrator rights. Contact your system
administrator if necessary.
f) Attachments
To attach, open the fastening ring of a given attachment (1) carefully and fasten it to the small recess
beneath the camera head. Do not overbend the attachments when opening (risk of breakage).
• Use the magnet attachment to locate lost metallic objects.
• The mirror attachment can widen the endoscope’s field of view into areas that are otherwise difficult for
the camera head to reach.
• Use the hook attachment to grasp small objects.
CLEANING AND CARE
• Do not submerge the USB connector plug in water!
• Besides occasional cleaning, the device is maintenance-free. To clean the device, use a soft, anti-static
and lint-free cloth.
• After use in liquids, always rinse the endoscope’s flexible neck thoroughly with clean water, then dry it
afterwards.
DISPOSAL
Electronic devices are recyclable waste and must not be disposed of in the household waste.
At the end of its service life, dispose of the product according to the relevant statutory
regulations.
You thus fulfil your statutory obligations and contribute to the protection of the environment.
TECHNICAL DATA
Operating voltage ............................. 5 V/DC via USB, 200 mA
USB port ........................................... min. USB 1.1
Camera sensor ................................. CMOS 1/6”
Camera resolution ............................ 640 x 480 pixels (VGA)
Frame rate ........................................ 30 fps
White balance ................................... automatic
Lighting ............................................. automatic
Video format ..................................... AVI
Image format .................................... JPG
Camera light ..................................... 4 LEDs, white
Operating conditions ......................... 0 to +45 °C, 15 – 85 % RH (non-condensing)
Storage conditions ............................ -10 to +50 °C, 15 – 85 % RH (non-condensing)
Bending radius .................................. >60 mm
Camera head Ø ................................ 11.2 mm
Field of view ...................................... 54°
Focus ................................................ >60 mm
Gooseneck length ............................. approx. 20 cm
Cable length ..................................... approx. 667 cm ±10 cm
Operating systems ............................ Microsoft® Windows 98, ME, 2000, XP, Vista™, 7, 8
Dimensions (L) ................................. approx. 700 cm ±10 cm
Weight .............................................. approx. 320 g (without attachments)


