24
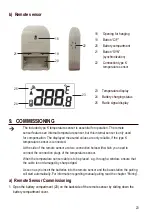
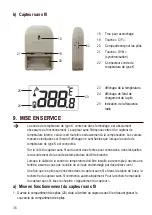
2. Insert two batteries of the type AAA with correct polarity into the battery compartment (20) of the
remote sensor (observe plus/+ and minus/-).
3. For a short moment, all display elements appear on the integrated LC display of the remote
sensor; then the temperature is displayed.
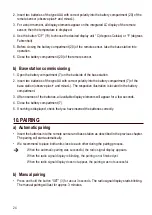
4. Use the button “C/F” (19) to choose the desired display unit °C (degrees Celsius) or °F (degrees
Fahrenheit).
5. Before closing the battery compartment (20) of the remote sensor, take the base station into
operation.
6. Close the battery compartment (20) of the remote sensor.
b) Base station commissioning
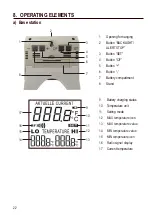
1. Open the battery compartment (7) on the backside of the base station.
2. Insert two batteries of the type AA with correct polarity into the battery compartment (7) of the
base station (observe plus/+ and minus/-). The respective illustration is located in the battery
compartment.
3. After insertion of the batteries, all available display elements will appear for a few seconds.
4. Close the battery compartment (7).
5. If nothing is displayed, check that you have inserted the batteries correctly.
10. PAIRING
a) Automatic pairing
• Insert the batteries into the remote sensor and base station as described in the previous chapter.
The pairing will start automatically.
• We recommend to place both units close to each other during the pairing process.
When the automatic pairing was successful, the radio signal display appears.
When the radio signal display is blinking, the pairing is not finished yet.
When the radio signal display does not appear, the pairing was not successful.
b) Manual pairing
• Press and hold the button
“
SET
”
(3) for about 3 seconds.
The radio signal display starts blinking.
The manual pairing will last for approx. 3 minutes.
Summary of Contents for TM-500RF
Page 55: ...55...


