39
-
Press “MODE” (4) to switch to the DC measuring range. The display indicates “DC”. Pressing this
button again, takes you back etc.
-
Insert the red measuring line into the µA/mA or 10A measuring jack. Plug the black measuring line
into the COM socket.
-
Now connect the two measuring prods in series to the object to be measured (battery, switch etc.).
The polarity of the respective measured value is indicated on the display together with the measured
value.
☞
When a minus “-” appears in front of the measured value when measuring DC, the measured
voltage is negative (or the measuring lines have been mixed up).
-
After measuring, remove the measuring lines from the measured object and turn the DMM off.
d) Resistance Measuring
Make sure that all the circuit parts, switches and components and other objects of
measurement are disconnected from the voltage and discharged.
-
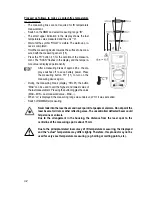
Turn the DMM on and select measuring range “Ω”.
-
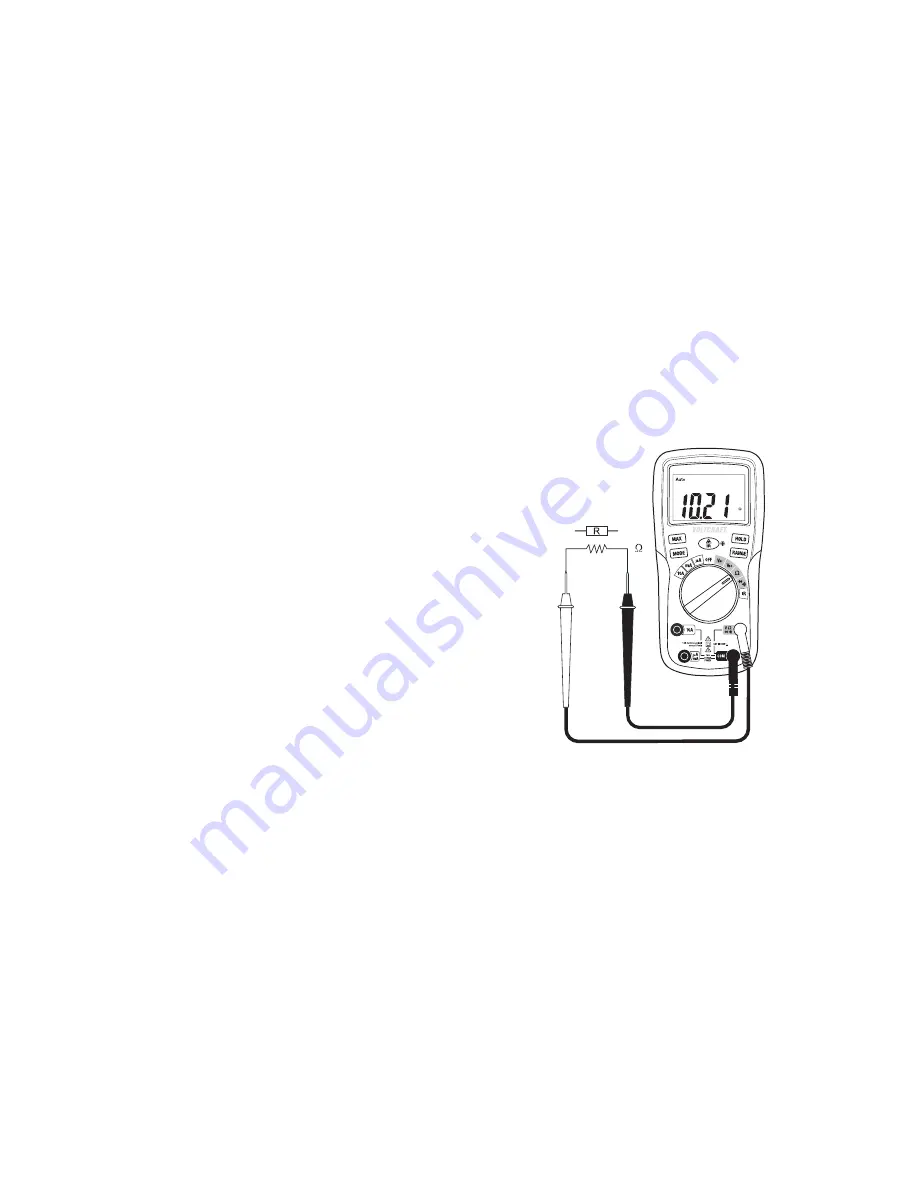
Plug the red measuring line into the Ω measuring jack (8) and
the black measuring line into the COM measuring jack (7) .
-
Check the measuring lines for continuity by connecting
both measuring prods with one another. The resistance
value must be approximately 0 - 0.5 Ohm (inherent resi-
stance of the measuring lines).
-
Now connect the measuring prods to the object to be
measured. As long as the object to be measured is not
high-Ohm or interrupted, the measured value will be indi-
cated on the display. Wait until the displayed value has sta-
bilised. With resistances of >1 MOhm, this may take a few
seconds.
-
If “OL” (overload) appears on the display, you have excee-
ded the measuring range or the measuring circuit has
been broken.
-
After measuring, remove the measuring lines from the measured object and turn the DMM off.
☞
If you carry out a resistance measurement, make sure that the measuring points which you
contact with the test prods are free from dirt, oil, solderable lacquer or the like. Such circum-
stances can falsify the measured result.

