34
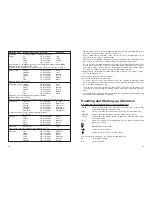
Operating mode
Measurement range
Accuracy
Resolution
Alternating
For input voltages < 50mV not specified
voltage
4V
±(1.5%+5dgts)
1mV
40V
±(1.5%+5dgts)
10mV
400V
±(1.0%+5dgts)
100mV
750V
±(2%+5dgts)
1V
Input resistance > 10 MOhm, frequency of the alternating voltage: 50Hz to 400Hz
Overload protection: 750VACrms < 10s
Indication at the VC-840 as true effective value (True Rms), crest factor max. 3
Direct current
400µA
±(1.0%+5dgts)
0.1µA
4000µA
±(1.0%+5dgts)
1µA
40mA
±(1.2%+5dgts)
0.01mA
400mA
±(1.2%+5dgts)
0.1mA
4A
±(1.5%+5dgts)
0.001A
20A
±(1.5%+5dgts)
0.01A
Overload protection see below
Alternating current 400µA
±(2.0%+5dgts)
0.1µA
4000µA
±(2.0%+5dgts)
1µA
40mA
±(2.0%+5dgts)
0.01mA
400mA
±(2.0%+5dgts)
0.1mA
4A
±(2.5%+5dgts)
0.001A
20A
±(2.5%+5dgts)
0.01A
Frequency of the alternating current: 50Hz to 400Hz
Overload protection see below
Indication at the VC-840 as true effective value (True Rms), crest factor max. 3
Resistance
400 ohm
±(1.2%+2dgts)
0.1 ohm
4kohm ±(1.0%+2dgts)
0.001kohm
40kohm
±(1.0%+2dgts)
0.01kohm
400kohm
±(1.0%+2dgts)
0.1kohm
4 MOhm
±(1.2%+2dgts)
0.001MOhm
40 MOhm
±(1.5%+2dgts)
0.01MOhm
Continuity tester: acoustic signal for resistance values
< ca. 70 ohm
Capacity
40nF
±(3.0%+10dgts)
0.01nF
C
400nF
±(3.0%+5dgts)
0.1nF
4µF
±(3.0%+5dgts)
0.001µF
40µF
±(3.0%+5dgts)
0.01µF
100µF
±(4.0%+5dgts)
0.1µF
Diode test
Ge to GaAs
1mV
Test voltage 1mA max.; emitter diode voltage max. 1.5V
Frequency
5Hz
±(0.1%+3dgts)
0.001Hz
50Hz
±(0.1%+3dgts)
0.01Hz
500Hz
±(0.1%+3dgts)
0.1Hz
5kHz
±(0.1%+3dgts)
0.001kHz
50kHz
±(0.1%+3dgts)
0.01kHz
500kHz
±(0.1%+3dgts)
0.1kHz
23
- Always make sure before measuring voltages that another measuring function is
not active (resistance measurement, diode test etc.).
- Before changing the measuring range, the test prods or adapters have to be
removed from the object to be measured.
- Check your measurement instrument or your measuring lines and adapters for
their correct functioning or for damage(s) before starting a measurement.
- Do not use the measuring instrument in rooms or at unfavourable ambient condi-
tions in which there may or could be combustible gases, vapours or dust. For your
own safety, always ensure that the measuring instrument and cables cannot
become wet or damp. Avoid operation in the immediate vicinity of:
a) magnetic and electromagnetic fields (transformers, motors, coils, relays, contac-
tors, electromagnets etc.)
b) electrostatic fields (charges/discharges)
These could falsify the value measured.
- For safety reasons, when measuring only use the supplied measuring cables
which are approved for the specifications of the measuring instrument. These are
the only cables permitted for use.
- To avoid an electric shock make sure that you do not touch the test prods or the
connections to be measured (measuring points), even indirectly, during measure-
ment.
- The voltage between any socket of the measuring instrument and the ground may
not be higher than 500V VDC or VACrms.
Handling and Starting-up Operation
A Display indications and symbols for the operating modes
„HOLD“
stands for Data Hold; the measuring value is kept (e.g. for the record)
until the HOLD button is pressed anew.
„REL“
stands for relative value measurement (= reference measurement)
„RANGE“
stands for (measuring) range; for the manual range selection.
„AUTO“
is indicated in the display (black background), if the automatic range
selection is active.
„O.L.“
stands for overload. The measuring value is too high or the measuring
range is exceeded
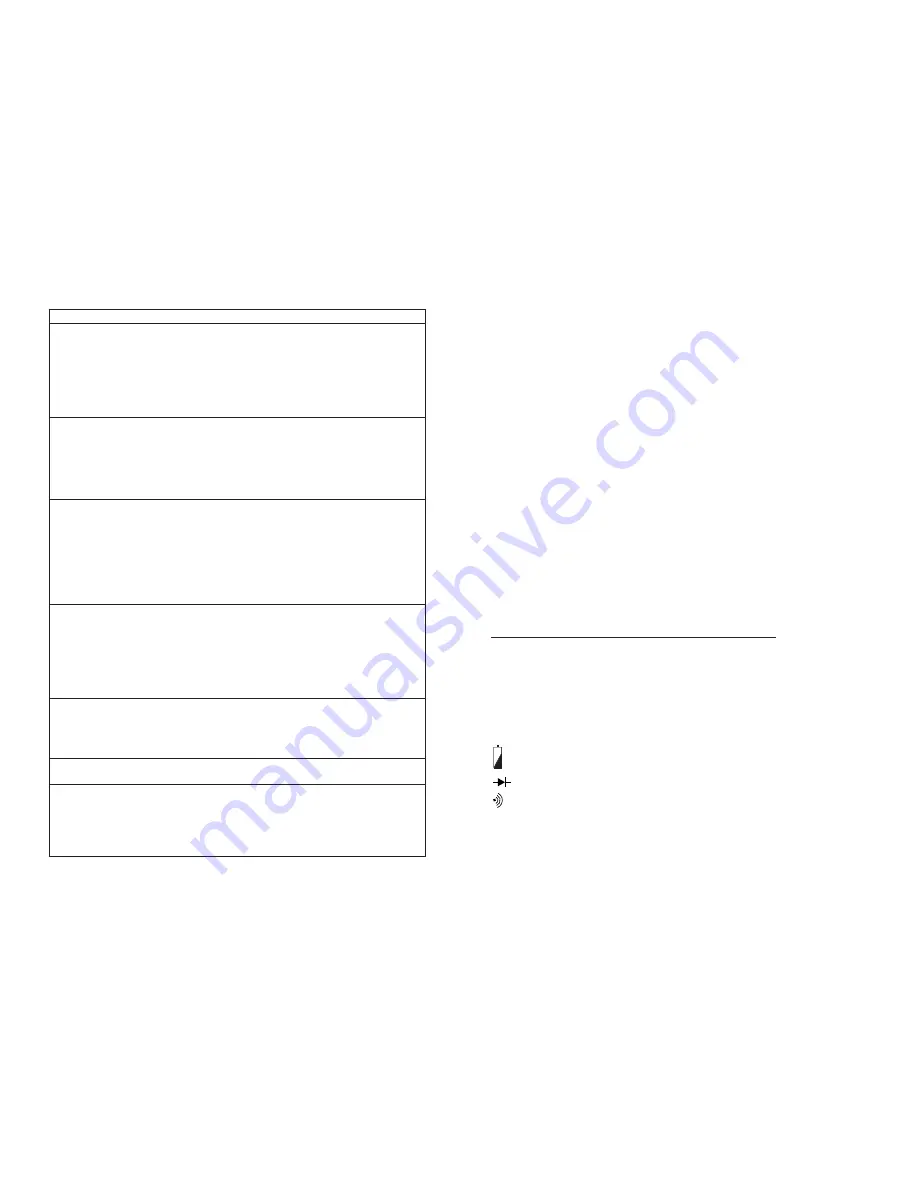
Battery replacement symbol
Symbol for the diode test
Symbol for the acoustic continuity check
all other symbols standing for the different measuring units:
AC
= alternating quantity
DC
= direct quantity


