57
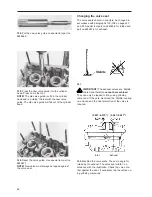
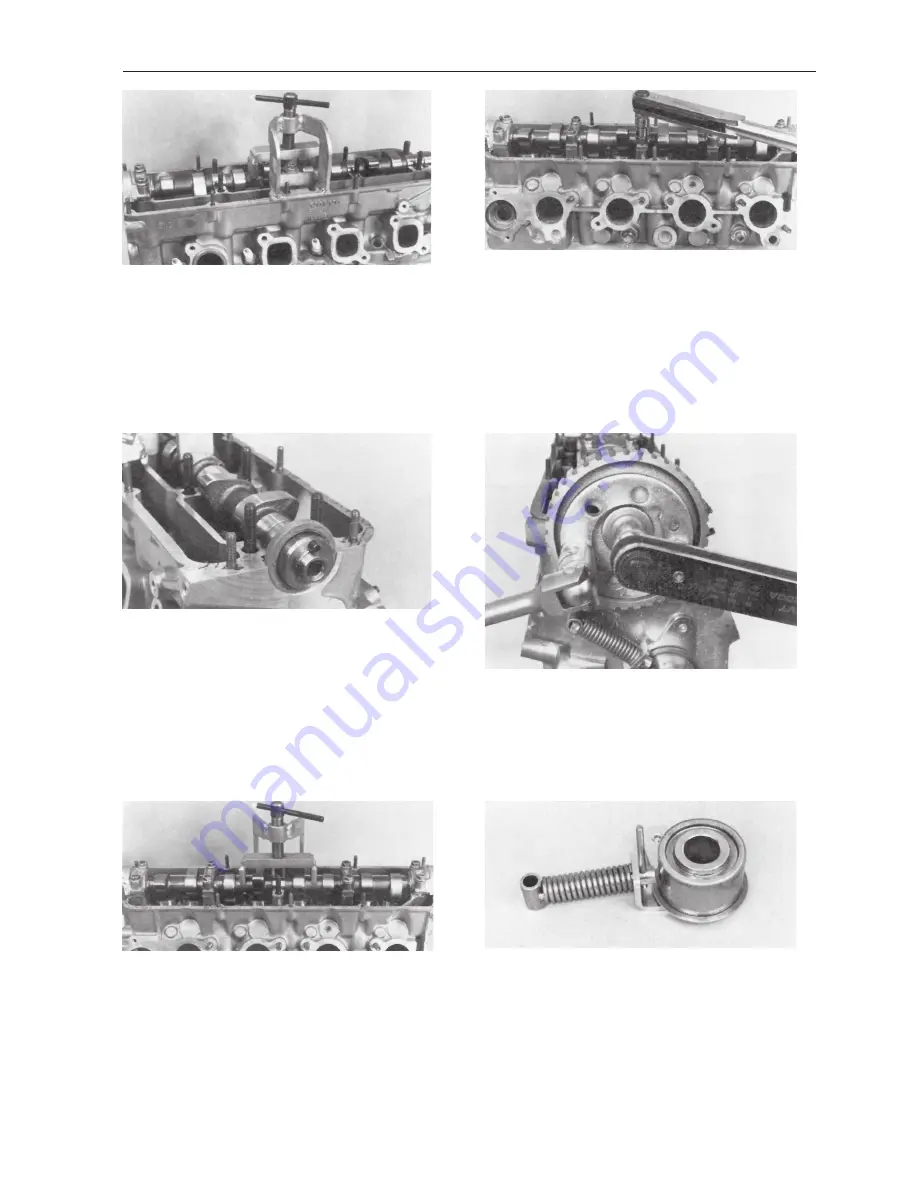
123. Install special tool part no 9995021-4 and press
down the camshaft.
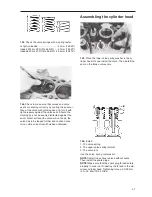
124. Lubricate the rubber lip of the camshaft sealing
and install it on the camshaft. Make sure not to dam-
age the rubber lip by the edge of the camshaft during
the assembly.
NOTE! Install the sealing ring so that a new sealing
surface against the camshaft is obtained.
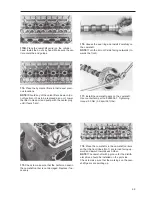
125. Oil and install the remaining 3 bearing caps. In-
stall the nuts but without tightening them.
NOTE! Coat the contact surface of the front bearing
cap against the cylinder head with a gasket com-
pound. Make sure that the sealing is properly
aligned prior to the tightening of the front bearing
cap. Then remove the special tool.
126. Oil and tighten the last bearing cap. Now tight-
en all the nuts with a torque wrench. Tightening
torque: 20 Nm (2.0 kpm/15 ft.lbs).
127. Install the camshaft gear wheel and the spacer
washer. Use counterhold part no 9995034-7.
Tightening torque: 50 Nm (5.0 kpm/36 ft.lbs).
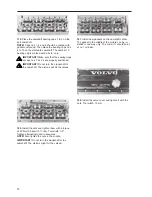
128. Check the belt tensioning device. The bearing
should be free from play. Should the contact surface
of the roller be damaged, the roller and the toothed
belt must be replaced.
Compress the spring and lock it with a 3 mm drill
and then install the belt tensioning device on the cyl-
inder block.
Summary of Contents for 230
Page 1: ...Engine 230 250 251DOHC AQ131 AQ151 AQ171 Workshop Manual 2 0 C ...
Page 2: ......
Page 27: ...25 AQ131 AQ151 230 250 ALT 1 ...
Page 29: ...27 230 250 ALT 2 ...
Page 31: ...29 AQ171 251DOHC ALT 1 ...
Page 33: ...31 251DOHC ALT 2 ...
Page 99: ...97 References to Service Bulletins Group No Date Regarding ...
Page 100: ...98 Notes ...
Page 102: ...7732007 5 English 05 1999 ...


