83
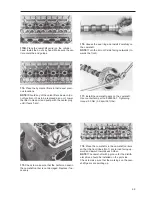
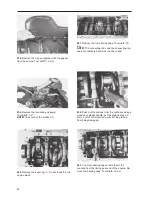
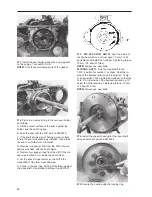
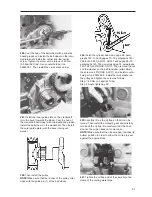
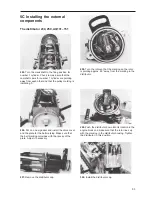
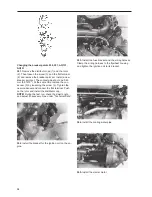
244. Lift out the crankshaft and remove the bearing
shells from the block and the caps.
The cylinder bores
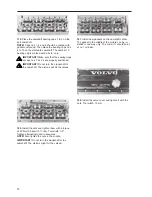
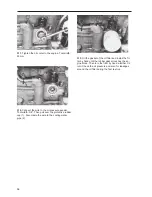
245. Measure the cylinders with a ‘dial bore gauge’.
Measure for greatest wear transversally, just below
the T.D.C. Measure for smallest wear longitudinally
at the B.D.C.
Cylinder diameter standard:
C-marked: 96.00–96.01 mm (3.77953–3.77992")
D-marked: 96.01–96.02 mm (3.77992–3.78031")
E-marked: 96.02–96.03 mm (3.78031–3.78071")
G-marked: 96.04–96.05 mm (3.78110–3.78150")
Oversize:
No 1: 96.3 mm (3.79134")
No 2: 96.6 mm (3.80315")
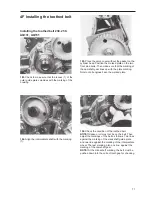
246. At each cylinder there is a letter punched into
the block, giving the class of the bore and that of the
piston. Oversizes are categorized as ’ÖD 1’ and ‘ÖD
2’. When reboring a cylinder, the new class must be
punched in.
Pistons
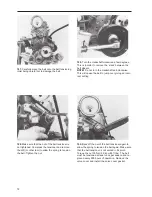
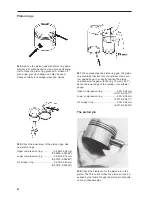
247. Measure the pistons with a micrometer 90° to
the gudgeon pin hole and 7 mm (0.2756") from the
lower edge.
Piston diameter, standard:
(C-marked) = 95.940–95.950 mm (3.77717–3.77756")
(D-marked) = 95.950–95.960 mm (3.77756–3.77795")
(E-marked) = 95.960–95.970 mm (3.77795–3.77835")
(G-marked) = 95.980–95.990 mm (3.77874–3.77913")
(‘ÖD-1’) = 96.237–96.252 mm (3.78886–3.78945")
(‘ÖD 2’) = 96.537–96.552 mm (3.80067–3.80126")
248. Calculate the piston clearance:
Example:
Measured cylinder bore ....... min. 96.025
max 96.030 mm
(3.78051–3.7807")
Measured piston diam. ........ max. 96.015
min. 96.010 mm
(3.78012–2.77992")
The piston clearance should be max 0.080 mm
(.0031") before overhaul is required, overhauled en-
gines should have a clearance between 0.010 and
0.030 mm (.0004–.0012")
Classification
0.010
0.020
Summary of Contents for 230
Page 1: ...Engine 230 250 251DOHC AQ131 AQ151 AQ171 Workshop Manual 2 0 C ...
Page 2: ......
Page 27: ...25 AQ131 AQ151 230 250 ALT 1 ...
Page 29: ...27 230 250 ALT 2 ...
Page 31: ...29 AQ171 251DOHC ALT 1 ...
Page 33: ...31 251DOHC ALT 2 ...
Page 99: ...97 References to Service Bulletins Group No Date Regarding ...
Page 100: ...98 Notes ...
Page 102: ...7732007 5 English 05 1999 ...

