06 Maintenance and specifications
Wheels and tires
06
``
*
Option/accessory, for more information, see Introduction.
271
Tire Sealing System*
Introduction
Certain models are equipped with a tire sealing
system that enables you to temporarily seal a
hole in the tread surface and re-inflate a flat tire,
or to adjust a tire’s inflation pressure.
The system consists of an air compressor, a
container for the sealing compound, wiring to
connect the system to the vehicle’s electrical
system via one of the 12-volt sockets, and a
hose used to connect the system to the tire’s
inflation valve.
The 12-volt sockets are located in the front
tunnel console, on the rear side of the center
console in the rear seat and in the cargo
area*, see page 202.
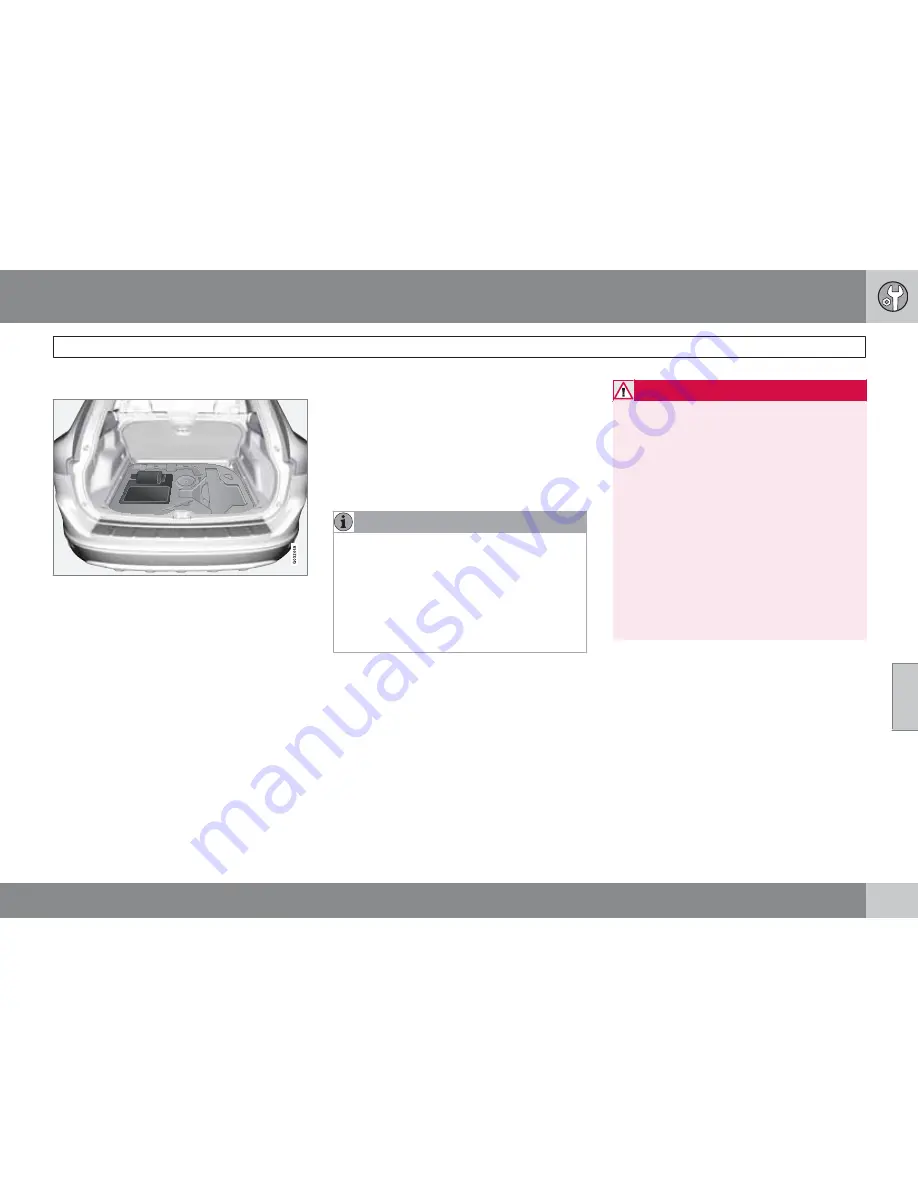
Accessing the tire sealing system
The tire sealing system is stowed under the
floor of the cargo area. To access it:
1.
Lift the floor hatch in the cargo area.
2.
Remove the screw holding the tire sealing
system's retaining bracket.
3.
Lift out the tire sealing system.
NOTE
•
The tire sealing system is only intended
to seal holes on the tire’s tread area, not
the sidewall.
•
Tires with large holes or tears cannot be
repaired with the tire sealing system.
•
After use, stow the tire sealing system
properly to help prevent rattling.
WARNING
•
After using the tire sealing system, the
vehicle should not be driven farther than
approximately 120 miles (200 km).
•
Have the tire inspected by a trained and
qualified Volvo service technician as
soon as possible to determine if it can
be permanently repaired or must be
replaced.
•
The vehicle should not be driven faster
than 50 mph (80 km/h) while using a tire
that has been temporarily repaired with
the tire sealing system.
•
After using the tire sealing system, drive
carefully and avoid abrupt steering
maneuvers and sudden stops.
Summary of Contents for XC60 2009
Page 1: ...VOLVO XC60 Owner s Manual Web Edition...
Page 2: ......
Page 7: ...Contents 7...
Page 15: ...01 SAFETY...
Page 53: ...01 Safety 01 53...
Page 54: ...54 Remote key and key blade 56 Keyless drive 63 Locks 66 Alarm 68...
Page 55: ...02 LOCKS AND ALARM...
Page 71: ...02 Locks and alarm 02 71...
Page 73: ...03 YOUR DRIVING ENVIRONMENT...
Page 74: ...03 Your driving environment Instruments and controls 03 74 Instrument overview...
Page 123: ...04 COMFORT AND DRIVING PLEASURE...
Page 200: ...04 Comfort and driving pleasure Passenger compartment convenience 04 200 Storage spaces...
Page 205: ...05 DURING YOUR TRIP...
Page 225: ...05 During your trip 05 225...
Page 227: ...06 MAINTENANCE AND SPECIFICATIONS...
Page 250: ...06 Maintenance and specifications Fuses 06 250 Engine compartment...
Page 284: ...06 Maintenance and specifications Label information 06 284 Location of labels...
Page 302: ...07 Index 07 302...
Page 303: ......
Page 304: ...Kdakd 8Vg 8dgedgVi dc IE JH6 8VcVYV 6I Eg ciZY c HlZYZc iZWdg 8deng i Kdakd 8Vg 8dgedgVi dc...


