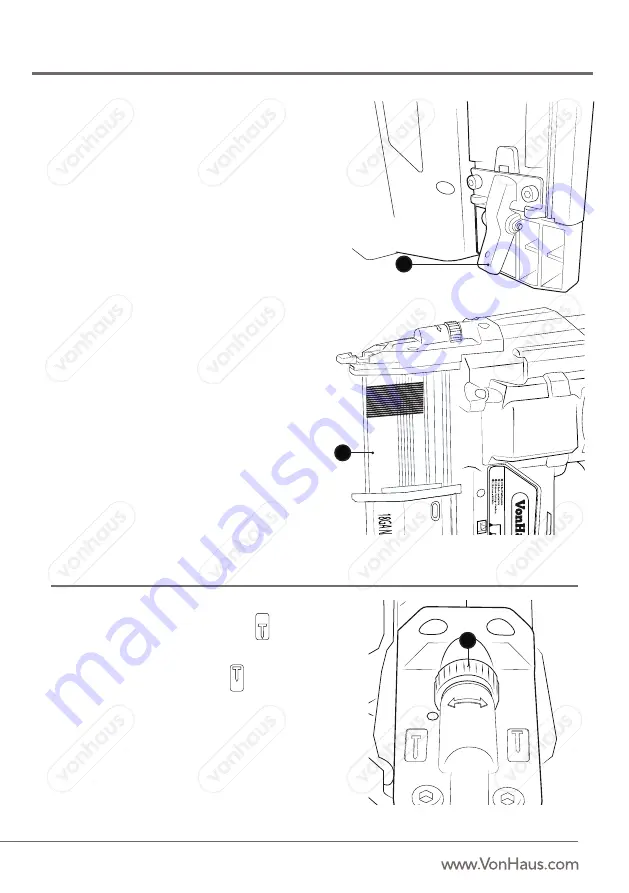
INSERTING NAILS/STAPLES
Before inserting any nails or staples, check the Safety
Contact
(3)
trip mechanism for function.
WARNING!
Ensure there are no staples or nails in the
tool before checking the Safety Contact.
Press the Safety Contact tip and pull the Trigger
Switch
(7)
; the Safety Contact tip should move freely.
CAUTION:
Before inserting nails or staples, first
ensure that the Battery has been removed from the
tool.
Press the Magazine Release
(12)
on the Nail/Staple
Magazine
(11)
and pull downwards.
Tilt the tool and place the nails/staples into the track
of the Magazine channel.
Ensure that:
•
Staples
are placed against the profiled side of
the rail, and that the crown of the staple is in
the uppermost part of the Magazine (legs are
facing
away from the body of the tool).
•
Nails
are placed against the profiled side of the
rail, with the points of the nails facing outwards.
IMPORTANT:
ensure that nails/staples are of a
suitable size and not of different lengths.
CAUTION:
Do not mix nails and staples in the
Magazine.
Close the Magazine until it clicks back into place.
Depth adjustment helps protect the work surface and
allows proper setting of nail heads.
Turning the Adjustment Wheel
(1)
towards
will mean that the nail/staple will be fired into the
wood at a greater depth.
Turning the Adjustment Wheel to the will fire the
nail/staple into the wood at a lesser depth.
ADJUSTMENT WHEEL
12
1
11


