REMOVING JAMS
WARNING!
Ensure you remove the Battery before attempting to remove a jammed nail or staple.
CAUTION:
Jammed nails/staples must be removed
before using the tool any further. Failure to do so
could cause damage to the mechanism.
Open the Nail/Staple Magazine
(11),
remove the nails
or staples from the channel, then remove the jammed
nail/staple.
If the nail/staple remains jammed after following the
previous step:
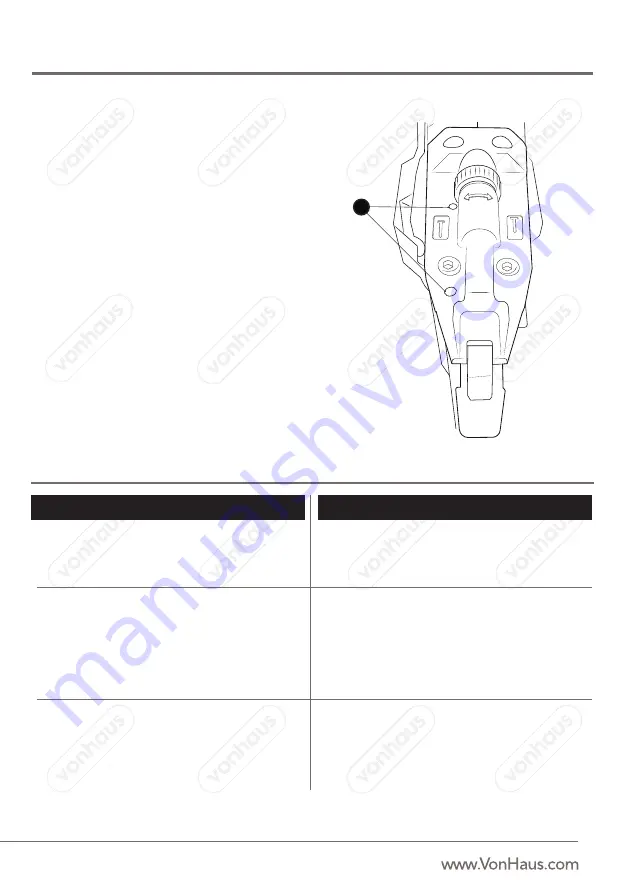
Slightly loosen the Hex Bolts
(2)
(shown).
NOTE:
The screws are non removable, they will only
loosen slightly. Remove any jammed nails/staples with
pliers if necessary.
After the jammed nail/staple has been removed,
retighten the Hex Bolts and ensure they are secure.
WARNING!
Do not remove any Hex Bolts other than
the ones shown as this will cause damage to the tool
and invalidate any warranty on the product.
TROUBLESHOOTING
PROBLEM
SOLUTION
Ensure the Battery is charged and connected correctly.
Check that the Charger is working. The Charger Indicator
Light should light up when charging the Battery.
The Battery may have run down. Check the LED Indicator
Light for confirmation (see the
‘LED Indicator Light’
section). If necessary, charge the Battery as instructed in
the
‘Charging the Battery’
section.
Check capacity of nails/staples and refill appropriately if
needed, following the instructions in the
‘Inserting Nails/
Staples’
section.
Ensure you are applying the two stage safety to activate
the Gun.
Ensure the Battery is fully charged for maximum
efficiency.
Check for jams (see the
‘Removing Jams’
section above
for guidance on clearing the blockage).
NO POWER
TOOL WILL NOT START
GUN NOT FIRING
2


