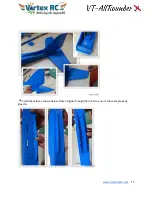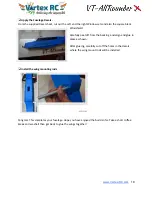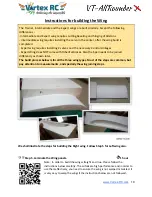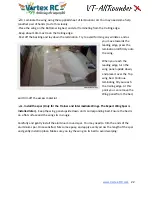
Step 8. Measurement checks.
30 mins
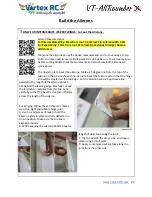
Double check the following and adjust as needed.
1>
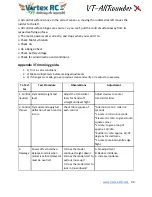
Stabilizer A=A from Nose. Use the Pin and thread to check this
2>
Wing tip B=B from Nose
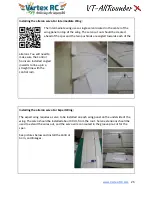
3>
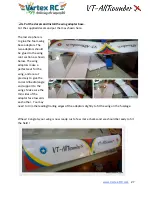
Wing and stab parallel. Eyeball the wing and the stab from behind
the tail to check if the tail stabilizer is parallel with the wing. If not, then
put a couple of layers of paper tape to one side of the wing foam
adaptor.
This is very important
4>
CG Check. CG should be at the spar position Which is
approximately 65mm from the leading edge of the wing (at root ).
This is
very important
5>
Lateral balance check
5> Control Surface checks : Check that all surfaces are neutral. All
surfaces move in the correct directions and are not reversed and that
there is adequate throws.
This is very important
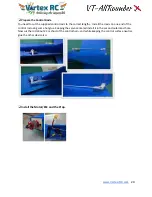
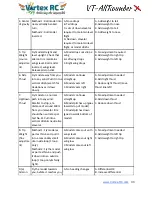
The wing is held down by the supplied 4 rubber
bands. Install two rubber bands straight, ie
parallel to the fuse and the two rubber bands
criss-cross, so that they lock down the first two
bands. Make sure your wing trailing edges have
the fiberglass tape, to avoid damage. The battery
should be installed in the front and strapped down tight. Adjust the placement of battery to get
the CG correct. Make sure the battery is securely fastened.
Step 9 . Go out and enjoy !!
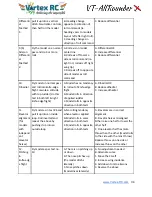
But responsibly. Find out a large open field, free from trees, buildings, obstructions and people.
Ensure you comply with local regulation laws.
Before flying your model, it
is recommended you have
an experienced flier from
your region test fly the
model and trim it out for you
. In case you have no such
help, do not despair.
We suggest you go and do
some computer simulation
www.Vortex-RC.com
30
Summary of Contents for VT-AllRounder
Page 35: ...www Vortex RC com 35 ...


