29
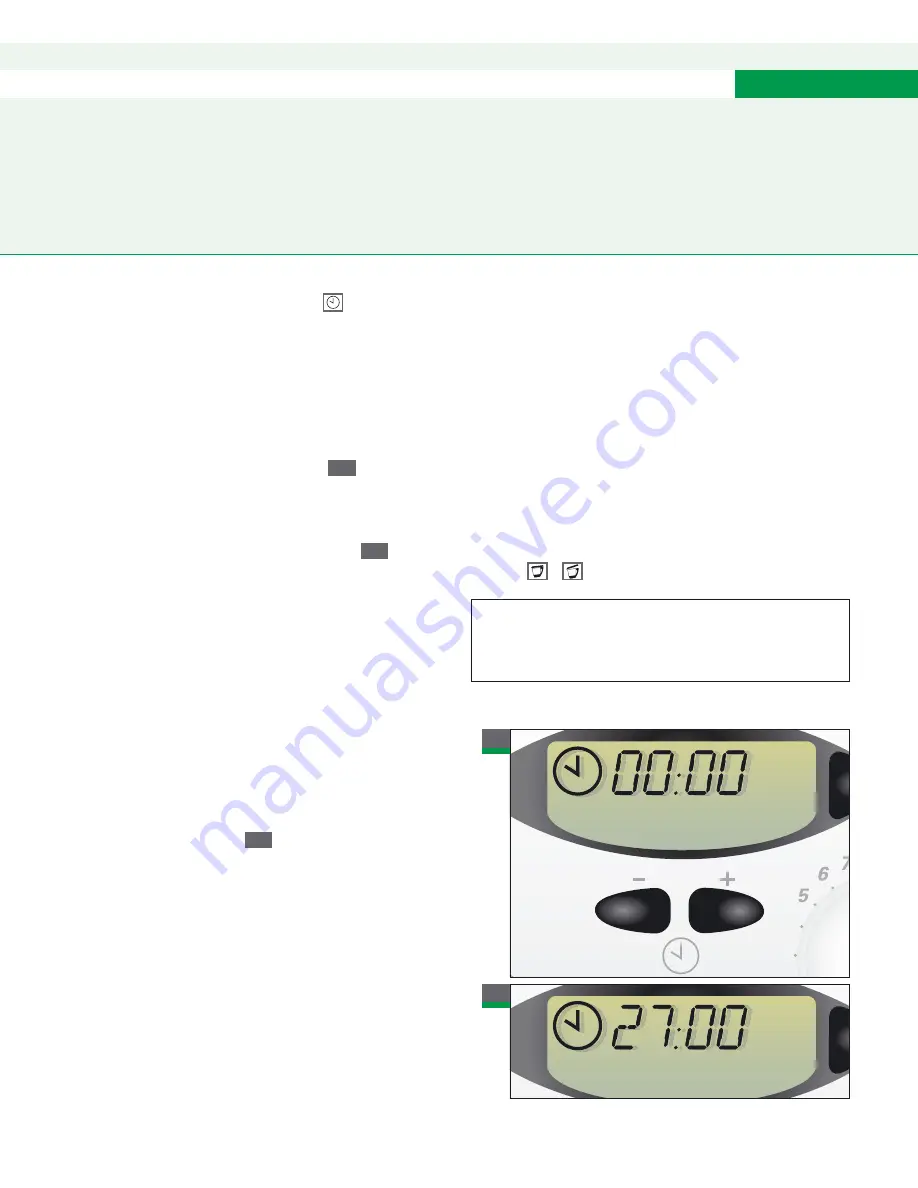
Timer buttons and timer display
Observe the following sequence of steps
if you wish to prepare or heat food in your
Thermomix TM 31:
Step 1: Select a time
Therefore use the timer buttons to preset an
operating time of up to 60 minutes
.
Press the
+
to increase time and the
–
button to
reduce it. To change time gradually, press the button
briefly. Press and hold the
+
button to
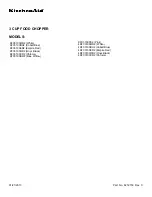
incre ment the timer display rapidly, e.g.
.
Time selection:
0 – 1
minute in increments of
1 second
1 – 10
minutes in increments of 30 seconds
10 – 60
minutes in increments of
1 minute
When the display is in the zero setting you can
preset the time directly to 1 minute by briefly
actuating the
–
button; therefore you do not
have to count up in increments of 1 second.
Then proceed as indicated above.
Press both buttons simultaneously to set the
displayed time to 00:00
.
Step 2: Select a temperature (see page 30ff.)
Select the appropriate temperature if the food
should be heated or cooked. If not proceed with
step 3.
Step 3: Turn the speed selector (see page 32ff.)
After the speed selector has been turned, the
preset time is counted backwards in steps of one
second, until 00:00 is reached.
When the appliance is in cold mixing mode the
mixing speed switches off after the preset time has
expired. A buzzer will sound to indicate that the job
has been completed.
When the appliance is in heating or cooking mode
the mixing knife will continue to rotate in the gentle
stir setting after the preset time has expired.
To switch off the buzzer turn the speed selector
back to
/
.
3
3
4
Working with the Thermomix TM 31
Important:
Heating and cooking are only possible if a time
period has been preset.
4
3
4
3


