XR3D-6 Maintenance & Troubleshooting
6-2
EM-XR3D-6-001-EN.D
©2011 VOTI Inc.
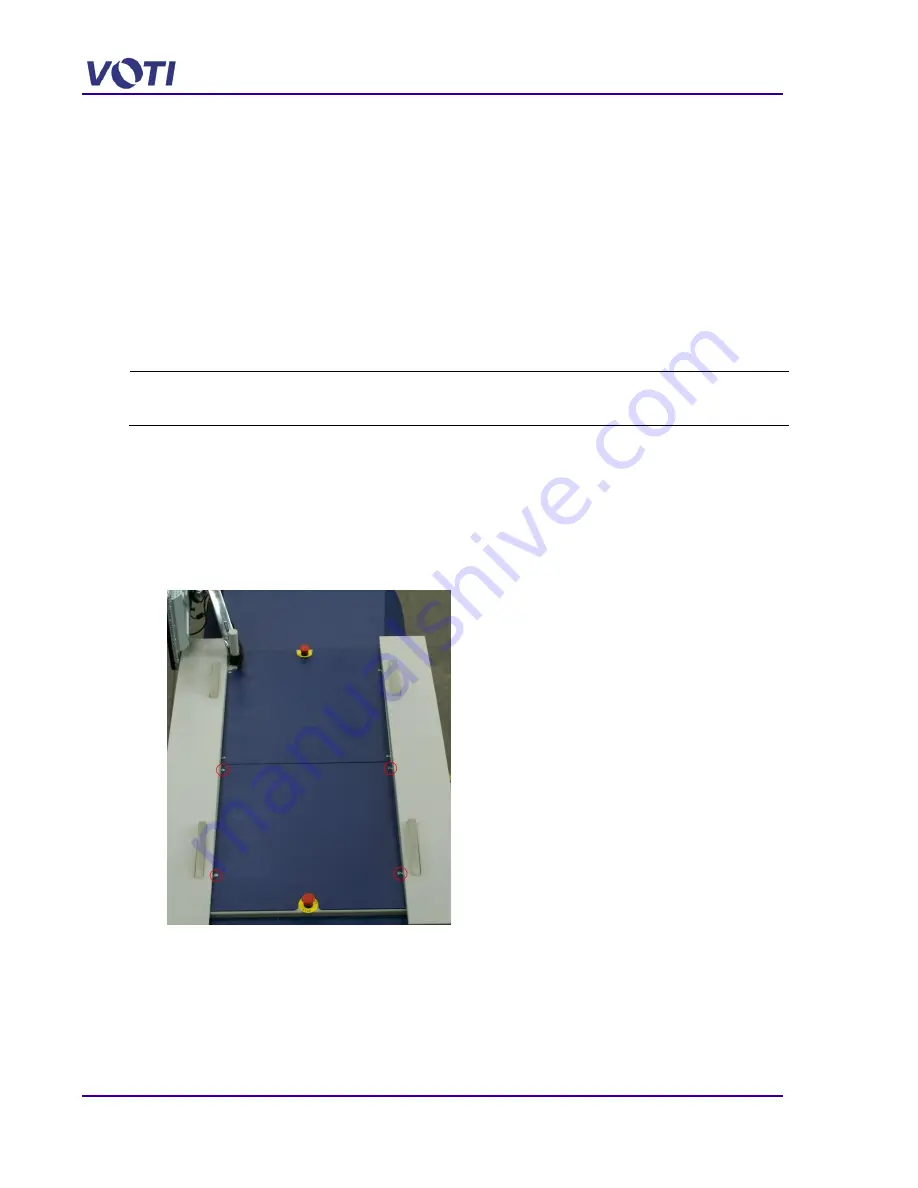
2. Using the hand slots, lift the access panel, approximately a ½ inch and pull the access panel
towards you.
To replace the access panels, front and rear, proceed as follows:
1. Using the hand slots, lift the access panel and align the top with the opening.
2. Gently press the bottom of the panel into place.
3. Replace and tighten the two (2) (or four (4) depending on the model) M6 x 25 SS machine
screws with a 6 point security head.
6.2 Replace the Computer
The Computer is accessed through the top security access panel.
Tools:
Screwdriver with Security Chuck
10mm Hex head socket wrench
1. Unplug the scanner power cable from the wall receptacle.
2. Using a screwdriver with the security chuck, remove the (2 or 4) security screws (M6 x 25
SS machine screw with a 6 point security head) on the base front (to access the UPS) and
rear access panel.
3. Turn off the UPS by pressing the power button.
4. Using a screwdriver with the security chuck, remove the four (4) security screws (M6 x 25
SS machine screw with a 6 point security head) on the left/top panel.
5. Remove the left/top panel.
The Computer is now accessible.
6. Using the wrench, loosen and remove 3 bolts holding the stiffener bar to the chassis on
either side of the computer.
Summary of Contents for XR3D-6
Page 2: ...XR3D 6 Maintenance Troubleshooting ii EM XR3D 6 001 EN D 2011 VOTI Inc...
Page 6: ......
Page 20: ...XR3D 6 Maintenance Troubleshooting 2 8 EM XR3D 6 001 EN D 2011 VOTI Inc...
Page 32: ...XR3D 6 Maintenance Troubleshooting 3 12 EM XR3D 6 001 EN D 2011 VOTI Inc...
Page 48: ...XR3D 6 Maintenance Troubleshooting 3 28 EM XR3D 6 001 EN D 2011 VOTI Inc...
Page 52: ...XR3D 6 Maintenance Troubleshooting 4 4 EM XR3D 6 001 EN D 2011 VOTI Inc...


