XR3D-6 Maintenance & Troubleshooting
EM-XR3D-6-001-EN.D
6-7
©2011 VOTI Inc.
6.4 Replace Interlock Switch
There are four (4) interlock switches on the scanner, two at the front and two at the back,
ensuring the access panels are securely in place. A spacer is adhered to the access panel
inside top corners ensuring the switch shaft is depressed.
Tools:
Screwdriver with Security Chuck
Wire crimper
To replace an interlock switch, proceed as follows:
1. Unplug the scanner power cable from the wall receptacle.
2. Using a screwdriver with the security chuck, remove the (2 or 4) security screws (M6 x 25
SS machine screw with a 6 point security head) on the base front (to access the UPS) and
rear access panel.
3. Turn off the UPS by pressing the power button.
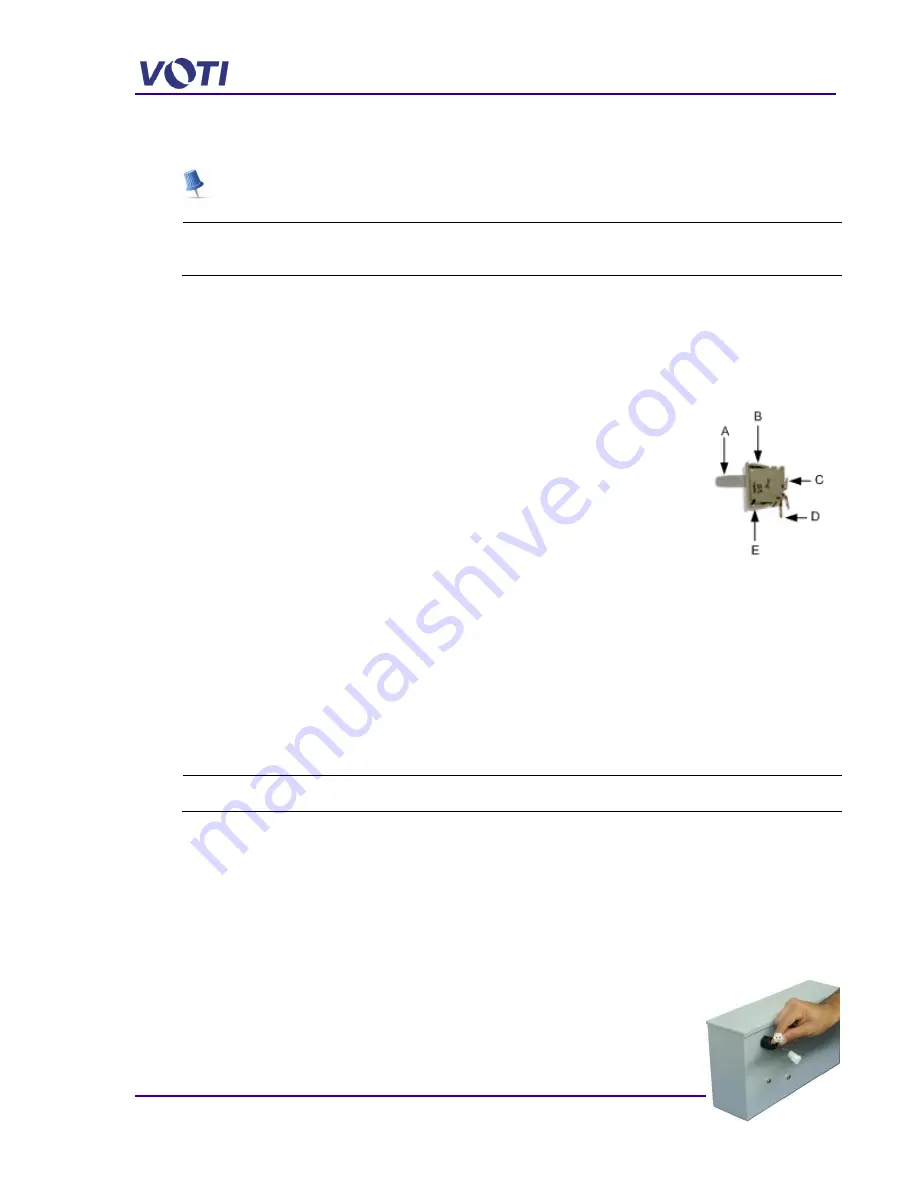
4. Gently squeeze the butterfly clip (B & E) and push out the switch.
A. Switch Shaft
B. Butterfly Clip (2)
C. NO (Normally Open) Terminal
D. Common Terminal
E. Butterfly Clip (2)
5. Label and remove the wires.
6. Squeeze the butterfly clip of the new switch and push the switch in place with the Common
Terminal (D) in the down position.
7. Connect the wires to a new switch.
8. Push the wires so they are behind the switch.
This ensures the wires do not catch on the access panel locking slot.
9. Replace the front and back access panels.
6.5 Remove and Replace the Power Distribution Unit
Tools:
Screwdriver with Security Chuck
To replace the Power Distribution Unit, proceed as follows:
1. Unplug the scanner power cable from the wall receptacle.
2. Using a screwdriver with the security chuck, remove the (2 or 4) security screws (M6 x 25
SS machine screw with a 6 point security head) on the base front access panel.
3. Turn off the UPS by pressing the power button.
4. Unplug the cables behind the Power Distribution Unit.
Note which plug goes to which receptacle. See
5. Unplug the 2-pin Molex Connector.
Summary of Contents for XR3D-6
Page 2: ...XR3D 6 Maintenance Troubleshooting ii EM XR3D 6 001 EN D 2011 VOTI Inc...
Page 6: ......
Page 20: ...XR3D 6 Maintenance Troubleshooting 2 8 EM XR3D 6 001 EN D 2011 VOTI Inc...
Page 32: ...XR3D 6 Maintenance Troubleshooting 3 12 EM XR3D 6 001 EN D 2011 VOTI Inc...
Page 48: ...XR3D 6 Maintenance Troubleshooting 3 28 EM XR3D 6 001 EN D 2011 VOTI Inc...
Page 52: ...XR3D 6 Maintenance Troubleshooting 4 4 EM XR3D 6 001 EN D 2011 VOTI Inc...


