3
Using tweezers or fine-tipped pliers, grip the center of the red wire’s
connector
not
the wire itself
and push it onto the cartridge’s right hot
terminal pin. Connect the remaining connectors in the same way. To avoid
damage to the cartridge, do not push the connectors all the way on.
Place the Alignment Jig on the spindle with the V-groove against the male
bearing shaft. Tighten the screws of the jig so it fits snugly against the
male bearing shaft and over the record spindle.
Place the arm tube assembly on the male pivot point, using caution with
the 4-color wire and Lemo connector. Set the arm in its rest. If the
cartridge has a guard, remove it.
Line up the red dot on the Lemo connector with the red dot on the
receptacle on the junction box. The Lemo connector can plug in only one
way and should not be forced.
Swing the tonearm over the jig so the stylus is as close as possible to the
dot in the center of the grid. Set the counterweight for enough downward
force to keep the stylus from moving when resting on the jig.
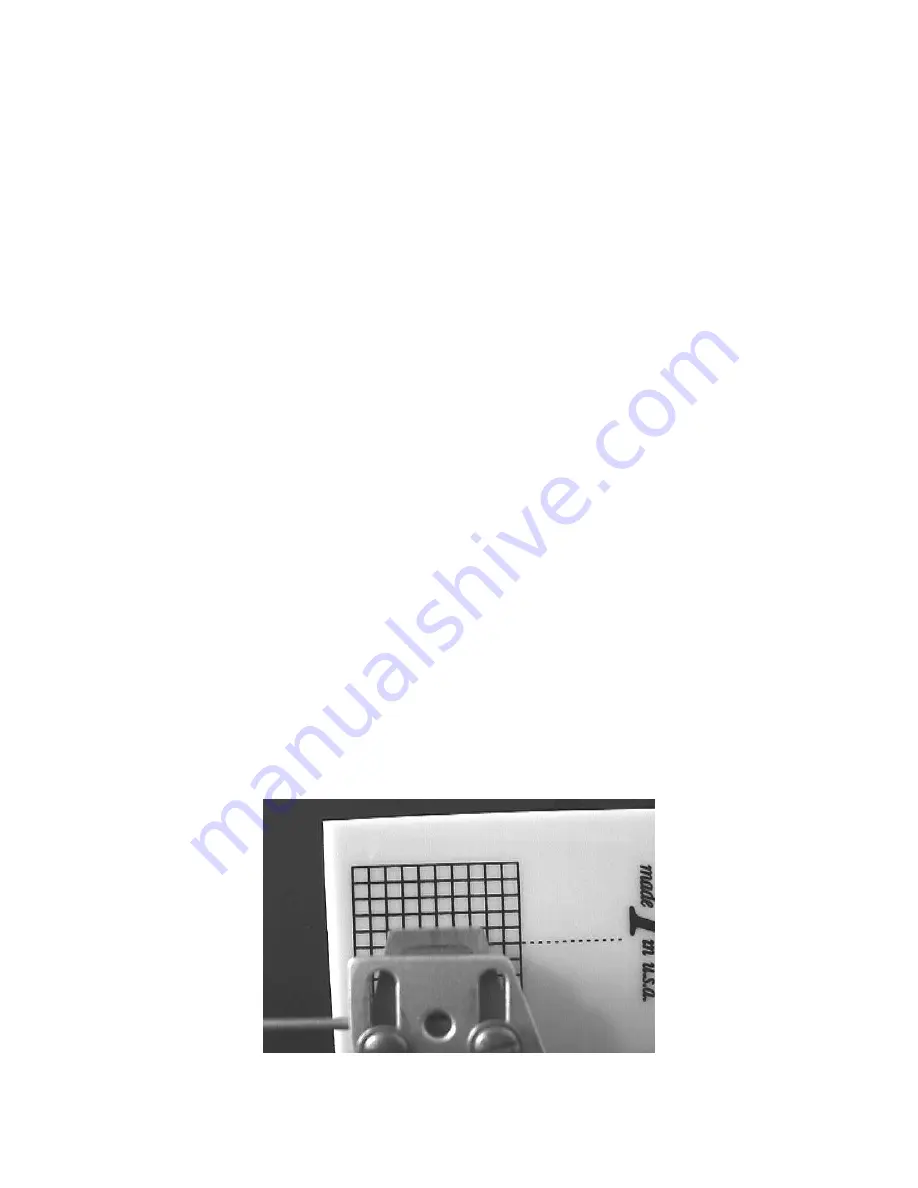
Look down at the cartridge and align it between the lines of the grid. Be
careful to align the cartridge and not the tonearm headshell. You should
have the diamond stylus on the white dot and the cantilever lined up with
the lines on the grid.
Adjust the cartridge mounting screws and the counterweight as needed
until the cartridge is centered between the grid lines and the stylus is
resting on the dot of the grid. The picture below shows the setup, the jig is
in white for clarity, yours is black.
When the cartridge is properly positioned, tighten the cartridge mounting
screws and remove the alignment jig.


