Securely glue together. If coming off during flight,
you lose control of your air plane.
!
A B
A = A’
B = B’
B
B’
A
A’
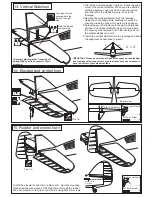
12- Horizontal stabilizer
Cut away only
the covering both
the top and bottom
side
1-Trial fit the horizontal stabilizer in place . Check the alignment of the horizontal stabilizer. When you are satisfied with
the alignment, use a pencil to trace around the top and bottom of the stabilizer where it meets the fuselage.
2-Remove the horizontal stabilizer from the fuselage. Using the sharp hobby knife, carefully cut away the covering inside
the lines which were marked above.
3-Spread epoxy (30 minute) onto the top and bottom of the horizontal stabilizer along the area where the covering was
removed and to the fuselage where the horizontal stabilizer mounts.
4-Install the horizontal stabilizer into the fuselage and adust the alignment as described in steep 1.
Both the top and
bottom side
A B
1
2
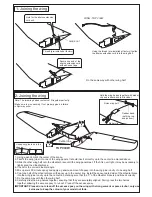
11- Tail wheel
3x15mm screw
...............4
...................1
2mm tail gear horn
Tail gear mount
................1
Pre-installed at factory.
3
4
5
NOTE: Insert the Z bend of the tail gear pushrod into the hole on the tail gear
horn before insert the tail gear horn on to the tail gear mount. (2)
BOTTOM-VIEW


