background image

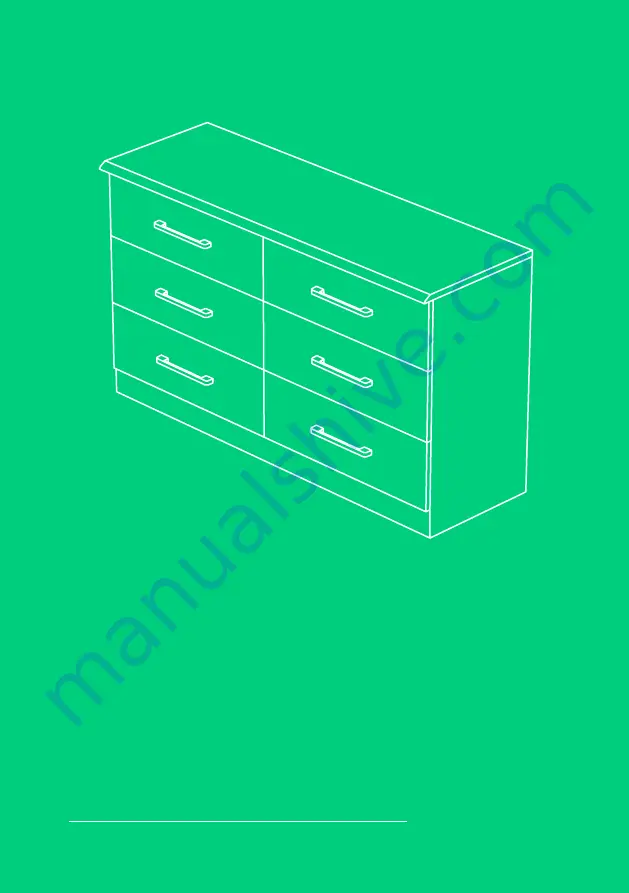
6-Drawer Dresser


|   1

Give Me 

Some Space!

6-Drawer Dresser

This Is A Manual.

Summary of Contents for VRM050715N

Page 1: ...6 Drawer Dresser 1 Give Me Some Space 6 Drawer Dresser This Is A Manual ...

Page 2: ...le CAUTION We do not recommend using a drill or a power screwdriver It may cause the screws to break or strip SAVE THESE INSTRUCTIONS For Household Use Only In the event this product malfunctions or you believe it is defective contact Customer Service at Vremi com chat 1 646 490 9904 or support vremi com and retain the defective product pending further instructions Defective product should be clea...

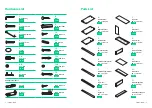
Page 3: ...w M3 5 16 2 Pcs Bracket 2 Pcs Screw M4 38 2 Pcs Parts List A Left Side Panel 26 6 14 0 0 6 1 Pc I Top Panel 46 9 15 6 0 7 1 Pc B Right Side Panel 26 6 14 0 0 6 1 Pc J Back Panel 23 7 11 7 0 1 4 Pcs C Divider Panel 22 8 14 0 1 0 1 Pc K Drawer Front 23 1 7 6 0 6 6 Pcs D Horizontal Shelf 45 6 3 1 0 6 1 Pc L Drawer Left Side 13 5 5 5 0 6 6 Pcs E Divider Support Front 45 6 3 1 0 6 1 Pc M Drawer Base 20...

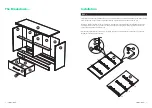
Page 4: ... A Tighten the drawer slides with Screw 10 Put Panel C Divider Panel with the slot pointing to the right Place the drawer slides 9 marked with CR at the predrilled holes on Panel C and make sure the end with the roller is aligned with the right side of the Panel C Tighten the drawer slides with Screw 10 Insert Cam Nut 6B with the cross arrow mark facing upwards You will be able to see the opening ...

Page 5: ... the end with the roller is aligned with the right side of panel B Tighten the drawer slides 9 with Screw 10 Insert Cam Nut 6B into Panels B and C with the cross arrow mark facing upwards You will be able to see the opening of the Cam Nut 6B thru the top edges of Panels B and C Turn over Panel C Place the Drawer Slides 9 marked with CL at the predrilled holes on Panel C Make sure the end with the ...

Page 6: ...ng under Panel I then tighten it upon both sides Panels A and B and upon the middle piece Panel C Insert Wood Dowel 11 into both left and right sides of Panels G and H then align the Wood Dowels with the pridrilled holes on Panels A and B slightly tapping them in with a hammer Fix Screw 2 using predrilled holes on Panel B into Panels D E and F by using the Allen Key 1 Insert 2pcs Screw 2 using pre...

Page 7: ...Panels M and K and align properly Fix the 4pcs Cam Nuts 6B with the screwdriver 1 5 Insert the minifix Cam Nut 13B into Panel P with the cross arrow mark facing downward Screw the minifix Cam Lock 13A from the bottom of Panel K Drawer Front into Panel P Drawer Base Support aiming to Panel P s thru hole then fix 13B using the screwdriver Fix 50 pcs Nails 8 into Panel J using a hammer Attention Uppe...

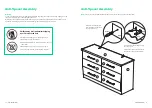
Page 8: ...2 The white roller of the drawer slides should face outward and the other end should touch the tip of Panel K as shown Place Panel N on each side of Panel L and Panel O as shown Then tighten Screw 12 to Panel L and Panel O s upper thru holes to fix them onto Panel N Tighten Screw 14 to Panel N s thru hole to fix it to Panel P Flip the drawer over Tighten 2 Screw 4 from the inner side of Panel K to...

Page 9: ...ypes of anchors Note You can choose to assemble the anti tipover bracket to the top or sides of the dresser Children may die from furniture tipping over To reduce the risk ALWAYS install the tip over restraint provided NEVER put a TV on the dresser NEVER allow children to stand climb sit or hang on the dresser NEVER open more than one drawer at a time Place the heaviest items in the bottom drawers...

Page 10: ...ing but without limitation to a normal wear and tear b abuse mishandling accident or failure to follow operating instructions c exposure to liquid or infiltration of foreign particles d servicing or modification of the product other than by Vremi These are our general terms for the warranty service but we always urge our customers to reach out to us with any issue regardless of warranty terms If y...

Page 11: ...20 6 Drawer Dresser vremi com chat support vremi com 646 490 9904 Questions ...

Reviews: