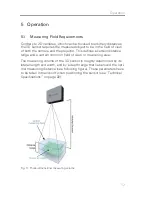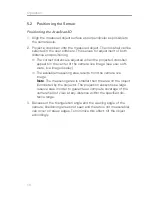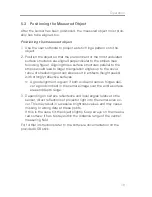
12
Mounting
3 Mounting
For mounting, the aluminum case of the sensor has six M6 thread
bores at its bottom side. Depending on the mounting surface you will
need suitable fastening material and tools.
The sensor should be mounted directly to a solid metal part. This
ensures an optimum heat dissipation through the sensor case. Ensure
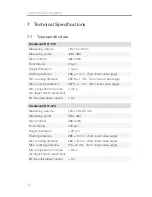
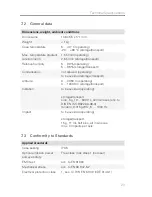
that the ambient conditions are met (see “Technical Specifications” on
page 22).
Mounting the AreaScan3D
1. Decide in which position the AreaScan3D is to be mounted (orien-
tation, distance to the measured surface, see „Technical Specifica-
tions“ on page 22).
2. Vibrations can disturb the measuring process substantially. If
necessary, use vibration absorbing components for mounting the
sensor.
3. Pencil 6 mounting holes onto the mounting surface. The distance
of the hole centers has to match the distance of the mounting hole
centers on the AreaScan3D case (see following figure).
4. Drill 6 holes with sufficient diameters into the mounting surface.
5. Mount the AreaScan3D.
Summary of Contents for AreaScan3D
Page 1: ...AreaScan3D Manual ...
Page 3: ......
Page 13: ...13 Mounting Fig 8 Dimensions and mounting holes ...
Page 20: ...20 Operation Fig 12 Example for good alignment ...
Page 26: ......
Page 27: ......


