vSync412i User Guide
© vSync DVR December 2007
Rev A.
December 2007
Specifications and content are subject to change without notice.
17
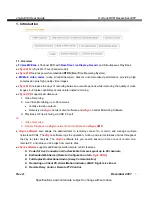
3-3-1. Motion Zone set up
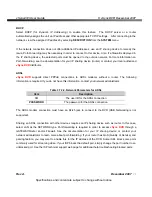
By selecting
Partial
Zone
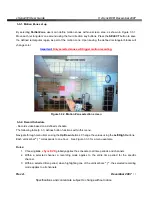
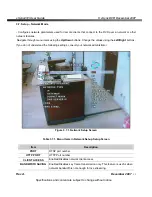
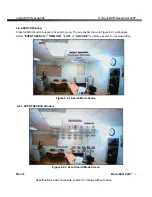
, users can define motion zones within a screen area, as shown in Figure 3.3.1.
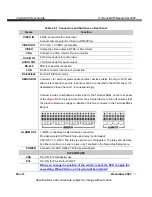
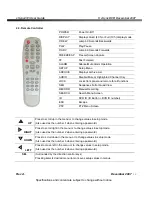
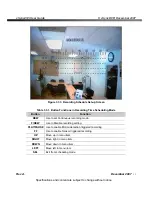
Move each rectangular zone around using the four direction key buttons. Press the
SELECT
button to save
the defined rectangular region as part of the motion zone. Upon saving, the defined rectangular blocks will
change color.
Important:
Only selected zones will trigger motion recording.
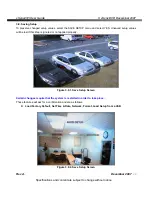
Figure 3.3.2. Motion Zone selection screen
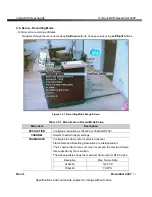
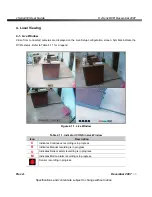
3-3-2. Record Schedule
- Records video based on a defined schedule.
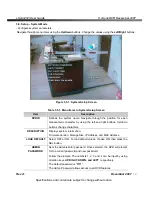
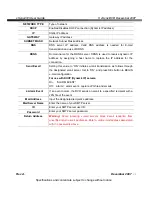
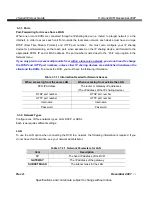
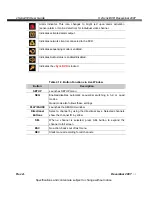
The following table (3.3.1) defines button functions within this menu.
Navigate through menu items using the
Up/Down
buttons. Change the values using the
Left/Right
buttons.
Each vertical bar
“ | ”
corresponds to one hour. See Figure 3.3.3 for a menu example.
Rules:
1. Choosing
ALL
,
vSync DVR
globally applies the schedule to all time periods and channels.
2. Within a selected channel, a recording mode applies to the entire time period for the specific
channel.
3. Within a selected time period, when highlighting one of the vertical bars
“
|
”,
the selected recording
mode applies to all channels.


