background image

3

INCLUDED IN THIS PACKAGE

- One 

VTech

®

 C

ount & Hug Bug

TM

 learning toy

- One instruction manual

WARNING:

All packing materials, such as tape, plastic sheets, packaging 

locks and tags are not part of this toy, and should be discarded 

for your child’s safety.
ATTENTION: 
Pour  la  sécurité  de  votre  enfant,  débarrassez-vous  de  tous 

les produits d’emballage tels que rubans adhésifs, feuilles de 

plastique, attaches et étiquettes. Ils ne font pas partie du jouet.
NOTE:
Please keep this instruction manual as it contains important

information.

INSTRUCTIONS

BATTERY INSTALLATION

1.  Make sure the unit is turned 

OFF

.

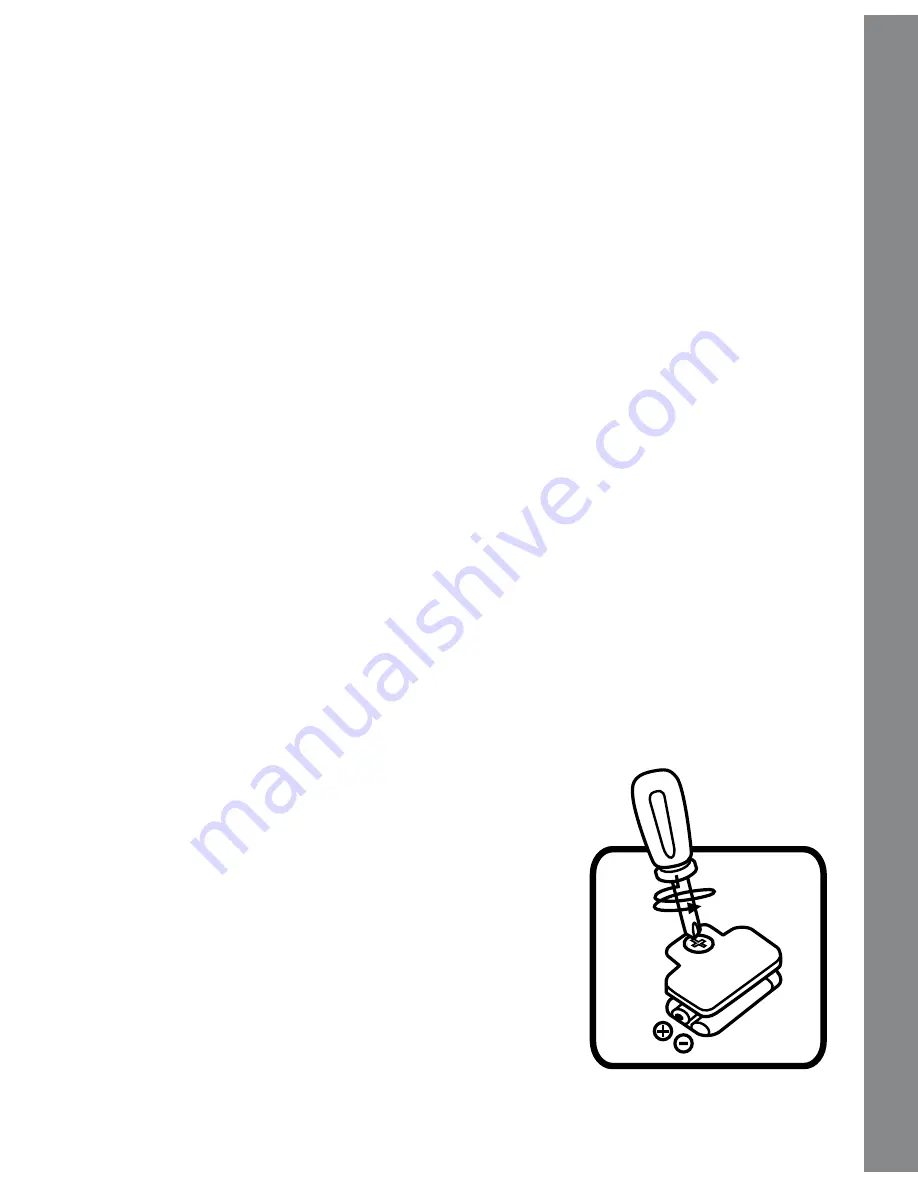
2.  Locate the battery cover inside the back of the 

unit. Use a screwdriver to loosen the screw.

3.  Install  2  new  AAA  (AM-4/LR03)  batteries 

following  the  diagram  inside  the  battery 

box.  (The  use  of  new  alkaline  batteries  is 

recommended for maximum performance.)

4.  Replace the battery cover and tighten the 

screw to secure.

Included In T

his P

ackage

Summary of Contents for Count & Hug Bug

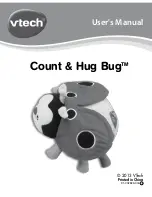
Page 1: ...MANUEL D UTILISATION User s Manual 2013 VTech Printed in China US 91 002823 004 Count Hug BugTM ...

Page 2: ......

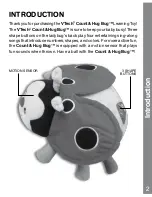
Page 3: ...our baby busy Three shape buttons on the ladybug s back play four entertaining sing along songs that introduce numbers shapes and colors For more active fun the Count Hug Bug is equipped with a motion sensor that plays fun sounds when thrown Have a ball with the Count Hug Bug Introduction 3 shape buttons motion sensor ...

Page 4: ...hésifs feuilles de plastique attaches et étiquettes Ils ne font pas partie du jouet NOTE Please keep this instruction manual as it contains important information INSTRUCTIONS BATTERY INSTALLATION 1 Make sure the unit is turned OFF 2 Locatethebatterycoverinsidethebackofthe unit Use a screwdriver to loosen the screw 3 Install 2 new AAA AM 4 LR03 batteries following the diagram inside the battery box...

Page 5: ... batteries Do not use damaged batteries Insert batteries with the correct polarity Do not short circuit the battery terminals Remove exhausted batteries from the toy Remove batteries during long periods of non use Do not dispose of batteries in fire Do not charge non rechargeable batteries Remove rechargeable batteries from the toy before charging if removable Rechargeable batteries are only to be...

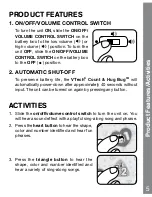
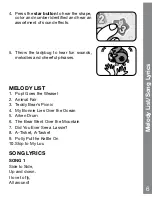
Page 6: ...ch Count Hug BugTM will automatically power down after approximately 40 seconds without input The unit can be turned on again by pressing any button ACTIVITIES 1 Slide the on off volume control switch to turn the unit on You will hear a sound effect with a playful sing along song and phrase 2 Press the heart button to hear the shape color and number identified and hear fun phrases 3 Press the tria...

Page 7: ...ies and cheerful phrases MELODY LIST 1 Pop Goes the Weasel 2 Animal Fair 3 Teddy Bear s Picnic 4 My Bonnie Lies Over the Ocean 5 Aiken Drum 6 The Bear Went Over the Mountain 7 Did You Ever See a Lassie 8 A Tisket A Tasket 9 Polly Put the Kettle On 10 Skip to My Lou SONG LYRICS SONG 1 Side to Side Up and down I love to fly All around Melody List Song Lyrics ...

Page 8: ...d wings Bright colorful legs orange purple and green CARE MAINTENANCE 1 Keep the unit clean by wiping it with a slightly damp cloth 2 Keep the unit out of direct sunlight and away from any direct heat source 3 Remove the batteries when the unit will not be in use for an extended period of time 4 Do not drop the unit on hard surfaces and do not expose the unit to moisture or water Care Maintenance ...

Page 9: ...vice representative will be happy to help you For information on this product s warranty please call VTech at 1 800 521 2010 in the U S or 1 877 352 8697 in Canada Troubleshooting IMPORTANT NOTE Creating and developing Infant Learning products is accompanied by a responsibility that we at VTech take very seriously We make every effort to ensure the accuracy of the information which forms the value...

Page 10: ...to correct the interference by one or more of the following measures Reorient or relocate the receiving antenna Increase the separation between the equipment and receiver Connect the equipment into an outlet on a circuit different from that to which the receiver is connected Consult the dealer or an experienced radio TV technician for help Caution Changes or modifications not expressly approved by...

Reviews: