Configuration Using the Phone Menus
34
VSP726 Administrator and Provisioning Manual
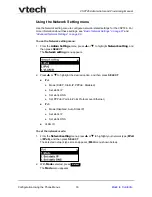
3. Press
or
to select the network mode for your network type, and then press
.
DHCP (IPv4) or Auto (IPv6) is enabled by default, which means the VSP726 will get its IP
address from the network. When DHCP and Auto are disabled, you must enter a static IP
address for the VSP726.
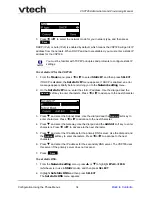
To set static IP for the VSP726:
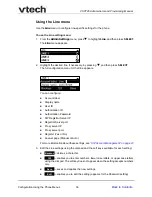
1. From the
Mode
menu, press
or
to select
Static IP
, and then press
SELECT
.
If DHCP is disabled, the
Set static IP
menu appears. If DHCP is enabled, an error
message appears briefly before returning you to the
Network setting
menu.
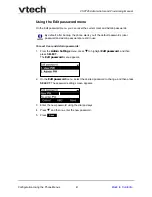
2. On the
Set static IP
menu, enter the static IP address. Use the dial pad and the
soft key to enter characters. Press
or
to advance to the next character.
3. Press
and enter the Subnet Mask. Use the dial pad and the
soft key to
enter characters. Press
or
to advance to the next character.
4. Press
and enter the Gateway. Use the dial pad and the
Add dot
soft key to enter
characters. Press
or
to advance to the next character.
5. Press
and enter the IP address for the primary DNS server. Use the dial pad and
the
soft key to enter characters. Press
or
to advance to the next
character.
6. Press
and enter the IP address for the secondary DNS server. The VSP726 uses
this server if the primary server does not respond.
7. Press
.
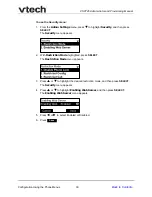
To set static DNS:
1. From the
Network setting
menu, press
or
to highlight
IPv4
or
IPv6
(whichever is in use in
Static
mode), and then press
SELECT
.
2. Highlight
Set static DNS
and then press
SELECT
.
The
Set static DNS
menu appears.
Save
You must be familiar with TCP/IP principles and protocols to configure static IP
settings.
Add dot
Add dot
Add dot
Save


