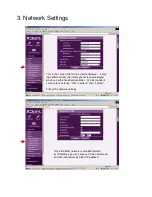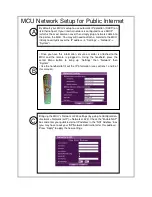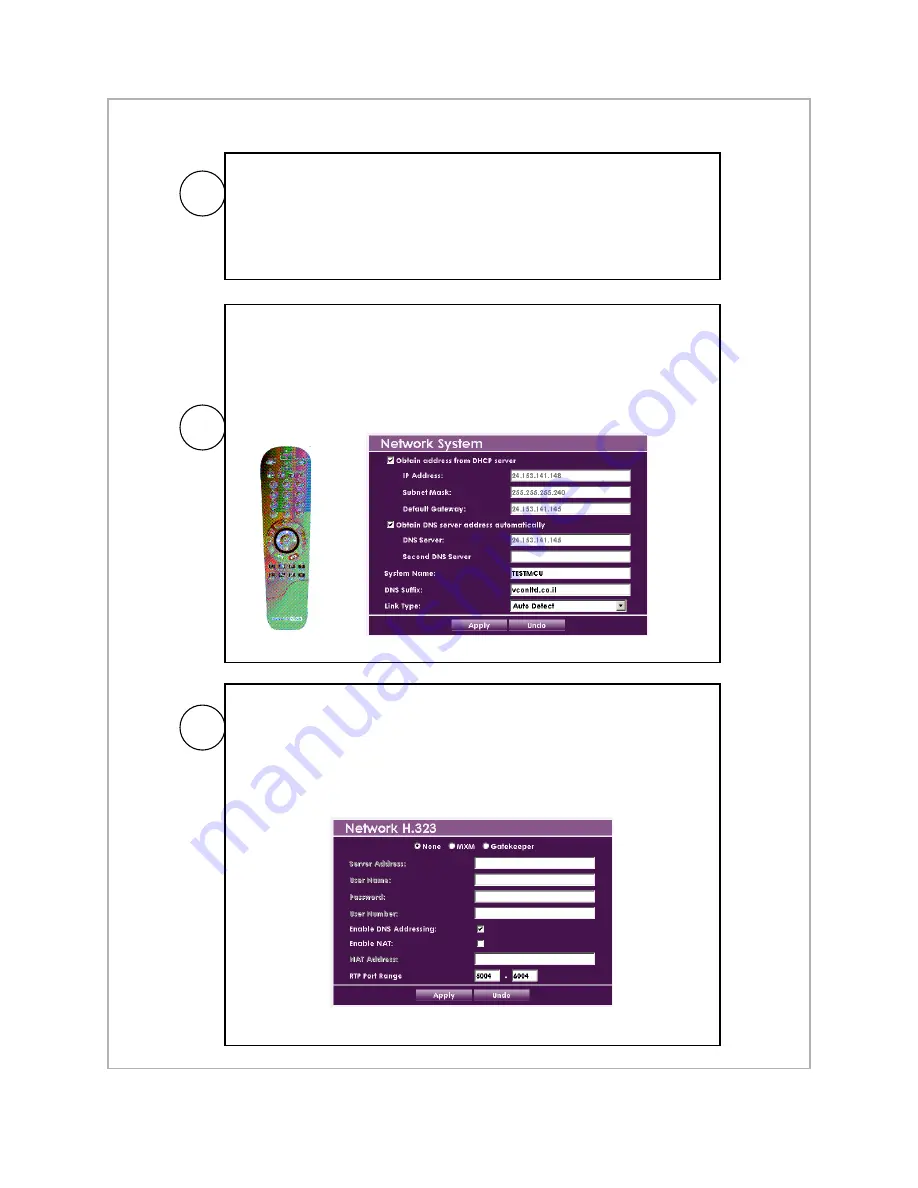
Bring up the MCU ’s Network H.323 settings (by going to Configuration-
>Network->Network {or IP} ->Network H.323). Check the "Enable NAT"
box and enter your public/external IP address in the “NAT Address” box
(you may have to ask your ISP/Network Administrator for this address).
Press “Apply" to apply the new settings.
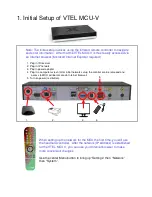
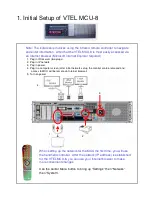
• Once you have this information, ensure a monitor is attached to the
MCU and the remote is plugged in. Using the handheld, press the
center Menu button to bring up “Settings” then “Network” then
“System”.
• Use the handheld to fill out the IP information (see sections 1 and 3 of
this manual).
A
By default, your MCU is setup to use automatic IP detection (DHCP) on
its Ethernet port. If your internal network is configured to use DHCP
(which is the most common case) then simply plug a network cable into
the port on the MCU. You may will need to attach a monitor to the MCU
initially to verify/discover the IP address (in “Settings”-> ”Network”->
“System”).
B
C
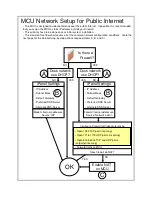
MCU Network Setup for Public Internet


