www.vtiinstruments.com
EX2500A Troubleshooting
85
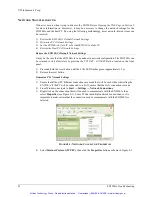
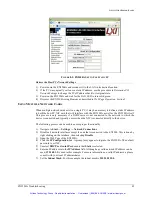
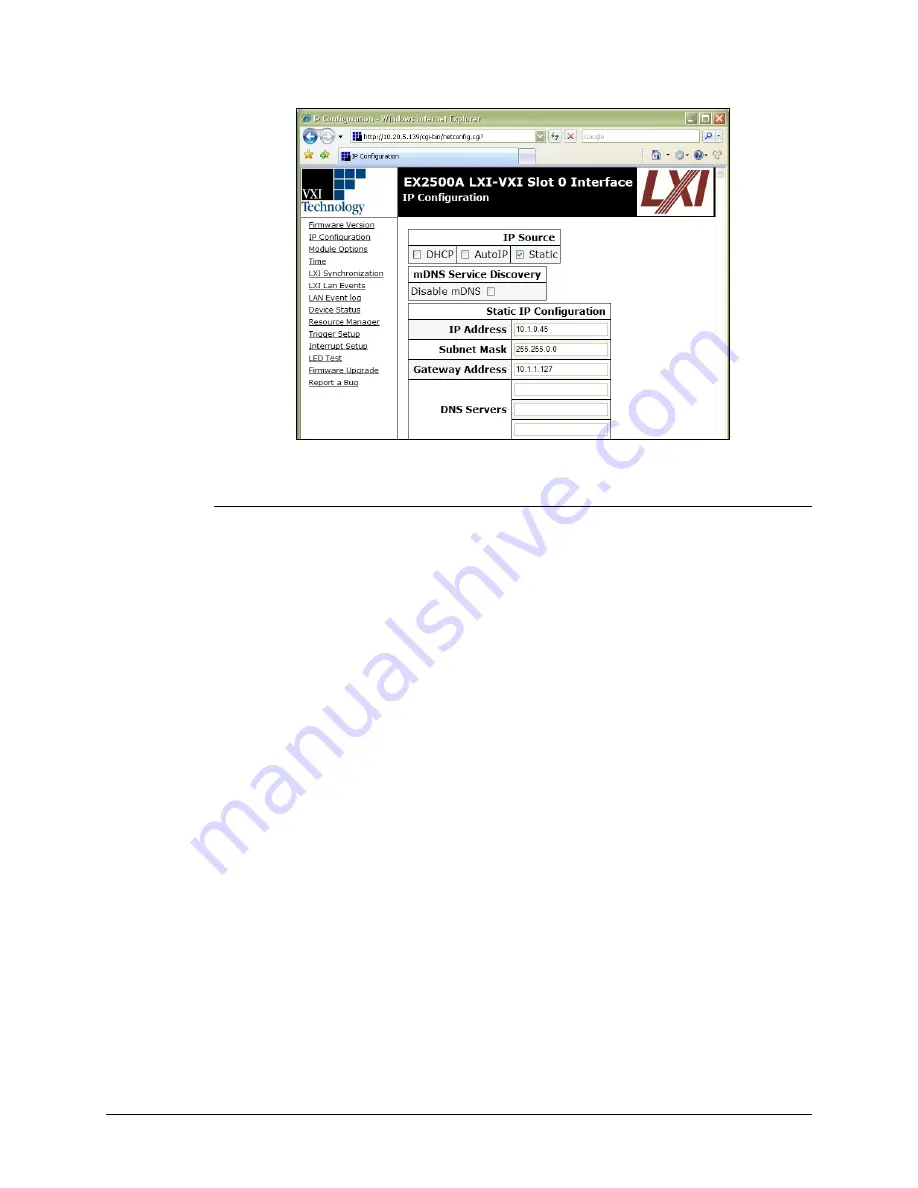
F
IGURE
8-5:
EX2500A
S
ET TO
U
SE
S
TATIC
IP
Restore the Host PCs Network Settings
1)
Power down the EX2500A and reconnect it to the LAN in its desired location.
2)
If the PC was originally set to use a static IP address, use the procedure in
Determine PCs
Network Settings
to change the PCs IP address back to it original state.
3)
Power on the EX2500A and wait for the LAN LED to turn solid green.
4)
Discover the EX2500A using Bonjour as described in
Web Page Operation, Section 5
.
U
SING
M
ULTIPLE
N
ETWORK
C
ARDS
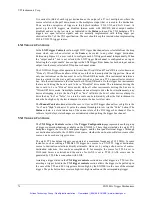
When multiple network cards exist in a single PC, it may be necessary to define a static IP address
to both the host PC NIC card that will interface with the EX2500A as well as the EX2500A itself.
This process is only necessary if a DCHP server is not connected to the network to which the
device is connected and typically occurs when the NIC is connected directly to the device.
The following process can be used to ensure proper functionality.
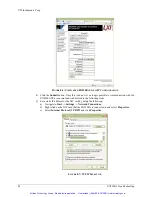
1)
Navigate to
Start
→
Settings
→
Network Connections
.
2)
Disable all network interfaces except the one that is connected to the EX2500. This is done by
right clicking on the interface, then selecting
Disable
.
3)
Open the Web Page of the EX2500A.
4)
Click the
IP Configuration
link. A prompt may appear to log into the EX2500A. The default
password is
ex2500
.
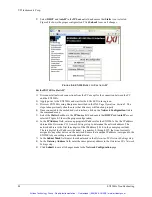
5)
Unselect
DHCP
and
AutoIP
and ensure that
Static
is selected.
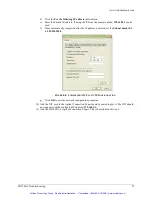
6)
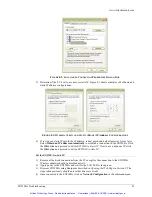
Enter an IP address into the
IP Address
field. Although any valid network IP address can be
used,
192.168.1.2
is used in this example. For more information on valid IP addresses, please
consult with your local IT administrator.
7)
Set the
Subnet Mask
. For this example, the subnet mask is
255.255.255.0
.
Artisan Technology Group - Quality Instrumentation ... Guaranteed | (888) 88-SOURCE | www.artisantg.com

